Table of Contents
Advertisement
DEHUMIDIFIER
Owner's Manual...............................1 - 9
DÉSHUMIDIFICATEUR
Manuel du propriétaire.................10 - 18
DESHUMIDIFICADOR
Manual del propietario.................19 - 27
DANBY PRODUCTS LIMITED, ONTARIO, CANADA N1H 6Z9
www.Danby.com
DANBY PRODUCTS INC., FINDLAY, OHIO, USA 45840
OWNER'S MANUAL
MANUEL DU PROPRIÉTAIRE
MANUAL DEL PROPIETARIO
MODEL • MODÈLE • MODELO
DDR050BLPBDB
2019.08.27
Advertisement
Table of Contents

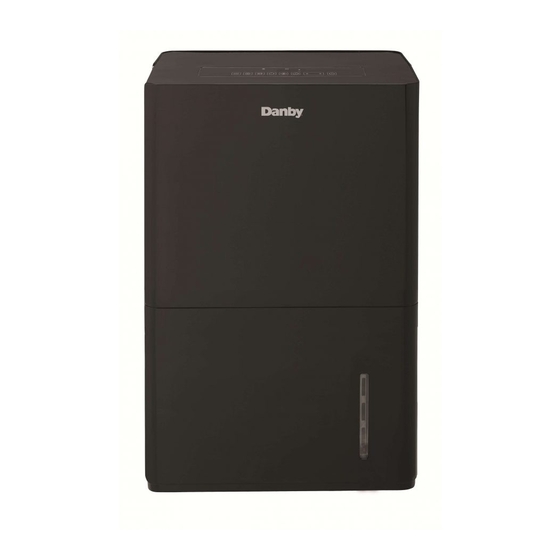
Summary of Contents for Danby DDR050BLPBDB
- Page 1 MANUAL DEL PROPIETARIO DEHUMIDIFIER Owner’s Manual.......1 - 9 MODEL • MODÈLE • MODELO DÉSHUMIDIFICATEUR Manuel du propriétaire....10 - 18 DDR050BLPBDB DESHUMIDIFICADOR Manual del propietario....19 - 27 DANBY PRODUCTS LIMITED, ONTARIO, CANADA N1H 6Z9 www.Danby.com DANBY PRODUCTS INC., FINDLAY, OHIO, USA 45840 2019.08.27...
-
Page 2: Need Help
Welcome Welcome to the Danby family. We are proud of our quality products and we believe in dependable service. We suggest that you read this owner’s manual before plugging in your new appliance as it contains important operation information, safety information, troubleshooting and maintenance tips to ensure the reliability and longevity of your appliance. -
Page 3: Important Safety Information
Important Safety Information READ AND FOLLOW ALL SAFETY INSTRUCTIONS SAFETY REQUIREMENTS GROUNDING INSTRUCTIONS This appliance is not intended for use by persons This appliance must be grounded. Grounding (including children) whose physical, sensory or reduces the risk of electrical shock by providing an mental capabilities may be different or reduced, escape wire for the electrical current. -
Page 4: Operation
OPERATING INSTRUCTIONS OPERATION FEATURES • Place the dehumidifi er on a smooth, level fl oor 1. Control panel that is strong enough to support the appliance 2. Handles (both sides) with a full bucket of water. 3. Water bucket 4. Water level indicator •... -
Page 5: Control Panel
OPERATING INSTRUCTIONS CONTROL PANEL TIMER FUNCTION Auto Off Function 1. When the appliance is turned on, press the timer button to activate the auto-stop timer. The auto- stop light will illuminate. 2. Press the up and down buttons to change the set time in 0.5 hour increments up to 10 hours and then in 1 hour increments up to 24 hours. -
Page 6: Water Removal
OPERATING INSTRUCTIONS WATER REMOVAL 2. Continuous Drain There are two ways to remove collected water from Water can be removed from the appliance using the the appliance. continuous drain and a standard garden hose (not provided). 1. Water Bucket Before using any automatic drain functions, check The dehumidifi... - Page 7 OPERATING INSTRUCTIONS 3. Pump Drain INTERNAL PUMP ARM In situations where the drain hose cannot reach a Inside the appliance there is a pump arm that will fl oor drain or if the drain hose needs to reach a draw water out of the bucket and then drain it out receptacle that is above the level of the appliance, through the drain hose.
-
Page 8: Care And Maintenance
CARE & MAINTENANCE AIR FILTER CLEANING The fi lter indicator will illuminate after 250 hours of To avoid possible electric shock, ensure that the use, indicating that the fi lter should be cleaned. appliance is unplugged before performing any cleaning or maintenance. Remove the fi... -
Page 9: Troubleshooting
TROUBLESHOOTING Danby Consumer Care: 1-800-263-2629 Hours of operation: Monday to Thursday 8:30 am - 6:00 pm Eastern Standard Time Friday 8:30 am - 4:00 pm Eastern Standard Time Information in this manual is subject to change without notice. PROBLEM POSSIBLE CAUSE Appliance will not operate •...


Need help?
Do you have a question about the DDR050BLPBDB and is the answer not in the manual?
Questions and answers