Table of Contents
Advertisement
Advertisement
Table of Contents

Related Manuals for Zanussi ZOA35660XK


Summary of Contents for Zanussi ZOA35660XK
- Page 1 User Manual GETTING STARTED? EASY. ZOA35660XK EN User Manual Built-In Double Oven...
-
Page 2: Safety Information
VISIT OUR WEBSITE FOR: Get usage advice, brochures, trouble shoot- er, service and repair information: www.zanussi.com/support SAFETY INFORMATION Before the installation and use of the appliance, carefully read the supplied instructions. The manufacturer is not responsible for any injuries or damage that are the result of incorrect installation or usage. -
Page 3: Safety Instructions
WARNING: The appliance and its accessible parts become hot • during use. Care should be taken to avoid touching heating elements. Always use oven gloves to remove or put in accessories or • ovenware. Before carrying out any maintenance, disconnect the appliance •... -
Page 4: Electrical Connection
• Do not pull the mains cable to disconnect the Height of the front of 888 mm appliance. Always pull the mains plug. the appliance • Use only correct isolation devices: line protecting cut-outs, fuses (screw type fuses Height of the back of 872 mm removed from the holder), earth leakage trips the appliance... -
Page 5: Care And Cleaning
– be careful when you remove or install the • Clean the appliance with a moist soft cloth. Use accessories. only neutral detergents. Do not use abrasive • Discoloration of the enamel or stainless steel products, abrasive cleaning pads, solvents or has no effect on the performance of the metal objects. -
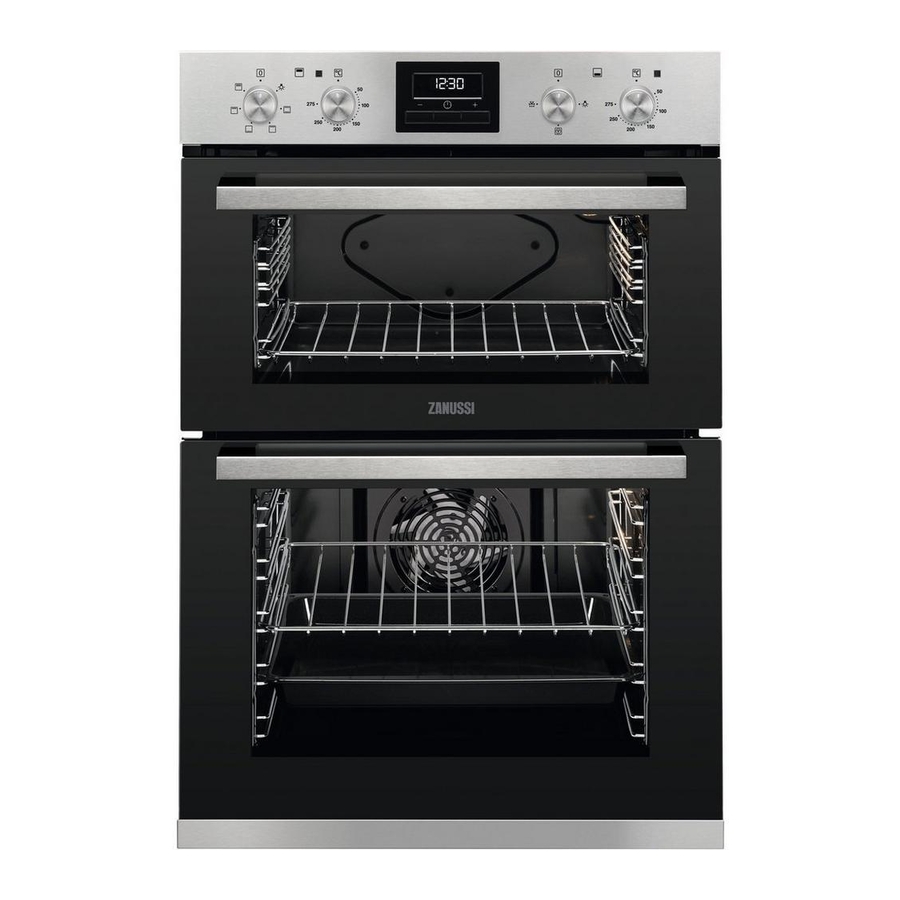
Page 6: Product Description
PRODUCT DESCRIPTION GENERAL OVERVIEW Knob for the top oven functions Knob for the top oven temperature Temperature indicator / symbol for the top oven Display Knob for the main oven functions Temperature indicator / symbol for the main oven Knob for the main oven temperature Heating element Lamp Shelf support, removable... -
Page 7: Before First Use
A. Clock functions C. Clock function B. Timer BEFORE FIRST USE Set the time before you use the oven. WARNING! Refer to Safety chapters. SETTING THE CLOCK Step 1 Step 2 Step 3 - press to set the mi- - press to set the hour. nutes. -
Page 8: Daily Use
DAILY USE Step 2 Turn the control knob to select the WARNING! Refer to Safety chapters. temperature. The lamp turns on when the oven operates. HOW TO SET: HEATING FUNCTION Step 3 Turn the knob for the heating func- Step 1 Turn the knob for the heating func- tions to the off position to turn off tions to select a heating function. -
Page 9: Clock Functions
CLOCK FUNCTIONS CLOCK FUNCTIONS Clock function Application To set, change or check the time of day. Only the top oven works without the set time. Time of Day To set how long the oven works. The function works only for the main oven. Duration To set when the oven turns off. - Page 10 How to set: End Time Step 1 Set an oven function and the temperature. Step 2 - press repeatedly. - starts to flash. Step 3 - press to set the time. The display shows: - flashes when the set time ends. The signal sounds and the oven turns off. Step 4 Press any button to stop the signal.
-
Page 11: Using The Accessories
How to cancel: Clock functions Step 1 - press repeatedly until the clock function symbol starts to flash. Step 2 Press and hold: The clock function turns off after few sec. USING THE ACCESSORIES around the shelf prevents cookware from slipping WARNING! Refer to Safety chapters. -
Page 12: Additional Functions
Wire shelf and deep pan together: Push the deep pan between the guide bars of the shelf support and the wire shelf on the guide bars above. TRIVET AND GRILL- / ROASTING PAN Step 1 Put the trivet into a deep pan. Step 2 Put the deep pan on the recommended shelf position. -
Page 13: Tips On Baking
the temperature setting if an unequal browning Trays in the oven can distort during baking. When occurs. The differences equalize during baking. the trays are cold again, the distortions disappear. TIPS ON BAKING Baking results Possible cause Remedy The bottom of the cake is The shelf position is incorrect. - Page 14 Food Temperature (°C) Time (min) Shelf position - Gingerbread 140 - 150 75 - 90 - Meringues 90 - 100 150 - 180 - Flapjack 160 - 170 25 - 30 - Shortbread 130 - 150 45 - 65 Casseroles: - Beef / Lamb 160 - 170 150 - 180...
-
Page 15: Defrost - Main Oven
Turn the roast after 1/2 - 2/3 of the cooking time. Always set the pan to collect the fat into the first shelf position. Roast meat and fish in large pieces (1 kg or more). Grill only flat pieces of meat or fish. Baste meat joints with their own juice several times during roasting. -
Page 16: Notes On Cleaning
Quantity Defrosting Further defrost- Food Comments (kg) time (min) ing time (min) Meat 100 - 140 20 - 30 Turn halfway through. Meat 90 - 120 20 - 30 Turn halfway through. Trout 0.15 25 - 35 10 - 15 Straw- 30 - 40 10 - 20... - Page 17 Step 1 Turn off the oven and wait until it is cold. Step 2 Pull the front of the shelf support away from the side wall. Step 3 Pull the rear end of the shelf support away from the side wall and remove it.
-
Page 18: Troubleshooting
Before you replace the lamp: Step 1 Step 2 Step 3 Turn off the oven. Wait until the Disconnect the oven from the Put a cloth on the bottom of oven is cold. mains. the cavity. Back lamp Step 1 Turn the glass cover to remove it. -
Page 19: Service Data
Serial number (S.N.) ......... ENERGY EFFICIENCY PRODUCT INFORMATION AND PRODUCT INFORMATION SHEET* Supplier's name Zanussi Model identification ZOA35660XK 944171724 Top oven: 106.8 Energy Efficiency Index Main oven: 95.2 Top oven: A Energy efficiency class Main oven: A Energy consumption with a standard load, conventional Top oven: 0.78 kWh/cycle... -
Page 20: Environmental Concerns
Cooking with fan ENERGY SAVING When possible, use the cooking functions with fan The oven contains features which help to save energy. you save energy during everyday Residual heat cooking. When the cooking duration is longer than 30 Make sure that the oven door is closed properly minutes, reduce the oven temperature to minimum when the oven operates. - Page 24 WWW.ZANUSSI.COM/SHOP...
Need help?
Do you have a question about the ZOA35660XK and is the answer not in the manual?
Questions and answers