
Related Manuals for Regency Cabana


Summary of Contents for Regency Cabana
- Page 1 ® REGENCY CEILING FANS • CEILING FAN OWNER'S MANUAL • WARNING: Read and follow these instructions carefully and be mindful of all warnin2:s shown throughout.
-
Page 3: Tools And Materials Required
IMPORTA1'T SAFETY PRECAUTIONS FANS CEILING Thank you for choosing a Regency Ceiling Fan. You have chosen Lhe best! Your new ceiling Jan has been· designed to provide many years of service and enjoyment. Warnings: • Disconnect power by removing [use or turning ofT circuit breaker before installing the fan and/or optional lighting. -
Page 5: Installing The Mounting Bracket
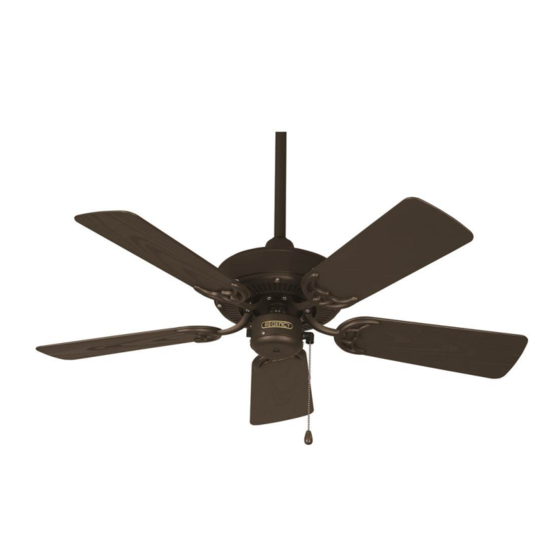
PREPARATION ---..FANS Parts identification on assembled fan Canopy PREPARATION: Verify you have all parts before beginning the installation. Check foam insert closely for missing parts. Remove motor from packing. To avoid damage to finish, assemble motor on soft padded surface or use the original foam inset in motor box. - Page 7 INSTALLING THE FAN CEILING FANS DOWNROD STYLE MOUNTING 1. Lift ball/downrod/fan into hanger bracket opening. NOTE: The tab opposite hanger bracket opening should fit in slot on ball. Make wire connections, (refer to section titled "Electrical Connections"). 3. Slide canopy up and fasten to hanger bracket with screws p rovided. Le;�===�...
- Page 8 ELECTRICAL (O>JNECTIONS CEILING FANS ELECTRLCAL CONNECTlONS: Be sure electricity is turned off �t the main power box before wiring 1. Four wires are connected to the fan. Black - this is the "hot" power to run fan. White - this is the "common" power to run fan and light. Blue - this is the "hot"...
-
Page 9: Blade Attachment
BLADE ATTACHMENT CEILING FANS BLADE ATTACHMENT: l. Pla c e fiber washer on screw. Insert this assembl y through the blade and start the screw into the blade arm. Repeal this procedure without ti g htening the screw until all 3 screws have been started imo the blade arm (Fig. 1 ) . NOTE: Fans that have painted finishes are packed with gaskets that can be used between the blade arm and blade to hel p prevent a clickin g noise that ma y develo p if blade screws loosen over time. -
Page 11: Operation
OPERATION CEILING FANS Turn on the power and check operation of the fan. The fan is controlled by the use of the pull chain as follows: one pull = high speed two pulls = medium speed three pulls = low speed four pulls = off For proper functions, ensure that the chain is pulled down fully and released each time.
Need help?
Do you have a question about the Cabana and is the answer not in the manual?
Questions and answers