Table of Contents
Advertisement
Advertisement
Table of Contents

Related Manuals for Vanco Beale Street Audio BAV4250


Summary of Contents for Vanco Beale Street Audio BAV4250
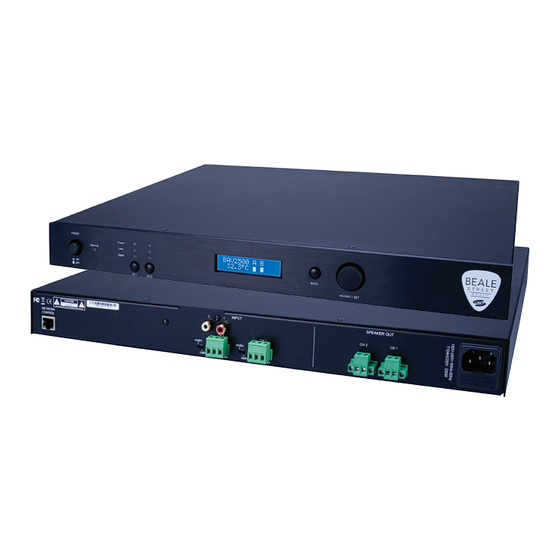
- Page 1 Beale Street Audio BAV4250, BAV2500 Amplifiers Installation Guide...
- Page 2 Introduction Congratulations and thank you for purchasing the BAV2500 or BAV4250 Beale Street Amplifier! The BAV2500 and BAV4250 amplifiers can be configured for 4/8 ohm zones, it can also be configured 70/100v or can be configured for any combination of 4/8 ohm and 70/100v zones all at the same time! Have one zone delivering 8 ohm, while a separate zone delivering 70v, simultaneously.
-
Page 3: Specifications
Specifications 1000W, 2 Channel Amplifier BAV2500 • 500W per channel output • 2 balanced and unbalanced analog audio inputs • 2 output channels • Compatible with 4/8 ohm and 70/100v speakers and systems • Controllable via front panel and IP •... - Page 4 Description BAV2500 BAV4250 Amplifier Channel 2 Channel 4 Channel Power Output 500W rms x2 @1KHz/70V 250W rms x 4 @1KHz/70V Signal-to-Noise Ratio 90dB @1KHz/rated power into 70V mode THD+N <1% @1KHz/rated power Frequency Response 20Hz to 20KHz +/-0.3dB @8 Ohms Crosstalk >70dB @1KHz Amplifier gain...
-
Page 5: Front Panels
Front Panels BAV2500 BAV4250 1. POWER: Turn on/off the amplifier 2. CHANNEL SELECTION: Use to select single or multiple channels to control from the front panel - To increase or decrease volume, select the channel by pressing the appropriate button and then turn the rotary dial (5). - Protection LED: Each channel has a protection LED. -
Page 6: Rear Panels
Rear Panels BAV2500 BAV4250 1. RJ45: Connect to network for TCP/IP control and to use the browser- based GUI 2. Balanced Analog Input (3-Pin): Screw down terminals to connect to the source/input 3. Unbalanced Analog Input (RCA-mono): RCA port to connect to the source/input 4. -
Page 7: Wiring Infrastructure
Wiring Infrastructure SPEAKER WIRE The BAV2500 and BAV4250 are flexible multi-channel amplifiers capable of many different applications. The application for a given system, or even different amp configurations for different zones in a single system can create different requirements for speaker wire runs. Please review the information below and apply these guidelines to your specific application(s). - Page 8 MULTI-ZONE AUDIO (4/8 OHM) If the amp is being used to distribute 70/100v audio, pull distribution lines (each distribution line is a wire pair) in a daisy-chain pattern, (amp to first speaker, first speaker to second speaker, second speaker to third speaker, etc.) Use quality stranded speaker wire based upon the 70V Speaker Wire Gauge below based on 30W per channel:...
-
Page 9: Connect And Operate
Connect and Operate Audio Speaker BAV2500 Audio Speaker BAV4250 1. Ensure power is off or power supply disconnected from the BAV2500 or BAV4250 2. Connect your input(s) using either the unbalanced RCA ports or the balanced 3-pin screw-down connector 3. Connect the speakers to the numbered outputs on using the 2-pin screw-down connector NOTE: Default setup has the speakers set to 70v. - Page 10 Accessing and Using the Browser Based GUI In order to make setup and use all the fun settings found within these amplifiers, you need to be on the same network. The amp has a default IP address of 192.168.14.1. To make sure your computer, phone, or tablet can communicate with the amp, you need to make sure your computer is speaking the same language.
- Page 11 GUI LAYOUT, SETUP AND MENU OPTIONS Input/Output Matrix: Select the source you want to listen to on each output/channel. Multiple inputs can also be selected and mixed Mixer: Increase, decrease, or mute the volume of each output/ channel Level Meter: provides Input (source) and Output (channel) levels Numbered output channels HPF (High Pass Filter): Allows you to adjust the frequency and enable or disable HPF...
- Page 12 Select an output channel to use the parametric EQ interface Changes various aspects of the audio. This can be done by clicking/ touching the green bar and moving and arranging it into different positions Different frequency layouts Dropdown menu to select and manipulate peak, treble, bass, notch, LPF (low pass filter), HPF (high pass filter) Save an amp configuration as a preset or load a configuration or preset to the amp...
- Page 13 Used for 4/8 ohm Speakers Used for 70v Speakers Used for 100v Speakers Set power saving to ON or AUTO...
- Page 14 MAC Address of the unit Name of the unit on the network Enable/disable DHCP IP address and information for the unit. a. If no address is provided by the network, a default IP address will be 192.168.14.1 Add or change a password to enter the GUI Model number of the unit Current firmware on the unit...
-
Page 15: Limited Warranty
Vanco’s opinion, prove defective within this warranty period, Vanco, at its option, will repair or replace this product without charge. Any defective parts replaced become the property of Vanco. This warranty does not apply to those products which have been damaged due to accident, unauthorized alterations, improper repair, modifications, inadequate maintenance and care, or use in any manner for which the product was not originally intended. - Page 16 The Vanco logo, Sonic Vortex logo, and Beale Street Audio Inc. logo are registered trademarks of Vanco International, LLC. Vanco, Sonic Vortex, Beale Street Audio, Get Reale. Get Beale., the Vortex logo, and the Beale Street Audio logo are trademarks of Vanco International, LLC.
Need help?
Do you have a question about the Beale Street Audio BAV4250 and is the answer not in the manual?
Questions and answers