Table of Contents
Advertisement
Quick Links
Advertisement
Table of Contents

Related Manuals for FONESTAR AIP-1020


Summary of Contents for FONESTAR AIP-1020
- Page 1 IP-1020 IP AUDIO SYSTEM MICROPHONE INSTRUCTION MANUAL...
- Page 2 We take this opportunity to thank you for buying this product. We recommend you read the instruction manual before switching on the machine and follow the instructions that are given. Keep the manual for future reference. SECURITY AND THE ENVIRONMENT ELECTRICAL SECURITY Check that the current in the mains connection where the machine is to be installed corresponds to the power supply of the machine.
-
Page 3: Exemption Of Liability
The characteristics of the equipment and the content of the manual can change without forewarning. FONESTAR, S.A. does not assume responsibilities regarding the inappropriate use of the equipment or the information supplied in this instruction manual, and specifically disclaims any implied liability for marketability or fitness for any other use. -
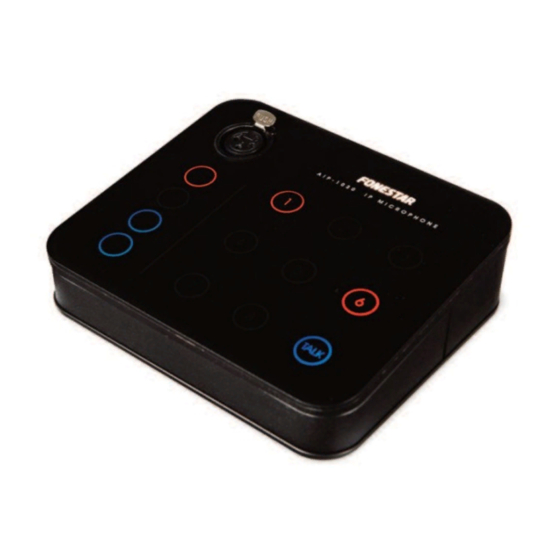
Page 4: Controls And Functions Front Panel
DESCRIPTION - IP audio system microphone with key touchpad. Easy to use for paging from the microphone and message playback. - Automatic configuration of network parameters. - Ideal solution for shopping centers, schools, office buildings, etc. CONTROLS AND FUNCTIONS FRONT PANEL 1.- Balanced microphone input, XLR connector. - Page 5 - via an external configuration file generated by the AIP-Go application itself. VIA INTERNET USING THE AIP-GO APPLICATION In order to configure the parameters of the AIP-1020 microphone via the local area network, use the AIP-Go application. Download the instruction manual for the AIP-Go software from fonestar.com/AIP-Go and follow the configuration instructions or access the Youtube channel: youtube.com/user/FonestarSistemas in which...
-
Page 6: Firmware Updating
Press and hold the button while the device is finding the update file in the USB storage device. After 30 seconds, all the buttons on the AIP-1020 will emit a flashing light among: off, red and blue, repeating 5 times. - Page 7 The Configuration window will be displayed. To update the software, select the Options tab and press the Update button. At this point, select the update file that you downloaded from the fonestar.com website and wait for the AIP-1020 microphone to restart.
- Page 8 The LED blue and red indicators represent the current system status. These indications start to work when the AIP-1020 microphone is switched on. Below is a description of all the operating status according to the LED indicators located on the front panel of the device:...
- Page 9 OPERATING SENDING AN AUDIO MESSAGE TO ZONES 1º- Select the required zone or zones (zone selection buttons). 2º- Select the audio message to be played (audio selection buttons). 3º- Press the TALK button to begin message playback. The button will be automatically deactivated when the audio message is finished.
-
Page 10: Technical Specifications
TECHNICAL SPECIFICATIONS AIP-1020 CHARACTERISTICS IP audio system microphone. Key touchpad with 12 configurable buttons. Two integrated microphones. Paging from the microphone and pre-recorded message playback, etc. PC configuration. Audio streaming via local area network (LAN). USB port for software updates. -
Page 11: Warranty
2 months after being conscious of the problem. It is only necessary to contact FONESTAR if it is impossible or imposes an undue burden for them to solve it.To benefit from this warranty it is necessary to show the proof of purchase with the date clearly visible, with no corrections or crossing out. - Page 12 www.fonestar.com...
Need help?
Do you have a question about the AIP-1020 and is the answer not in the manual?
Questions and answers