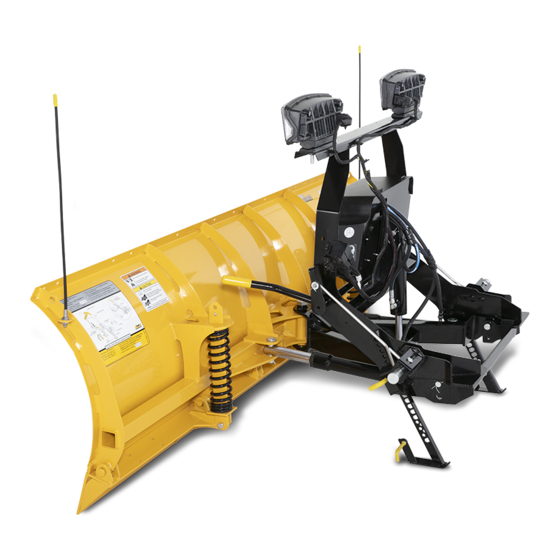
Fisher Minute Mount 2 Installation Instructions Manual
Mount kit international terrastar 4x4 2013
Hide thumbs
Also See for Minute Mount 2:
- Owner's manual (112 pages) ,
- Mechanic's manual (68 pages) ,
- Installation instructions (4 pages)
Table of Contents
Advertisement
Quick Links
International TerraStar 4x4
Fisher Engineering
50 Gordon Drive, Rockland, Maine 04841-2139 • www.fi sherplows.com
MOUNT KIT
Installation Instructions
Read this document before installing the
snowplow.
See your FISHER
outlet/Web site for specifi c
®
vehicle application recommendations before
installation. The Kit Selection Guide has
specifi c vehicle and snowplow requirements.
A DIVISION OF FISHER, LLC
CAUTION
CAUTION
7199
November 1, 2013
Lit. No. 43658, Rev. 00
2013 - __
Advertisement
Table of Contents

Summary of Contents for Fisher Minute Mount 2
- Page 1 Installation Instructions CAUTION Read this document before installing the snowplow. CAUTION See your FISHER outlet/Web site for specifi c ® vehicle application recommendations before installation. The Kit Selection Guide has specifi c vehicle and snowplow requirements. A DIVISION OF FISHER, LLC...
-
Page 2: Safety Definitions
7199 SAFETY DEFINITIONS WARNING/CAUTION AND INSTRUCTION LABELS WARNING Become familiar with and inform users about the Indicates a potentially hazardous situation warning labels on the back of the blade and the that, if not avoided, could result in death or instruction label on the headgear. -
Page 3: Safety Precautions
7199 SAFETY PRECAUTIONS PERSONAL SAFETY Improper installation and operation could cause • Remove ignition key and put the vehicle in park or personal injury and/or equipment and property damage. in gear to prevent others from starting the vehicle Read and understand labels and the Owner's Manual during installation or service. -
Page 4: Torque Chart
7199 NOISE TORQUE CHART Airborne noise emission during use is below 70 dB(A) CAUTION for the snowplow operator. Read instructions before assembling. Fasteners should be fi nger tight until VIBRATION instructed to tighten according to the torque chart. Use standard methods and practices Operating snowplow vibration does not exceed when attaching snowplow including proper 2.5 m/s... -
Page 5: Installation Instructions
7199 INSTALLATION INSTRUCTIONS 2. For both sides, cut the cable ties to free the harness and remove the L-brackets as shown below. Retain all bracket parts for reinstallation. NOTE: For easier assembly and installation, Use caution not to damage the brake cable and vehicle and all snowplow components should hose running from the L-shaped bracket to the be on a smooth, level, hard surface, such as... - Page 6 7199 5. Position the front mount as shown. On the 8. Position the rear end of the passenger-side thrust passenger's side, Loosely attach the front mount arm as shown and attach using 1/2" x 2" cap using 1/2" x 2" and 1/2" x 2-1/2" cap screws and screws and locknuts.
- Page 7 7199 11. Attach the rear end of the driver-side thrust arm as 14. Tighten all fasteners according to the torque chart, shown using 1/2" x 2" cap screws and locknuts. starting with the vehicle to frame fasteners, front to back, and fi nishing with the thrust arm to mount fasteners.
- Page 8 Fisher Engineering reserves the right under its product improvement policy to change construction or design details and furnish equipment when so altered without reference to illustrations or specifi cations used. Fisher Engineering or the vehicle manufacturer may require or recommend optional equipment for snow removal. Do not exceed vehicle ratings with a snowplow. Fisher Engineering offers a limited warranty for all snowplows and accessories.


Need help?
Do you have a question about the Minute Mount 2 and is the answer not in the manual?
Questions and answers