
Related Manuals for kansai FX/UTC Series


Summary of Contents for kansai FX/UTC Series
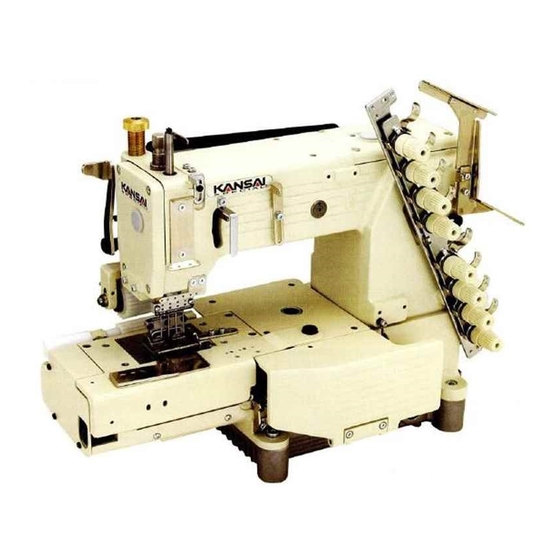
- Page 1 INSTRUCTION FX/UTC MANUAL Industrial Sewing Machines First published : May 1997 Fourth edition : January 2006 No. 050153...
- Page 2 INTRODUCTION Thank you for your purchasing Kansai Special's FX/UTC Series. Read and study this instruction manual carefully before beginning any of the procedures and save it for later use. This instruction manual describes adjustments and maintenance procedures for the thread trimmer.
-
Page 3: Table Of Contents
CONTENTS 1. INSTALLING THE POSITION DETECTOR ·························· 1 2. CONNECTING RELAY CORDS AND AIR LINES 2-1 FX4404 ·················································································· 1 2-2 FX4406, FX4412 ····································································· 2 3. ADJUSTING THE NEEDLE STOP POSITION ······················ 3 4. ADJUSTING THE SPEED CONTROLLER AND AIR PRESSURE ···... -
Page 4: Installing The Position Detector
【1】INSTALLING THE POSITION DETECTOR ■ I nstall the position detector by referring to the illustration on the right. 【2】CONNECTING RELAY CORDS AND AIR LINES 2-1 FX4404 ■ C onnect relay cords and air lines correctly by referring to the illustration and parts list. -
Page 5: Fx4406, Fx4412
2-2 FX4406,4412... -
Page 6: Adjusting The Needle Stop Position
【3】ADJUSTING THE NEEDLE STOP POSITION Adjust the motor so that the needle bar stops at the top of its stroke. Then start the machine and check to see if the needle bar stops at the top of its stroke. Loosen screws A on the position detector. Align mark P on the pulley with the alignment mark on the cover. -
Page 7: How To Use The Pedal
【5】HOW TO USE THE PEDAL Pressing the pedal with toe (position A) starts the machine. Releasing the pedal (position B) stops the needle at the top/bottom of its stroke (adjustable with the motor). Pressing the pedal with heel (position C) raises the needle. -
Page 8: Adjusting The Back Spring
6-3 Adjusting the back spring To cut the needle and looper threads, the movable knife moves to the stationary knife with the needle thread hooked on cutting edge A and the looper thread hooked on cutting edge B while entering the needle thread loop (see the illustration). -
Page 9: Disassembling And Reassembling The Knife Assembly
6-5 Disassembling and reassembling the knife assembly The knife assembly is secured with four screws F. Do not loosen other screws. Perform preventive maintenance such as replacing the knife by following the procedures below. Loosen screw H for front cover G. Disconnect four air lines I. -
Page 10: Threading & Adjusting The Thread Releaser
【8】THREADING & ADJUSTING THE THREAD RELEASER 8-1 For 4-needle machines Thread the machine correctly by referring to the illustration on the right. Adjust the standby position of the releaser block for the needle and looper threads according to the distance in the illustration below. To increase the amount of the thread to be released, decrease distance A. -
Page 11: Adjustment For Tension Releaser Of 6 To 12 Needle
FX4412 8-3 Adjustment for tension releaser of 6 to 12 needle Thread the machine correctly by referring to the illustration on the right. Install the thread eyelets for the needle and looper threads according to the distance in the illustration below. To increase the amount of the thread to be released, decrease distance A.
Need help?
Do you have a question about the FX/UTC Series and is the answer not in the manual?
Questions and answers