Table of Contents
Advertisement
Quick Links
Model/Modelo/Modéle
6010, 6012 & 6016
Series/Serie/Seria
Write purchased model number here.
Escriba aquí el número del modelo comprado.
Inscrivez le numéro de modèle ici.
For easy installation of your Brizo
faucet you will need:
• To READ ALL the instructions completely
before beginning.
• To READ ALL warnings, care, and maintenance
information.
Para instalación fácil de su llave Brizo
usted necesitará:
• LEER TODAS las instrucciones completamente
antes de empezar.
• LEER TODOS los avisos, cuidados, e
información de mantenimiento.
Pour installer votre robinet Brizo
facilement, vous devez:
• LIRE TOUTES les instructions avant de déb-
uter;
• LIRE TOUS les avertissements ainsi que toutes
les instructions de nettoyage et d'entretien.
www.brizo.com
46747
You may need/Usted puede necesitar/
Articles dont vous pouvez avoir besoin:
Backflow Protection System
Your Brizo
hand shower incorporates a backflow protection system that has been tested
®
to be in compliance with ASME A112.18.3, CSA B125 and ASME A112.18.1. It incorpo-
rates two certified check valves in series, which operate independently and are integral,
non-serviceable parts of the wand assembly.
Sistema de protección contra el contraflujo
Ducha de mano Brizo
que ha sido probado para cumplir con los requisitos de ASME A112.18.3, CSA B125 y
ASME A112.18.1. Este incorpora en la pieza de mano dos válvulas de retención o checa-
doras certificadas en una serie, las cuales operan independientemente y son piezas inte-
grantes que no requieren servicio.
Dispositif anti-siphonnage
Douche à main Brizo
conforme aux normes ASME A112.18.3, CSA B125 et ASME A112.18.1. Ce dispositif se
compose de deux clapets indépendants homologués, montés en série dans le tube
46747
rigide, qui sont non réparables.
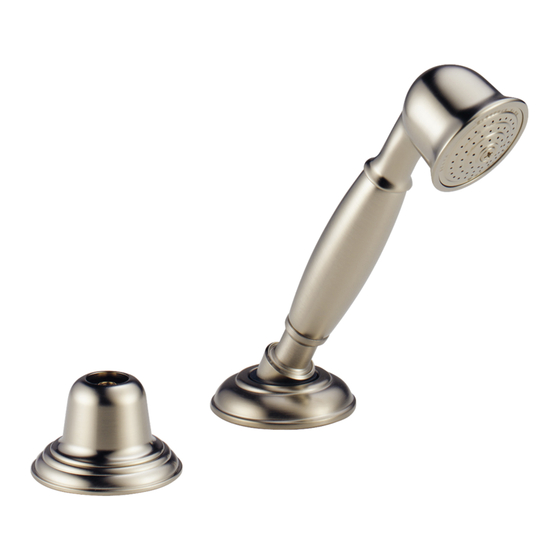
ROMAN TUB HAND HELD
SHOWER AND DIVERTER
DUCHA DE MANO PARA BAÑERAS
ROMANAS Y DESVIADOR
DOUCHE À MAIN ET DÉRIVATION
POUR BAIN ROMAIN
tiene un sistema de protección contra el contraflujo, incorporado,
®
comporte un dispositif anti-siphonnage qui a été éprouvé et qui est
®
1
7/18/13 Rev. C
Advertisement
Table of Contents

Subscribe to Our Youtube Channel
Related Manuals for Brizo 6010


Summary of Contents for Brizo 6010
- Page 1 • To READ ALL the instructions completely before beginning. • To READ ALL warnings, care, and maintenance information. Para instalación fácil de su llave Brizo usted necesitará: • LEER TODAS las instrucciones completamente antes de empezar. • LEER TODOS los avisos, cuidados, e información de mantenimiento.
- Page 2 No se garantizan las pilas. Company para todos los reclamos a menos que el comprador haya registrado el producto con Delta Faucet Company. Esta garantía le aplica sólo a las llaves de agua de Brizo fabricadas Delta Faucet Company reemplazará, SIN CARGO, durante el período de garantía aplicable, cual- ®...
- Page 3 ▲ Specify Finish Especifíque el Acabado Précisez le Fini RP24440 RP24430▲ Screw Arrow Button Tornillo Botón con Flecha RP23610▲ Capuchon flèche Shroud Aro Acampanado RP23618 RP28648▲ de Refuerzo Handle Insert Porcelain Shroud Fixation Inserto de la Manija Aro Acampanado de Porcelana Insert de manette Poignée ronde en porcelaine RP23611▲...
- Page 4 Maintenance If leaks from hand piece: SHUT OFF WATER SUPPLIES. Replace Diverter Assembly (3)–Repair Kit RP19653. 1. Remove handle. Remove sleeve (1). 2. Reinstall handle. Pull on handle to remove extender (2) and diverter assembly (3) from the valve. 3. Detach handle and replace old diverter assembly (3) with a new one. 4. Reinstall handle to extender (2) and diverter assembly (3). 5. Align KEY (4) on diverter assembly (3) with keyway in transfer valve by pushing down on handle. Rotate while pushing if necessary to locate the keyway. 6. Remove handle from extender (2) and reinstall sleeve (1). 7. Reinstall handle. Mantenimiento Si hay filtración de la pieza de mano: CIERRE LOS SUMINISTROS DE AGUA. Reemplace el Ensamble del Desviador (3)—Equipo de Reparación RP19653. 1. Quite la manija. Quite la manga (1). 2. Instale de nuevo la manija. Hale la manija para sacar el ensamble de la extensión (2) y el desviador (3) de la válvula. 3. Descontecte la manija y reemplace el ensamble del desviador viejo (3) con uno nuevo. 4. Reinstale la manija el ensamble de extensión (2) y el desviador (3). 5. Alinée la MUESCA (4) en el ensamble del desviador (3) con la ranura en la válvula de transferencia al empujar hacia abajo la manija. Gire mientras empuja si es necesario para localizar la ranura. 6. Quite la manija de la extensión (2) e instale de neuvo la manga (1).
- Page 5 18" (45.7 cm) max. 1- 1/2" (35mm) 1- 1/2 po (35mm) Install spray support assembly (1) from below. Replace nest (2) on spray SHUT OFF WATER SUPPLIES. Drill two 1-1/2" diameter holes in finished suport assembly and rotate 90° to expose screws (3). surface, one for the transfer valve and one for the spray support assembly. NOTE: The length of the braided metal hose limits the distance between the Tighten screws (1) with a regular slotted screwdriver. NOTE: One screw transfer valve and deck fitting. The distance between the transfer valve and deck can be fully tightened before the other screw is tightened. fitting should not exceed 18"...
- Page 6 Reinstale el adaptador (1) para fijar la válvula. Introduzca la manguera principal (1) a través del soporte del rociador (2). Conecte el adaptador (3) a la salida del desviador (4), y conecte la (Modelos 6010 and 6012) Instale el empaque (1), la base (2) y aro acampanado manguera principal al adaptador. Use cinta plomero en las conexiones de refuerzo (3). OPCIÓN: Si el borde está desnivelado, use sellador de silicón enroscadas. debajo del empaque. (Modelo 6016) Instale el empaque (1) y aro acampanado de refuerzo (4).
- Page 7 From tub valves, connect hot and cold water lines to labeled inlets (1) on Remove and discard the test cap and gasket (1) from braided metal hose transfer valve. Either inlet (1) may be used for hot and cold. Use plumber (2). NOTE: This is an extra gasket, one is supplied with the other hose. tape on threaded connections. Connect tub spout (2) to remaining outlet port (3) on transfer valve. WARNING: Excessive heat during installation Slide hose (1) through conical nut (2). Attach hose (1) to braided metal hose may damage internal components. Removal of the diverter is (3) using gasket (4) and tighten. DO NOT install hand piece yet. recommended prior to installation if excessive heat will be used. Desde las válvulas de la bañera, conecte las líneas de agua caliente y fría Quite y descarte la tapa de prueba y el empaque (1). NOTA: Este es un a las tomas con etiquetas (1) en la válvula de transferencia. Cualquier toma...
- Page 8 : cette manoeuvre permet d’évacuer les saletés qui pourraient abîmer les éléments internes. Vérifiez l’étanchéité de tous les raccords (aux flèches). Resserrez les raccords, au besoin, mais prenez garde de trop les serrer. Après avoir purgé les robinets, fermez-les. Remettez la manette de la dérivation à sa position normale. Fixez la douche à main (1) au tuyau souple (2) après avoir placé le joint (3) dans le raccord. www.brizo.com 46747 Rev. C...
Need help?
Do you have a question about the 6010 and is the answer not in the manual?
Questions and answers