Advertisement
Street Magic® Amber BRIGHTSIDES™ Install Instructions
1) Using a suitable pry tool, carefully remove the stock front fender reflector taking care to not damage fender or
the paint.
(see PIC #1)
2) Thoroughly clean this area of any old tape and glue. Once clean, wipe down this area with the enclosed 3M
promoter pad.
(see PIC #2)
3)
Hold BIGHTSIDE light up to fender noting location where wire meets fender, drill ¼ inch hole in fender for wire
***NOTE*** When drilling fender take extra care not to allow drill to damage tire
to pass through.
(see PIC #3)
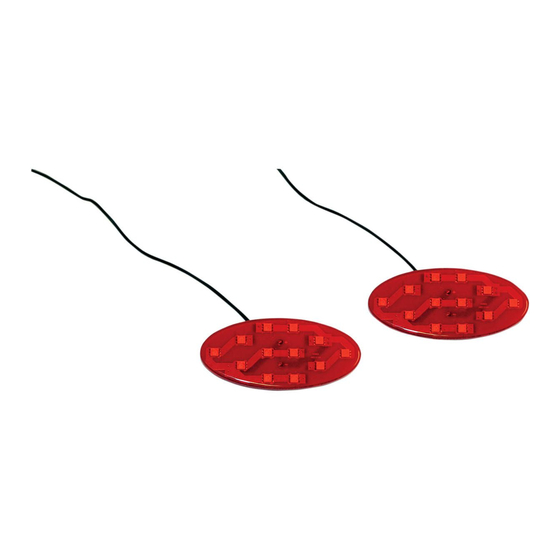
4) Insert wire from BRIGHTSIDE through hole in fender and remove backing from tape, firmly press BRIGHTSIDE
into place. Be careful to align BRIGHTSIDE light in the fender recessed area.
(see PIC #4)
5) Slide the 2 3M mounting blocks onto BRIGHTSIDE wire by passing wire through slots in mounting block.
(see PIC #5)
6) Although shown on the outside the fender in the picture to better show their mounting locations, treat the
underside of the fender with the 3M promoter pad and stick the 3M mounting blocks with wire roughly in these
areas as shown on the
(see PIC #6)
7) Remove the front fender tip light from fender. Using the supplied Posi-Tap connectors hook wires from
BRIGHTSIDE to wires going to fender tip light as follows. WHITE wire from BRIGHTSIDE to ORANGE wire going to
fender tip light and BLACK wire from BRIGHTSIDE to BLACK wire going to fender tip light. If you have any
questions on the proper use of the Posi-Tap connectors please visit
8) Reinstall front fender tip light into fender, test operation.
(see PIC #7)
9)
Repeat procedures 1 through 8 for remaining fender.
UNDERSIDE
of the fender to hold wire in place.
www.posi-lock.com
Advertisement
Table of Contents

Related Manuals for Custom Dynamics Street Magic Amber Brightsides


Summary of Contents for Custom Dynamics Street Magic Amber Brightsides
- Page 1 Street Magic® Amber BRIGHTSIDES™ Install Instructions 1) Using a suitable pry tool, carefully remove the stock front fender reflector taking care to not damage fender or the paint. (see PIC #1) 2) Thoroughly clean this area of any old tape and glue. Once clean, wipe down this area with the enclosed 3M promoter pad.
- Page 2 PIC #1 PIC#2 PIC #3 PIC#4 PIC #5 PIC#6 PIC#7...
Need help?
Do you have a question about the Street Magic Amber Brightsides and is the answer not in the manual?
Questions and answers