Advertisement
Advertisement

Related Manuals for Blanco BOSE696XCOM


Summary of Contents for Blanco BOSE696XCOM
- Page 1 INSTRUCTION MANUAL FOR BUILT-IN OVEN BOSE696XCOM...
- Page 2 BlancoAU BlancoAU...
-
Page 3: Table Of Contents
Table of Contents Safety Information ............................1-2 Appliance Details ............................... 3 Installation Instructions ..........................4-6 Operating Instructions ..........................7-11 Accessories ..............................12 Cleaning and Maintenance ......................... 13-14 Troubleshooting .............................. 15... -
Page 4: Safety Information
Safety Information IMPORTANT: Read the assembly instruction section and safety precautions of this booklet carefully before installing the appliance. 1. This appliance is not intended for use by persons (including children) with reduced physical, sensory or mental capabilities, or lack of experience or knowledge, unless they have been given supervision or instruction concerning the use of the appliance by a person responsible for their safety. - Page 5 Safety Information 20. Do not use harsh abrasive cleaners or sharp metal scrapers to clean the oven door glass as they can scratch the surface, which may result in the glass shattering. Clean the glass door using warm damp cloth and dry it with a soft cloth. 21.
-
Page 6: Appliance Details
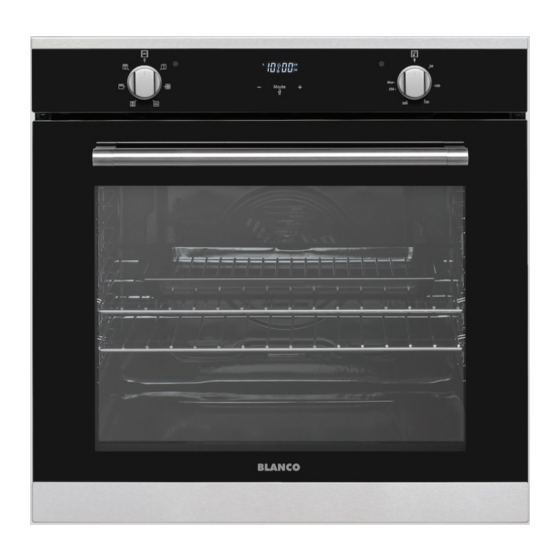
Appliance Details Control Panel Oven Door Handle Oven Door Control Panel Timer Oven Function Control Knob Oven Thermostat Knob... -
Page 7: Installation Instructions
Installation Instructions WARNING: This appliance must be installed by an authorised service person or qualified technician, according to the instructions in this guide and in compliance with the current local regulations. Incorrect installation may cause harm and damage, for which the manufacturer accepts no responsibility and the warranty will not be valid. - Page 8 Installation Instructions Installation in a Wall Unit A (mm) min./max. F (mm) 560/580 B (mm) min. G (mm) C (mm) min. H/I (mm) 600/590 D (mm) min. J/K (mm) 5/10 E (mm) After making the electrical connections, insert the oven into the cabinet by pushing it forward. Open the oven door and insert two screws in the holes located on the oven frame.
- Page 9 Installation Instructions Electrical Connection and Safety WARNING: The electrical connection of this appliance should be carried out by an authorised service person or qualified electrician, according to the instructions in this guide and in compliance with the current local regulations. WARNING: THE APPLIANCE MUST BE EARTHED.
-
Page 10: Operating Instructions
Operating Instructions Oven function Control Knob Turn the knob to the corresponding symbol of the desired cooking function. For the details of different functions see ´Oven Functions`. Oven Thermostat Knob After selecting a cooking function, turn this knob to set the desired temperature. The oven thermostat light will illuminate whenever the thermostat is in operation to heat up the oven or maintain the temperature Oven Functions Full Grill and Fan Assist Function... - Page 11 Operating Instructions Using the Digital Touch Timer Function Description Auto cooking Manual cooking Cooking time Cooking end time Key Lock Minute minder Mode Mode function Decrease timer Increase timer Timer display Time Adjustment The time must be set before you start using the oven. Following the power connection, the symbol “A” and “000”...
- Page 12 Operating Instructions Audible Warning Time Adjustment The audible warning time can be set to any time between “0:00” and “23:59” hours. The audible warning time is for warning purposes only. The oven will not be activated with this function. Press “MODE”. The symbol will begin to flash and “000”...
- Page 13 Operating Instructions Semi-automatic Time Adjustment (finishing time) This function automatically starts the oven so that cooking will finish at a set time. You can set an end time of up to 10 hours after the current time of day. Prepare the food for cooking and put it in the oven. 1.
- Page 14 Operating Instructions Full-automatic Programming 6. Select the desired finishing time using the “+” and “-” keys. 7. Add the cooking period to the current time of day. You can set a time of up to 23 hours and 59 minutes after this. 8.
-
Page 15: Accessories
Accessories Wire Grid for Deep Trays Make sure the wire grid is correctly placed within a deep tray. It is recommended to use this accessory for grilling steaks, meatballs and similar food. Shallow Tray The shallow tray is best used for baking pastries. Put the tray into any rack and push it to the end to make sure it is correctly placed. -
Page 16: Cleaning And Maintenance
Cleaning and Maintenance WARNING: Switch off the appliance and allow it to cool before cleaning is to be carried out. Check whether the cleaning materials are appropriate and recommended by the manufacturer before use on your appliance. Use cream cleaners or liquid cleaners which do not contain particles. Do not use caustic (corrosive) creams, abrasive cleaning powders, rough wire wool or hard tools as they may damage the cooker surfaces. - Page 17 Cleaning and Maintenance Removing the Inner Glass Push the glass in the direction of B and release from the location bracket (x). Pull the glass out in the direction of A. To replace the Inner Glass: Push the glass towards and under the location bracket (y), in the direction of B.
-
Page 18: Troubleshooting
Troubleshooting If you still have a problem with your appliance after checking these basic troubleshooting steps, please contact an authorised service person or qualified technician. Problem Possible Cause Solution Check whether there is power supplied. Oven does not switch on. Power is switched off. - Page 19 WHAT IS COVERED: By Our Warranty During the warranty period, Blanco or its authorised Service Centre will, at no extra charge, if your appliance is readily accessible without the need of special equipment and subject to the terms and conditions of this warranty, repair or replace any parts which it considers defective.
- Page 20 We appreciate your feedback. Please review our products at www.blanco-australia.com...
Need help?
Do you have a question about the BOSE696XCOM and is the answer not in the manual?
Questions and answers