Sign In
Upload
Download
Table of Contents
Contents
Add to my manuals
Delete from my manuals
Share
URL of this page:
HTML Link:
Bookmark this page
Add
Manual will be automatically added to "My Manuals"
Print this page
×
Bookmark added
×
Added to my manuals
Manuals
Brands
ASUSTOR Manuals
Network Storage Server
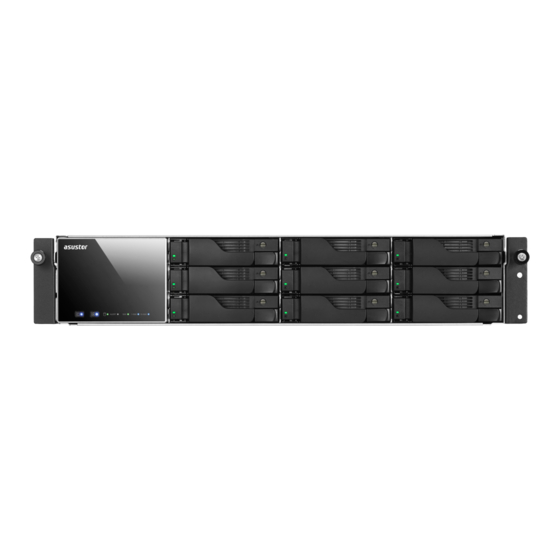
AS7009RD
Quick installation manual
ASUSTOR AS7009RD Quick Installation Manual
Hide thumbs
1
Table Of Contents
2
3
4
5
6
7
8
9
10
11
12
13
14
15
16
17
18
19
20
21
22
23
24
25
page
of
25
Go
/
25
Contents
Table of Contents
Troubleshooting
Bookmarks
Table of Contents
Table of Contents
Notices
Safety Precautions
1 Package Contents
2 Optional Accessories
3 Hardware Installation Guide
Hard Disk Installation
Connecting and Powering on the NAS
Upgrading System Memory
Notes and Precautions
Parts and Tools Needed
Removing the Cover
Installing Memory
Replacing the Cover
Expansion Card Installation
Rail Kit Installation
4 Software Installation Guide
CD Installation
Windows Users
Mac Users
Web Installation
Installation Using a Direct Connection
5 Appendix
LED Indicators
Rear Panel
Rating Label
Troubleshooting
Advertisement
Quick Links
Download this manual
Quick Installation Guide
For Network Attached Storage
Ver.2.3.1111
Table of
Contents
Previous
Page
Next
Page
1
2
3
4
5
Advertisement
Table of Contents
Need help?
Do you have a question about the AS7009RD and is the answer not in the manual?
Ask a question
Questions and answers
Related Manuals for ASUSTOR AS7009RD
Network Storage Server Asustor AS7012RD Quick Installation Manual
(25 pages)
Network Storage Server ASUSTOR AS7112RDX Quick Installation Manual
(35 pages)
Network Storage Server ASUSTOR AS7110T Memory Installation Manual
Nas (11 pages)
Network Storage Server ASUSTOR AS6702T Quick Installation Manual
(41 pages)
Network Storage Server ASUSTOR AS6508T Quick Installation Manual
(33 pages)
Network Storage Server ASUSTOR AS6804T Quick Installation Manual
(42 pages)
Network Storage Server ASUSTOR Lockerstor 10 Pro Memory Installation Manual
Nas (11 pages)
This manual is also suitable for:
As7009rdx
As7012rd
As7012rdx
Table of Contents
Print
Rename the bookmark
Delete bookmark?
Delete from my manuals?
Login
Sign In
OR
Sign in with Facebook
Sign in with Google
Upload manual
Upload from disk
Upload from URL


Need help?
Do you have a question about the AS7009RD and is the answer not in the manual?
Questions and answers