
Related Manuals for Gates Power Crimp 707


Summary of Contents for Gates Power Crimp 707
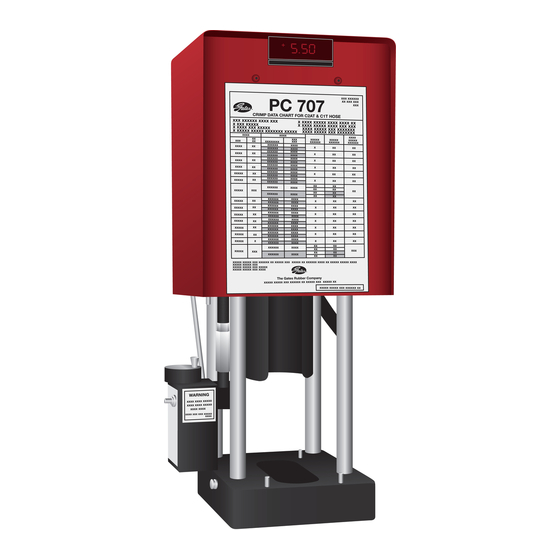
- Page 1 35019-AG (Ind.) 428-7300 (Auto.) Power Crimp 707 Crimper Power Crimp 707 Crimper 10/02 ® Safety & Operating Manual...
- Page 2 USE THIS MACHINE ONLY IF YOU: 1. Receive hands-on TRAINING with this Gates crimper and assemblies. 2. Follow current GATES OPERATING MANUAL and CRIMP DATA for the Gates PC 707 crimper. 3. Use only NEW (UNUSED GATES) hose and fittings.
-
Page 3: Table Of Contents
Serial No. ____________________________ (Located on base plate in front of left rod.) Date of Purchase _____________________ Contents Specifications ............2 Setup . -
Page 4: Specifications
50 assemblies per hour (1/2” I.D. 2-wire straight thread assemblies) * Power Crimp 707 crimper can also be ordered wired for 230 volts (Prod. No. 7480-0046, Part No 77701). Must be used with 230 volt power unit (Prod No. 7481-0028, Part No. 77811). -
Page 5: Setup
If plug and receptacle do not match, do crimper registration card. (By completing the not try to connect. Differences in the plug card and returning it to Gates, you will receive and receptacle indicate the pump and crimper crimp data updates and full warranty cover- have different voltages and should not be age.) Remove pump, breather cap and operat-... -
Page 6: Calibration Procedure
PC 707 Calibration Procedure WARNING: Make sure area under pusher cup is clear of die cone or die sets. Before initiating calibration procedure, Remover coupling and measure crimp diame- make sure crimper has been cycled five times. ter, which should measure 1.000” ± .003”. (See To cycle, dial in a setting of 2.00 and run Page 9 for Measuring Crimp Diameter.) crimper down to shutoff with no die set... -
Page 7: Hose Preparation
Place ferrule over end of hose. If skiving is information on-line. required, see instructions in Gates Hand Skiver Manual, #35019-W. Place a visible mark on hose cover at the insertion length shown in the crimp data Lubricate the first two or three serrations manual. -
Page 8: Operating Instructions
Select proper die set for hose and cou- pling by referring to the Gates Crimp manual, #35019 (Ind.) and 428-7365 (Auto.), or log onto www.gates.com/ecrimp. Screws for... - Page 9 Operating Instructions (continued) Insert hose assembly through bottom of The crimp data manual gives approxi- the crimper base plate up through die fingers. mate digital readout setting for specific hose/coupling combination. Rotating the knob Locate top of ferrule or MegaCrimp ®...
- Page 10 Operating Instructions (continued) When you hear pump shut off, release switch and the ram will move up. Move die cone and backup ring unit all When crimping bent tube couplings, use the way forward. Remove assembly by lifting the same procedure as crimping straight end the die cone.
-
Page 11: Measuring Crimp Diameter
When using 21 and 22 Dies When NOT using 21 and 22 Dies Using Gates “21/22” dial calipers (Product No. Using Gates dial calipers (Product No. 7369- 7369-1320, Part No. 78217) measure halfway 0320, Part No. 78215) which are notched to clear between ridges (Fig. -
Page 12: Maintenance
Maintenance This crimper requires minimal maintenance. Inspect die sets. However, the following practices are recom- mended to ensure maximum reliability a. Periodically inspect the surfaces of die and service. sets for debris (metal chips, dirt, etc.) or damage. b. If debris is present, clean and lightly lubricate. -
Page 13: Power Crimper 707 Conversion From 115V To 230V
Power Crimper 707 Conversion from 115V to 230V The standard PC 707 crimper (P/N Rewiring the Pump 7480-0043/77700) requires a 115V, 15A power source. It is possible to oper- A. Unplug the pump from the wall ate the crimper with a 230V, 15A power outlet. -
Page 14: Schematic And Replacement Parts List
Shroud to convert from 115 to 230 Volt 35019-FP ——— Face Plate *NOTE: *These items can be purchased at most hardware stores-not stocked at Gates. **Not shown on diagram. Newer refurbished units have a serial number with a -7R suffix. - Page 15 Shroud for 115 Volt only 7482-0498 78748 Wiring Harness, Switch Box to Shroud to convert from 115 to 230 Volt 35019-FP ——— Face Plate *These items can be purchased at most hardware stores-not stocked at Gates. **Not shown on diagram.
-
Page 16: Trouble Shooting Guide
All equipment is tested for proper performance before it is shipped from the factory. However, if you should experience any difficulties, we recommend you check the guide below to help restore equipment to proper operating standards before contacting Gates customer service. Problem Solution ●... - Page 17 Trouble Shooting Guide (continued) Problem Solution ● A dashed line appears across digital Check wiring harness to see if it is connected between readout meter. switch box and digital readout. If connected properly, switch box is faulty and must be replaced. ●...
- Page 18 NOTES...
- Page 19 Two-Year Limited Warranty on Equipment For two years from the date of shipment of the equipment to the original user, The Gates Rubber Company will, at its option, replace or repair any unit which proves to be defective in material or workmanship, or both, at no cost to the original user of the equipment. Warranty claims require proof of purchase.
- Page 20 The World’s Most Trusted Name In Belts, Hose And Hydraulics. The Gates Rubber Company P.O. Box 5887 Denver, Colorado 80217-5887 w w w .gates.com...
Need help?
Do you have a question about the Power Crimp 707 and is the answer not in the manual?
Questions and answers
How do I check pump relief valve on Gates 707 crimper?