Advertisement
Advertisement
Table of Contents

Subscribe to Our Youtube Channel
Related Manuals for peerless-AV HF642-003


Summary of Contents for peerless-AV HF642-003
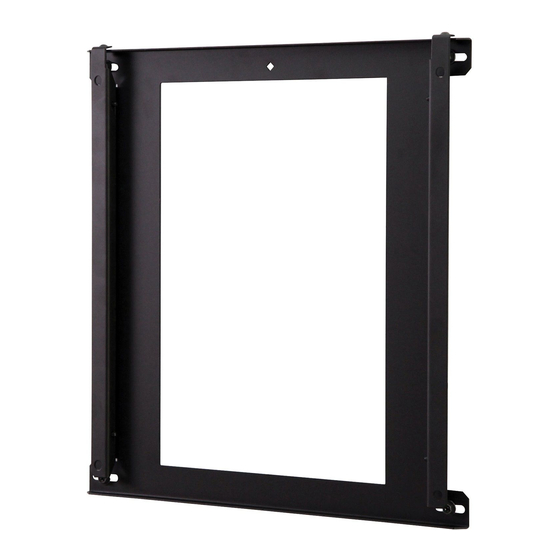
- Page 1 Ultra Thin Flat Panel Wall Mount for VESA 400 x 400 Mounting Hole Patterns Model: HF642-003 Max Load Capacity: 100 lb (37 kg) 2300 White Oak Circle • Aurora, Il 60502 • (800) 865-2112 • Fax: (800) 359-6500 • www.peerless-av.com ISSUED: 04-10-12 SHEET #: 125-9295-2 04-26-...
-
Page 2: Table Of Contents
NoTe: Read entire instruction sheet before you start installation and assembly. WARNING • Do not begin to install your Peerless product until you have read and understood the instructions and warnings contained in this Installation Sheet. If you have any questions regarding any of the instructions or warnings, for US customers please call Peerless customer care at 1-800-865-2112, for all international customers, please contact your local distributor. -
Page 3: Parts List
Before you begin, make sure all parts shown are included with your product. Parts List Description Qty. Part # wall plate 201-1983 right hook bracket 201-1986 left hook bracket 201-1985 M6 x 12 mm socket pin serrated washer head screw 510-1050 e 4 mm allen wrench 560-1129... -
Page 4: Installation To Double Wood Stud Wall
Installation to Double Wood Stud Wall WARNING • Installer must verify that the supporting surface will safely support the combined load of the equipment and all attached hardware and components. • Tighten wood screws so that wall plate is firmly attached, but do not overtighten. Overtightening can damage the screws, greatly reducing their holding power. -
Page 5: Installation To Solid Concrete Or Cinder Block
Installation to Solid Concrete or Cinder Block WARNING • When installing Peerless wall mounts on cinder block, verify that you have a minimum of 1-3/8" (35mm) of actual concrete thickness in the hole to be used for the concrete anchors. Do not drill into mortar joints! Be sure to mount in a solid part of the block, generally 1"... -
Page 6: Installation To Metal Stud Wall
Installation to Metal Stud Wall MeTAL FoR MeTAL STUD WALLS oNLY: Drill four 1/2" STUD (13mm) dia. holes through drywall and studs at locations corresponding to wall plate. Insert togglers (L) as shown below. WARNING • Product must be mounted through drywall that has a minimum thickness of 1/2"... -
Page 7: Installing Tilt Brackets
ISSUED: 04-10-12 SHEET #: 125-9295-2 04-26-12 Peerless Industries, Inc. © 2012, Peerless Industries, Inc. All rights reserved. 2300 white oak Circle All other brand and product names are trademarks or registered trademarks of their respective owners. Aurora, Il 60502 www.peerless-av.com...
Need help?
Do you have a question about the HF642-003 and is the answer not in the manual?
Questions and answers