Sign In
Upload
Download
Table of Contents
Contents
Add to my manuals
Delete from my manuals
Share
URL of this page:
HTML Link:
Bookmark this page
Add
Manual will be automatically added to "My Manuals"
Print this page
×
Bookmark added
×
Added to my manuals
Manuals
Brands
Kohler Manuals
Toilets
K-77713W-Y
Installation and care manual
Kohler K-77713W-Y Installation And Care Manual
Two piece toilet
Hide thumbs
1
2
3
4
5
6
7
8
9
10
11
12
13
page
of
13
Go
/
13
Contents
Table of Contents
Bookmarks
Advertisement
Table of Contents
1
Before You Begin
2
Installation
3
Complete Installation
4
Care and Cleaning
5
Troubleshooting Guide
Download this manual
Installation and Care Guide
Installation and Care Guide
EN
p3
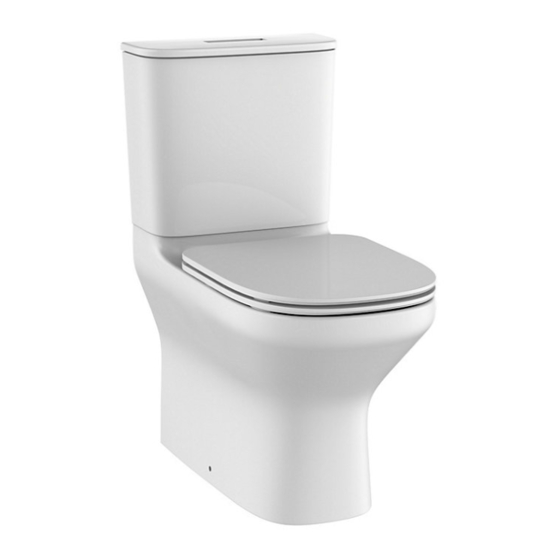
Two Piece Toilet
1290970-GL2-B
Two Piece Toilet
©2017 Kohler Co.
Table of
Contents
Previous
Page
Next
Page
1
2
3
4
5
Advertisement
Table of Contents
Need help?
Do you have a question about the K-77713W-Y and is the answer not in the manual?
Ask a question
Questions and answers
Related Manuals for Kohler K-77713W-Y
Toilets Kohler K-77780 Installation Manual
Toilet with cleansing seat (41 pages)
Toilets Kohler Karing K-77780-0 Installation Manual
Toilet with cleansing seat (40 pages)
Toilets Kohler K-77795 Series Homeowner's Manual
Intelligent toilet (52 pages)
Toilets Kohler Eir Comfort Height K-77795-0 Installation Manual
Intelligent toilet (45 pages)
Toilets Kohler MODERN LIFE S-TRAP K-77739T-SL Installation Instructions Manual
Skirted class five one-piece toilet (9 pages)
Toilets Kohler MODERN LIFE K-77739T-TFSL Installation Instructions Manual
Skirted touchless class five one-piece toilet (10 pages)
Toilets Kohler K-77780T-0 Installation Manual
(37 pages)
Toilets Kohler K-77798T-0 Homeowner's Manual
Eir intelligent toilet (wt2,hs) p trap, eir intelligent toilet (wt2,hs) p trapex (44 pages)
Toilets Kohler EIR K-77795KR-EX-0 Homeowner's Manual
Intelligent toilet (47 pages)
Toilets Kohler K-77780KR-0 Homeowner's Manual
Karing 2.0 intelligent toilet (39 pages)
Toilets Kohler K-77797T-0 Installation Instructions Manual
Intelligent toilet (69 pages)
Toilets Kohler K-20797T-SL Installation Instruction
Floor standing toilet (27 pages)
Toilets Kohler MODERN LIFE K-77744T-SL Installation Instructions Manual
(9 pages)
Toilets Kohler Eir K-77795-0 Installation Instructions Manual
Intelligent toilet (32 pages)
Toilets Kohler SENSIS Installation Manual
Intelligent toilet (73 pages)
Toilets Kohler K-77739X Installation And Care Manual
One-piece toilet (12 pages)
This manual is also suitable for:
K-78316k
K-78470k
K-78317k
K-78472k
Ujo102
K-20614x
...
Show all
K-77766a
K-78318k
K-78469a
K-78319k
K-78799k
K-78800k
K-77715w-y
K-77793h
K-77766k
K-78476h
K-78478k
K-78480r
K-78765r
Ujp102
K-77769r
K-77787h
K-78475h
K-78477k
K-78479r
K-78766k
K-78767h
K-78846h
Table of Contents
Print
Rename the bookmark
Delete bookmark?
Delete from my manuals?
Login
Sign In
OR
Sign in with Facebook
Sign in with Google
Upload manual
Upload from disk
Upload from URL


Need help?
Do you have a question about the K-77713W-Y and is the answer not in the manual?
Questions and answers