Table of Contents
Advertisement
Quick Links
Advertisement
Table of Contents

Related Manuals for Sportplus SP-INV-010-B


Summary of Contents for Sportplus SP-INV-010-B
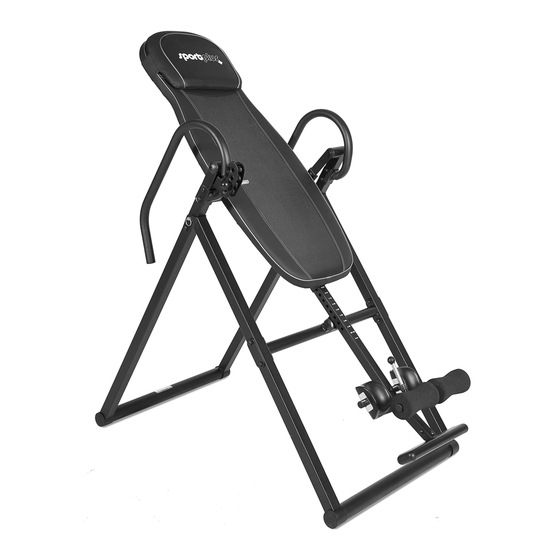
- Page 1 USER MANUAL INVERSION TABLE SP-INV-010-B...
-
Page 2: Table Of Contents
Dear Customer, Congratulations for choosing a SportPlus product. We have every expectation that you will be fully satisfied with your new purchase. • To guarantee optimal function of this product, please adhere to the following instructions: • Before using this product for the first time, please read the manual carefully! •... -
Page 3: Technical Data
1. TECHNICAL DATA Product information Dimensions (W x H x D): approx. 67.5 Total weight: approx. 24.5 Class: H, EN 957-1 Maximum user weight: Suitable height: cm to SAFETY INSTRUCTIONS INTENDED USE • This product is intended for private use and is not suitable for medicinal, therapeutic or commercial purposes. - Page 4 CAUTION - RISK OF INJURY • Do not use the product if it is damaged or defective. In this case, contact a professional workshop or our customer service. • Always verify that the product is in impeccable condition before use. Defective components must be replaced immediately as failure to do so may impair the functioning and safety of the unit.
-
Page 5: Exploded Diagram
3. EXPLODED DIAGRAM... -
Page 6: Part List
4. PART LIST No. Description Quantity Bottom Tube Backrest Support Tube Body Height Adjustment Tube Foot Rest Plate Leg tube Handlebar - right Handlebar - left Base frame - rear 8R Base frame - rear Base frame - front 9R Base frame - front Leg Tube - rear 11L Connecting bracket left 11R Connecting bracket right... - Page 7 No. Description Quantity Oval End Caps - Foot Rest Square end cap - Height adjustment knob Hexagon screws End caps for base frames Stopper Pin to limit the bracket Round End Caps Quick lock Height Adjustment Knob Sleeve for rear supporting tube 8mm Screw - Packing plate Screw...
-
Page 8: Assembly Instructions
5. ASSEMBLY INSTRUCTIONS • Remove all packaging. • Check for the presence of all parts and for transport damage before starting assembly. Step 1: Base frame assembly • Attach the front bottom tube (1) to the left front base frame (9L) and to the right front base frame (9R) using screws (32). - Page 9 Step 2: Handlebar assembly • Fasten the right handlebar (6) to the right rear base frame (8R); use screws (20), flat washers (19) and nuts (21). • Fix the right handlebar (6) to the rear base frame (8R) using bolt (22) and flat washer (19).
- Page 10 Step 3: Back- and head rest assembly to base frame • Attach the backrest pad (47) and the head pad (48) to the assembled base frame unit. Use bolts (29), flat washers (19) and nuts (21). • Insert the limiting pin (14) into the one of the provided holes to limit the maximum angle as desired;...
- Page 11 Step 4: Body height adjustment tube and rollers • Fasten the foot rest (4) to the body height adjustment tube (3); use screws (51) flat washers (19). • Pull out the adjustable leg hold tube (5) and select the desired position. Make sure that the pre-installed spring (16) has not been removed from its original position.
- Page 12 Step 5: Final assembly • Slide the body height adjustment tube (3) into the backrest support tube (2) and lock into place using height adjustment knob (38). • Move the body height adjustment tube (3) to obtain the desired height.
-
Page 13: Operating Instructions
6. OPERATING INSTRUCTIONS Mount the unit carefully, keeping your balance at all times. Review the diagram and heed the indicated safety clearance in all directions before using the unit. 6.1 Height adjustment You can readjust the length of the foot rest to match your size by releasing and turning the height adjustment knob (38). - Page 14 6.2 Incline adjustment You can set the maximum incline angle to 20°, 40°, 60° or 80° as required. Simply turn the safety pin (14) to the desired position (as illustrated). Make sure that neither your fingers nor clothing get wedged between the safety pin and the frame while inverting! 20°...
- Page 15 6.4 Properly set the device to match your body size Please read the following instructions carefully and alert all users of the device of the possible risks in case of failure to follow these instructions. 1. Lie down with your back and head flat against the back pad, hold your arms at your sides and lock your feet as described in the user manual.
-
Page 16: Workout Instructions
7. WORKOUT INSTRUCTIONS The inversion table operates like a balanced pendulum on an axle. It reacts to small changes in weight distribution. When you begin using the unit, take special care that you have selected the correct maximum incline angle (if desired). Asking for the assistance of a second person to stabilize and rotate the table may be helpful the first time you exercise with the unit. - Page 17 7.2 Exercise caution during use Despite its many advantages, inversion therapy or using an inversion table is not right for everyone. If you have one of the following symptoms, consult a physician before using the product (the following list contains only examples and is in no way exhaustive): •...
- Page 18 Make sure that the foot rest plate is correctly adjusted and securely screwed. Lay your head on the head rest and your arms first at your sides and then on your chest, as depicted. If your head is now lower than your feet, lengthen the foot rest by one hole and try again (→...
-
Page 19: Maintenance, Cleaning And Care
8. MAINTENANCE, CLEANING AND CARE • Make sure that all bolts/nuts are correctly tightened after assembly and before use. • Clean the unit regularly with a slightly damp cloth and a mild cleaning agent. Do not use any solvents to clean the unit. •... -
Page 20: Service And Replacement Parts
Our service team is naturally available at any time to assist you with additional questions regarding the assembly and use of your SportPlus product as well as ordering spare parts. Service time:... -
Page 21: Warranty
11. WARRANTY SportPlus guarantees that the product under warranty has been manufactured from the highest quality materials and has been checked with the utmost care. Should there be any defects within the hereinafter stipulated warranty period and under normal use and maintenance conditions, please contact our service team. - Page 22 Servicehotline: +44 - 203 318 4415 (Call charges depend on your phone company / your phone contract.) E-Mail: service@sportplus.org URL: http://www.sportplus.org Latupo GmbH Waterloohain 9 22769 Hamburg Germany...
Need help?
Do you have a question about the SP-INV-010-B and is the answer not in the manual?
Questions and answers