Advertisement
Available languages
Available languages
Table of Contents
MONTAGEANLEITUNG
MOUNTING INSTRUCTIONS
INSTRUCTIONS DE MONTAGE
INSTRUCCIONES DE MONTAJE
GUIDA AL MONTAGGIO
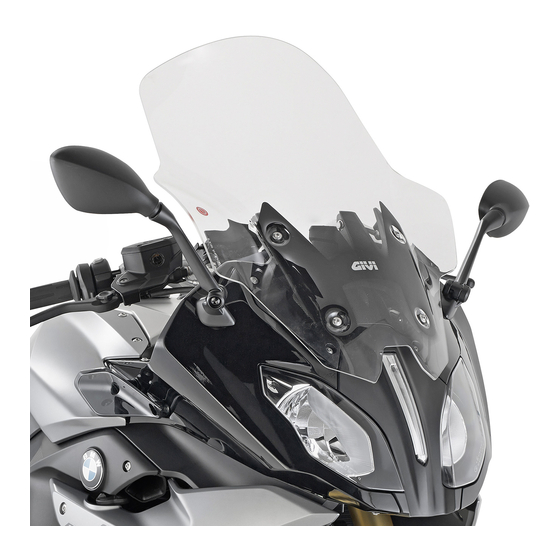
BMW R1200RS 2015-
© by MRA-Klement GmbH – 10/2015 4025066153923
MRA-Klement GmbH Siemensstr. 6 D-79331 Teningen Tel.: +49 7663 93890 Email: info@mra.de
1
Advertisement
Table of Contents

Related Manuals for MRA BMW R1200RS


Summary of Contents for MRA BMW R1200RS
- Page 1 MONTAGEANLEITUNG MOUNTING INSTRUCTIONS INSTRUCTIONS DE MONTAGE INSTRUCCIONES DE MONTAJE GUIDA AL MONTAGGIO BMW R1200RS 2015- © by MRA-Klement GmbH – 10/2015 4025066153923 MRA-Klement GmbH Siemensstr. 6 D-79331 Teningen Tel.: +49 7663 93890 Email: info@mra.de...
- Page 2 Bohrungen der MRA-Scheibe. Nun stecken Sie von innen die 6mm Distanzstücke mit dem O-Ring (als Montagehilfe) darauf (P 1). 5. Bringen Sie die MRA-Scheibe in Position und ziehen Sie die Schrauben an. Nach Montage und danach in regelmäßigen Abständen alle Schrauben auf festen Sitz prüfen und ggf.
- Page 3 2. Dismantle the original screen. 3. Insert the M5 x 20 mm oval-head screws with the plastic washers into the upper holes on your MRA screen; then place the 10 mm spacers and O-rings (as mounting aids) onto the screws from the inside (P1).
- Page 4 3. Insérer les vis à tête bombée noires M5 x 20 avec les anneaux d'écartement en plastique dans les perçages en haut du pare-brise MRA. Ensuite, insérer dessus par l'intérieur les entretoises de 10 mm avec le joint torique (en tant qu'aide de montage) (P 1).
- Page 5 Dopo il montaggio e, successivamente, a intervalli regolari controllare che tutte le viti siano in sede ed eventualmente serrarle. Pulire il cupolino con una spugna, acqua e un sapone neutro. Solventi, alcol e benzina lo danneggiano. MRA-Klement GmbH Siemensstr. 6 D-79331 Teningen Tel.: +49 7663 93890 Email: info@mra.de...
- Page 6 4. Inserte los tornillos alomados M5 x 16 mm junto con las arandelas de plástico en los orificios situados en la parte inferior del parabrisas MRA. Inserte ahora desde el interior las piezas distanciadoras de 6 mm con la junta tórica (como ayuda de montaje) por encima (P 1).
Need help?
Do you have a question about the BMW R1200RS and is the answer not in the manual?
Questions and answers