Advertisement
Quick Links
IMPORTANT!
Read all instructions before installing and using. Installer: This manual must be
delivered to the end user. This manual assumes installation by a suitably qualified Automotive Technician.
!
WARNING!
Failure to install or use this product according to manufacturer's recommendations may result in property
damage, serious bodily/personal injury, and/or death to you and those you are seeking to protect!
Important!
Mounting brackets are specific to the vehicle model. Please make sure the brackets are suitable for the vehicle before
installation.
1. Install the M6 cage nut to the mounting feet. Please see the diagram below for the correct locations and orientation of the cage nut.
2. Take the lightbar and place it upside down on a sturdy, non-marking surface. Attach the mounting feet as shown in the diagram unless
they are already installed. If not installed yet, please install them by first inserting the heads of the M8 bolts into the openings at the end
of the slots on the base of the lightbar. Loosely fasten the mounting feet to the base using the M8 nuts, flat washers, and lock washers.
Now the spacing between the mounting feet can be adjusted so that their pads will lay flat on the roof of the vehicle. Tighten the M8
screws securely.
3. Loosely attach the mounting strap to each foot using the M6 bolts. Be careful to align the straps so that the vehicle attachment tabs will
be oriented downward when the lightbar is mounted on the vehicle.
4. Identify the area where the lightbar and mounting straps will be mounted on the vehicle. Now is a good time to readjust the feet if
necessary.
5. Take the mounting strap and use it as a template to mark where to drill the Ø1/8" holes see diagram below. These holes will go in the
gutter area and it may be necessary to pull back the door-sealing gasket. See diagram below.
6. Secure the straps with the stainless steel #10 sheet metal screws and external tooth lock washers. Tighten the screws between 5 and
10 inch-pounds. Apply some silicone sealant around the screw head and washer.
7. Make any adjustments now to the alignment of the lightbar and then tighten the M6 screws with thread locking sealant at the interface
with the cage nut.
8. The final step is to make sure the lightbar is properly secured to the vehicle and that the doors close completely.
920-0060-00 Rev. B
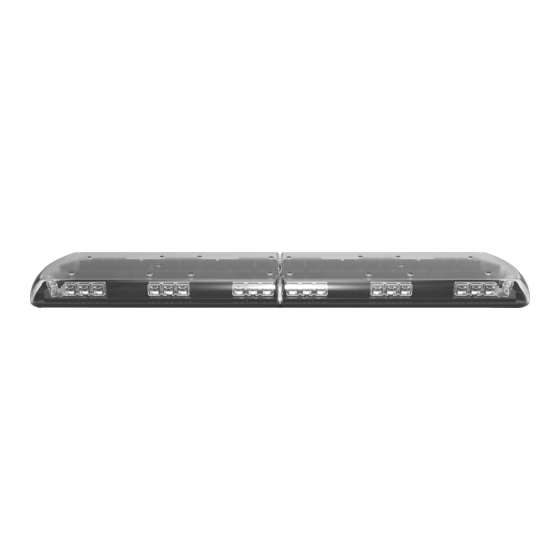
Mounting Instructions
10/12/15/20/30 Series Light Bars
Page 1 of 3
Advertisement

Related Manuals for Ecco 10 Series


Summary of Contents for Ecco 10 Series
- Page 1 Mounting Instructions 10/12/15/20/30 Series Light Bars IMPORTANT! Read all instructions before installing and using. Installer: This manual must be delivered to the end user. This manual assumes installation by a suitably qualified Automotive Technician. WARNING! Failure to install or use this product according to manufacturer’s recommendations may result in property damage, serious bodily/personal injury, and/or death to you and those you are seeking to protect! Important! Mounting brackets are specific to the vehicle model.
- Page 2 12-Series Lightbar Roof Mounting Kits 1. Remove mounting foot. Position bracket onto knubs of the foot. 2. Holding the bracket and foot together, insert the cage nut as shown. The fit will be snug under the mounting foot. Do not install it on the outside face.
-
Page 3: Customer Service
This Limited Warranty defines specific legal rights. You may have other legal rights which vary from state to state. Some states do not allow the exclusion or limitation of incidental or consequential damages. 833 West Diamond St Boise, Idaho 83705 Customer Service USA 800-635-5900 UK +44 (0)113 237 5340 AUS +61 (0)3 63322444 www.eccogroup.com ©2005 ECCO 920-0060-00 Rev. B Page 3 of 3...