Table of Contents
Advertisement
Quick Links
Advertisement
Table of Contents

Summary of Contents for Oase ProfiClear Classic
- Page 1 ProfiClear Classic...
-
Page 6: Intended Use
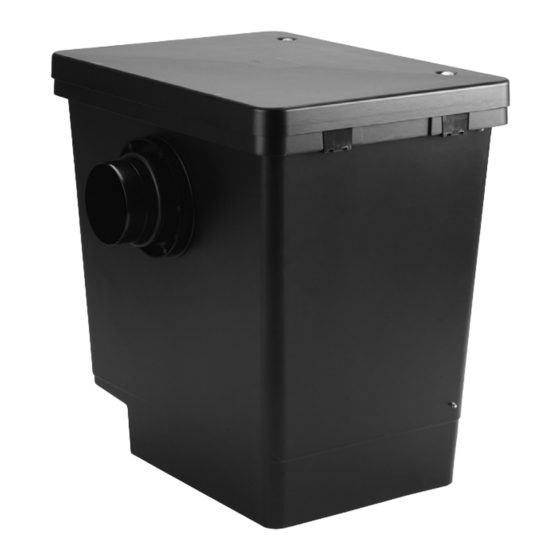
Important information for trouble-free operation. Intended use ProfiClear Classic, in the following termed "unit", and all other parts from the delivery scope may be used exclusively as follows: • For mechanical and biological cleaning of garden ponds •... - Page 7 Function of the ProfiClear Classic module filter The ProfiClear Classic module filter is a modular open filter system for the mechanical and biological cleaning of pond water. It consists of 4 filter modules (M 1 - M 4) which can be combined in any desired way or can complement existing configurations to meet the most varied requirements.
-
Page 8: Operating Modes
- GB - Operating modes The ProfiClear Classic module filter can be configured and installed in many ways. In the following, two operating modes are described: the "principle of gravity" and the "pumped system". Please contact a specialist for all other... -
Page 9: Module Installation
- GB - Pumped systems (B) Prepare a pit of sufficient dimensions to accommodate the pump chamber M 1. For the dimensions/execution, take the following into account: • distance from the pond edge (B-1) which cannot be flooded and conforms with the regulations. It is not permitted to install units operated with a rated voltage of 230 V in swimming ponds. -
Page 10: Maintenance And Cleaning
Fasten the Bitron holder (optional) at the container (outside). Use the connection set to connect the water inlet of the UVC pre-filtering unit (Bitron from OASE) with the outlet of the pump chamber M 1 and screw connect the rear feet with the Bitron holder. -
Page 11: Remedy Of Faults
- GB - Cleaning the water level indicator Pull the water level indicator out of the inner cover. Remove the plug and the float switch out of the housing of the water level indicator and clean using clear water. Reassemble in the reverse order such that the float switch can move freely in the housing. - Page 14 Deckel Cover Couvercle Deksel Tapa Tampa Coperchio Dæksel Rasthaken Engagement Bevestigings- Ganchos de Gancio di arresto Låsehage Crochets 1 et 2 Fechos 1 e 2 1 und 2 hook 1 and 2 haken 1 en 2 retención 1 y 2 1 e 2 1 og 2 Behälter...
- Page 15 Deksel Lock Kansi Fedél Pokrywa Víko Veko Pokrov Spärrkrok Lukitushaka Bepattintható Haki z zaczepa- Zaskakovací hák Zaskakovací hák Zaskočna kljuka Låsehake 1 og 2 1 och 2 1 ja 2 kampó 1 és 2 mi 1 i 2 1 a 2 1 a 2 1 in 2 Beholder...
- Page 16 Zaklopac Capac капак Кришка Крышка 箱盖 Uklopne kuke Cârlig de închidere 1 şi Фиксиращи куки Фиксаторные Фіксатори 1 і 2 卡钩1 和2 1 i 2 1 и 2 крюки 1 и 2 Spremnik Rezervor резервоар Резервуар Емкость 箱体 комплект за Приєднувальний...


Need help?
Do you have a question about the ProfiClear Classic and is the answer not in the manual?
Questions and answers