Table of Contents
Advertisement
Quick Links
Advertisement
Table of Contents

Subscribe to Our Youtube Channel
Summary of Contents for ESX VN815-VO-U1-DAB
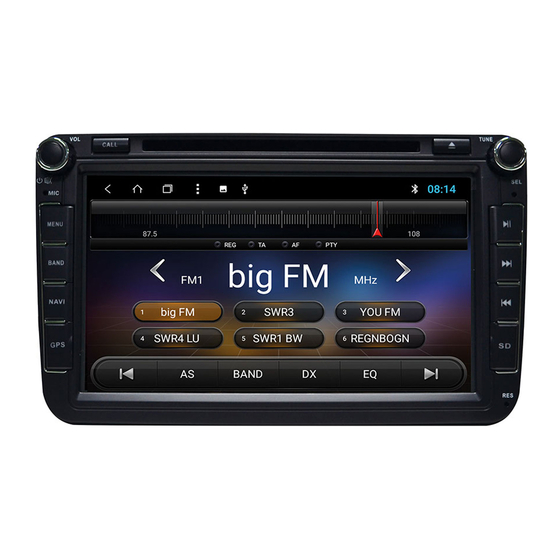
- Page 1 VN815-VO-U1-DAB INFOTAINMENT TOUCHSCREEN NAVICEIVER VISION SERIES FOR ANDROID ™...
-
Page 2: Important Notes
(depending on the vehicle, for ex- ample „Infotainment CAN, no communication“). This error message is normal in connection with our ESX device and can not be deleted. -
Page 3: Recommended Tools
RECOMMENDED TOOLS Torx T25 screw- Plastic mounting wedges Cable ties driver or bit RECOMMENDED ACCESSORIES VNA-RCAM-HI VNA-RCAM-LO Connection unit for original VW rear Connection unit for original VW Cam module with variable line display rear Cam module with static line VNA-RCAM-HI display VNA-RCAM-LO... -
Page 4: Scope Of Delivery
SCOPE OF DELIVERY ITEM FIGURE QUANTITY Main device System connector QUADLOCK standard System connector POWER QUADLOCK CAN-Bus decoder USB adapter cable for factory USB port Antenna adapter Fakra on ISO AV connector with all audio and video connections and additional USB port GPS antenna DAB antenna... -
Page 5: Reset Button
MICRO SD SLOT FOR NAVIGATION SOFTWARE Here you can insert the MicroSD card of the navigation software. For the device to have access, you may need to assign the access path in the Apps menu under “Settings”. RESET BUTTON If the device stops responding to input, the system is overloaded or crashed. Then reboot the system by pressing the reset button (RES) on the front panel. -
Page 6: Wiring Diagram
WIRING DIAGRAM USB ports and external microphone port (optional) AV connector GPS antenna WiFi antenna DAB antenna System connector with device fuse Radio antenna System connector with device fuse AV connector 19 18 17 16 14 13 12 11 9 10 15 A 1 BATTERY (+12V) 11 LIGHT CONTROL... -
Page 7: Installation
INSTALLATION VOLKSWAGEN GOLF V (2003-2009) Remove the light sensor from the ventilation grille (de- pending on model, if applicable) below the windscreen. Lift the sensor carefully, after you have slightly loosen the left and right fixings. Then disconnect the cable connec- tor, but make sure that the connector slips not inside. - Page 8 INSTALLATION VOLKSWAGEN GOLF V (2003-2009) Carefully lift the ventilation cover and set it aside. Remove both screws (Torx 25) of the ventilation. Carefully lift the ventilation frame upward, but only a bit, the frame is still connected with the original radio.
- Page 9 INSTALLATION VOLKSWAGEN GOLF V (2003-2009) Lift the upper panel a bit. Remove both screws of the panel and loose the ra- dio slightly. Carefully remove the panel around the radio. NOTE: The panel is held by 8 clips...
- Page 10 If the original Fakra antenna plug does not fit mechanically into the ESX device, we recommend the usage of an adaptor. After the remove of the original radio.
- Page 11 INSTALLATION VOLKSWAGEN GOLF V (2003-2009) Now plug the adapter plug onto the original wir- ing harness of your vehicle and connect all re- maining plugs. Connect the CAN-BUS decoder to the wiring harness. After connecting all the plugs and connec- tions, slide the new radio into the center con- sole.
- Page 12 ESX Car Media Systems · Audio Design GmbH Am Breilingsweg 3 · D-76709 Kronau/Germany Tel. +49 7253 - 9465-0 · Fax +49 7253 - 946510 www.esxnavi.de - www.audiodesign.de ©2019 All Rights Reserved / Alle Rechte vorbehalten Reproduction, even in part, is prohibited.


Need help?
Do you have a question about the VN815-VO-U1-DAB and is the answer not in the manual?
Questions and answers