Table of Contents
Advertisement
Quick Links
Short instructions
TechniSat
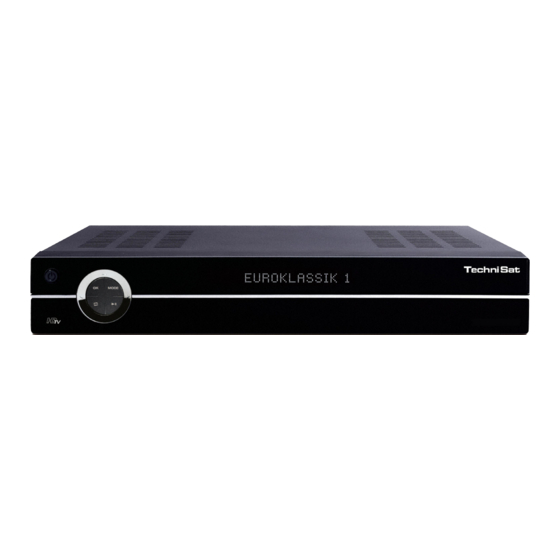
DigiCorder DVB-C-Receiver
Your unit carries the CE symbol and complies with all relevant EU standards. Subject to change and printing errors. Correct as of 05/08
TechniSat and DigiCorder HD K2X are registered tradehighlights of TechniSat Digital GmbH Postfach 560 54541 Daun www.technisat.de
Advertisement
Table of Contents

Related Manuals for TechniSat DigiCorder


Summary of Contents for TechniSat DigiCorder
-
Page 1: Short Instructions
Your unit carries the CE symbol and complies with all relevant EU standards. Subject to change and printing errors. Correct as of 05/08 TechniSat and DigiCorder HD K2X are registered tradehighlights of TechniSat Digital GmbH Postfach 560 54541 Daun www.technisat.de... - Page 2 Automatic Search Channel searching Extended Search Manual Search Country Protection of minors Time zone Program journal Date/Time Standby clock Basic settings Settings IRC code Screen format Quickstart Picture settings HDMI resolution Audio language HDMI colour space Sound settings Subtitle language TV SCART mode Dolby Digital Zoom...
-
Page 3: Table Of Contents
Contents Disposal advice .............................3 Safety advice ..............................3 When not in operation ...........................4 Connecting the DVB receiver ........................5 Help ................................5 Initial installation ............................5 Switching on and off ............................6 Channel selection ............................6 Optional Features ............................6 Additional channel information ........................7 Volume control...............................7 TV/Radio switching ............................7 Access Electronic Channel Guide (EPG): .....................7 Hard disk operation ............................7 Recording ..............................7... -
Page 4: When Not In Operation
For your own protection, please read the safety instructions carefully before commencing operation of your new unit. The manufacturer accepts no responsibility for any damage caused by inappropriate operation, or by non- compliance with safety precautions. > To ensure adequate ventilation, place the unit on a smooth horizontal surface, and do not place any objects on the upper surface of the unit. -
Page 5: Connecting The Dvb Receiver
Cable connection Connecting the DVB receiver b Connect the antenna input of the digital receiver via a suitable coaxial cable with the cable connection box. Connection to a television set d Connect the receiver (HDMI output) and TV (HDMI input) via an HDMI cable. If your TV is suitably equipped, it will automatically switch to the HDMI input when the digital receiver is switched on. -
Page 6: Switching On And Off
For daily use Switching on and off > Press the On/Standby key either on the digital receiver or on the remote control to switch the receiver on. > Press the same key again to switch the receiver off again. Channel selection Using the channel up/down keys >... -
Page 7: Additional Channel Information
Additional channel information Each time you change channels, an information box will be displayed briefly, showing the channel and the channel name of the channel selected. In addition, other channel properties will be indicated, such as for Video text, for widescreen broadcasts and for encrypted channels. If a TV broadcast is available in multi- ple languages or with multiple audio channels, or if multiple radio channels are available on a single radio station this will be displayed on screen. - Page 8 1. Immediate recording Select this recording type, to record the broadcast currently showing immediately with the touch of a but- ton. 2. Time-controlled recording This function can be used to switch your digital receiver on and off for the selected broadcast, in order to record onto the hard disk when you are away.
-
Page 9: Automatically End Recording
Automatically end recording Option 1 > Press the On/Standby key. Now a selection window appears, which should show the details of the cur- rent recording. > Use the arrow keys up/down to highlight the line with the desired action. > Confirm by pressing OK. The receiver completes recording of the broadcast and subsequently reverts to standby mode. - Page 10 Channel > Use the arrow keys to highlight the upper line of the menu. > Press the OK key. > In the selection window that will now be displayed, use the arrow keys up/down to select the desired source (TV or Radio) and confirm with OK. Depending on the previous setting, either the TV or the radio channel list will now be displayed.
-
Page 11: Playback
Delete timer programming > To delete an existing timer setting, access the timer overview function. > Subsequently, use the arrow keys up/down to select the timer to be deleted. > Press the yellow function key Delete. A message will be displayed: “Do you really want to delete this timer?” >... -
Page 12: Play Back Hard Disk Recordings
Accessing the PVR navigator: The PVR navigator can be accessed in the following ways: During normal operation > Press the OK key to open the channel list navigator. > Press the green function key PVR to switch to the PVR navigator. >... -
Page 13: Slow Motion
Slow motion > By pressing the right arrow key once, the recording is played back at slow motion speed and the indica- tion “I_” appears on the display. Single frame progress > Press the arrow key up to display the next frame in the forward direction and press down to display the previous frame in the backward/reverse direction. -
Page 14: Playback/Reproduction Of Pictures
Fast Forward and Rewind > During playback, press the blue function key Fast Forward or the red function key Rewind, several times if applicable, to advance or rewind the track at 4x, 16x or 64x normal speed. > During the 64x speed, press the blue or red function button to go forward or backward in 10 minute steps. -
Page 15: Manage Hard Disk
Manage hard disk > Call the Main menu by pressing the key Menu. > Use the arrow keys up/down to highlight the line Timer settings. > Confirm by pressing OK. The menu Manage hard disk will be displayed. > Use the arrow keys up/down to move the highlighter within the menu, and to change the individual items as indicated. - Page 16 Please note: The deleted sections will be irretrievably removed from the hard disk. To delete a specific section, proceed as follows: The beginning and end of the section that is to be ex- tracted must be indicated by two highlighters. >...
- Page 17 Enlarge video To facilitate the viewing of a desired section, you can enlarge the video image of the recording. > Press the green function key Menu to do so and use the arrow keys up/down to highlight the line En- large video.
- Page 18 Move The Move function allows you to move the highlighted file or folder from the source medium (e.g. a USB device) to the target medium (e.g. the hard disk). The moved file or folder will subsequently only be found on the target medium. >...
-
Page 19: Sort Channels / Configure Favourites List
Sort Channels / Configure Favourites List This chapter describes how you can change the pre-programming of your digital receiver as well as the Favourites channel list in accordance with your own preferences. This function is also required to sort new found channels into the channel list after a channel scan has been performed. In this regard you should know the following: your receiver is equipped with two channel lists, the Favourites list and the Total list. -
Page 20: Exit Menus
> Press the yellow function key Sort to enter the new position of the channel into memory. Exit menus Press the TV/Radio key to return to normal operation. Further Information in more detail can be found on the Internet at the site www.technisat.com 2233560000500...
Need help?
Do you have a question about the DigiCorder and is the answer not in the manual?
Questions and answers