Advertisement
Table of Contents
- 1 Tools Required
- 2 Step 1: Place Vehicle on Flat Level Surface.
- 3 Step 2: Remove Safety Nets and Rear Cab Corner Covers.
- 4 Step 5: Using 3/8” Drill Bit Enlarge 2Nd Hole Down.
- 5 Step 13: Using Supplied Bolt, Washers, and Spacer.
- 6 Step 14: Place Supplied Brass Washers on the Hinge Mount Pins.
- Download this manual
DragonFire Racing
3191 N. Washington St. Suite 2
Chandler, AZ 85225
1 (800) 708-9803
WWW.DRAGONFIRERACING.COM
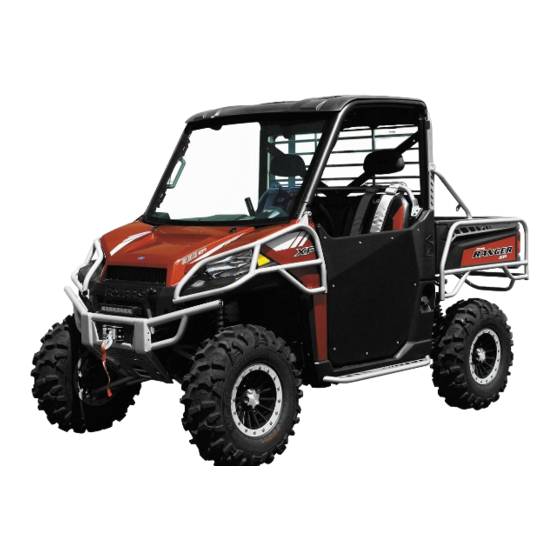
Congratulations on your purchase of the DragonFire HiBoy Ranger XP 900 Doors. The Ranger has long
been a great ride for work and play so we have designed doors to fit both applications. Easy to use and
install, these doors are off road tough with tons of style! Stay Locked & Secured with DragonFire!
*
Door graphics are available and sold separately -
*Door must be properly latched and locked prior to operation of vehicle
Tools Required
T40 Torx Bit
13mm Socket
10mm Wrench
Flat Screw Driver
3/8" Drill Bit
7/32" Allen Wrench
Step 1: Place vehicle on flat level surface.
Place gear shifter in park and remove key.
Step 2: Remove safety nets and rear cab
corner covers. If you choose to you may also
remove the hip bars. The top two bolts on
the hip bar will be used to mount door hinge
plate. (See Figure A) After netting is
removed, reinstall cab corners.
ReadyForce Ranger XP 900 Doors
Part # 07-1900
ReadyForce Ranger XP 900 Doors
*This product does not offer side protection
*Do not use if there is any sign of damage or fatigue
Off road activities can be hazardous and could lead to injury, dismemberment, paralysis and
death. No warranty of representation is made as to the products ability to protect the user from
any injury or death. The user assumes that risk. The acceptance and /or use of this
merchandise purchased from DragonFire by the customer hereby shall release DragonFire
from any and all liability pertaining to the use of such merchandise.
http://www.dragonfireracing.com/category/12/doors-graphics
Disclaimer
Dragonfire Racing
Black
Advertisement
Table of Contents

Related Manuals for DRAGONFIRE 07-1900


Summary of Contents for DRAGONFIRE 07-1900
- Page 1 Easy to use and install, these doors are off road tough with tons of style! Stay Locked & Secured with DragonFire! Door graphics are available and sold separately - http://www.dragonfireracing.com/category/12/doors-graphics...
- Page 2 (See Figure C & D) Step 5: Using 3/8” drill bit enlarge 2 hole down, this is the same hole U-Nut was removed from. (See Figure E) Step 6: Install new supplied U-Nut behind plastics of previously drilled hole. (See Figure F) Dragonfire Racing...
- Page 3 Set hardware aside it will be re- used. (See Figure I) Step 10: Place door hinge into position so that door hinge plate aligns with two upper bolt holes and lower corner hole. (See Figure J) Dragonfire Racing...
- Page 4 Step 14: Place supplied brass washers on the hinge mount pins. Apply anti-seize on hinge pins. Install door onto hinge pins and secure top hinge using supplied hinge screw. Thread locker is recommended to prevent screw from backing out. Dragonfire Racing...
- Page 5 Once preferred alignment has been reached tighten all hinge hardware. (See Figure Q) *Note: Door skin was removed for instructional photos. For further assistance contact your authorized DragonFire Dealer Dragonfire Racing...
Need help?
Do you have a question about the 07-1900 and is the answer not in the manual?
Questions and answers