
Related Manuals for Pulsar V071, V072


Summary of Contents for Pulsar V071, V072
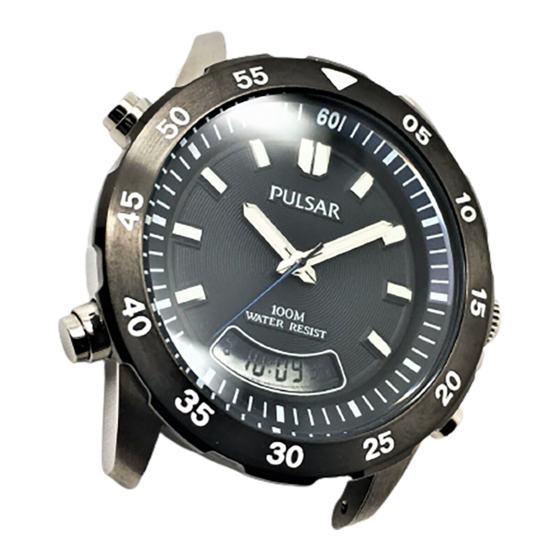
- Page 1 CAL. V071, V072 ALARM CHRONOGRAPH ● Analogue time display ● Digital time and calendar ● Daily alarm ● 60-minute stopwatch ● Illuminating light...
- Page 2 DISPLAY AND CROWN/BUTTONS CROWN Digital display * The shape of the digital display differs depend- ing on the calibre. a: Normal position b: Extended position MODE CHANGE With each press, the mode in the digital display changes in the following order: ➡...
- Page 3 SCREW DOWN CROWN [for models with screw down crown] Unlocking the crown 1 Turn Crown counterclockwise until you no longer feel the threads turning. 2 Crown can be pulled out. Locking the crown 1 Push Crown back in to normal position. 2 Turn Crown clockwise while pressing it lightly until tight.
- Page 4 TIME/CALENDAR SETTING CALENDAR SETTING Press to show CALENDAR mode. Press for 2 to 3 seconds. Select the digits to be adjusted. Set the flashing digits. Return to CALENDAR mode. Month Date Selection of the digits Date ➾ Month ➾ Day of the week ➾ CALENDAR mode (Press for 2 to 3 seconds.)
- Page 5 DIGITAL TIME SETTING ● Before setting the analogue time, be sure to set the digital time. Press to show TIME mode. Press for 2 to 3 seconds. Select the digits to be adjusted. Set the flashing digits. Return to TIME mode. Hour Minutes Seconds...
- Page 6 ANALOGUE TIME SETTING ● Before setting the analogue time, be sure to set the digital time. (See the previous section) Second hand CROWN Hour hand Minute 1 Pull out when the second hand is hand at the 12 o’clock position. 2 Turn to set the hour and minute hands.
- Page 7 ALARM ALARM TIME SETTING Press to show ALARM mode. Select the digits to be adjusted. Set the flashing digits. Return to ALARM mode. Selection of the digits Hour Minutes Hour ➾ Minutes ➾ ALARM mode ALARM mode mark...
- Page 8 ALARM ENGAGEMENT/DISENGAGEMENT With each press in ALARM mode, the alarm is engaged and disengaged alternately. Alarm mark * At the designated time, the alarm rings for 20 seconds. To stop it manually, press any of the buttons. Alarm engaged TURNING ON/OFF OF HOURLY TIME SIGNAL With each simultaneous press &...
- Page 9 STOPWATCH ● The stopwatch measures up to 60 minutes in 1/100 second increments. Split / Split release / Reset Start / Stop / Restart Minutes Seconds 1/100 seconds Split time measurement • • • • • • • START SPLIT SPLIT STOP RESET...
-
Page 10: Illuminating Light
Measurement of two competitors START FINISH TIME RESET FINISH TIME OF 1ST COMPETITOR OF 2ND COMPETITOR FINISHES COMPETITOR ILLUMINATING LIGHT Press and hold in TIME or CALENDAR mode. * The light illuminates the digital display for easy viewing in the dark. -
Page 11: Notes On Operating The Watch
NOTES ON OPERATING THE WATCH TIME/CALENDAR SETTING [CALENDAR SETTING] ● The calendar automatically adjusts for odd and even months except February of leap years. ● The flashing digits move quickly if button C is kept pressed. ● If the watch is left untouched with the digits flashing, it will automatically return to the CALENDAR mode in 1 to 2 minutes. - Page 12 ● When the crown is pulled out or pushed in for time setting, the minute hand may move slightly. However, this is not a malfunction. ALARM [ALARM TIME SETTING] ● When the time function is displayed in the 24-hour indication, the alarm will also be displayed in the 24-hour indication.
-
Page 13: Battery Change
● When the battery expires, be sure to replace it as soon as possible to prevent any malfunction. ● We recommend that you contact an AUTHORIZED PULSAR DEALER for battery replacement. ● Necessary procedure after battery change After the battery is replaced with a new one, or in case an abnormal display (broken digits, etc.) appears in the digital display, follow the procedure below to reset the IC. - Page 14 digital display will light up, a beep will sound twice and then “January 1st, Sunday” will be displayed in the digital display. * Before using the watch, set the time/calendar and alarm. WARNING ● Do not remove the battery from the watch. ●...
-
Page 15: To Preserve The Quality Of Your Watch
If the watch becomes wet, we suggest that you ● Water resistance (10 bar/15 bar/20 bar)* have it checked by an AUTHORIZED PULSAR If “WATER RESISTANT 10 BAR”, DEALER or SERVICE CENTER. “WATER RESISTANT 15 BAR”... - Page 16 * Before using the water resistance 5, 10, 15 or 20 bar watch in water, be sure the crown is pushed in completely. Do not operate the crown when the watch is wet or in water. If used in sea water, rinse the watch in fresh water and dry it completely.
- Page 17 MAGNETISM SHOCKS & VIBRATION The analogue unit of your Light activities will not watch will be adversely affect your watch, but be a f f e c t e d s t r o n g careful not to drop your magnetism, though the watch or hit it against hard digital unit will not be...
-
Page 18: Static Electricity
2 to 3 years. Have sticker on the case back, your watch checked be sure to peel them off by an AUTHORIZED PULSAR before using your watch. DEALER or SERVICE CENTER to ensure that the case, crown, buttons, gasket and crystal seal remain intact.
Need help?
Do you have a question about the V071, V072 and is the answer not in the manual?
Questions and answers