Table of Contents
Advertisement
Quick Links
TRACcess
Quick Guide
Pour consulter ce guide en français, allez à...
Para ver esta guía en español, ir a...
Die deutsche Version dieser Anleitung finden Sie unter....
Per consultare questa guida in Italiano, andare a...
Para visualizar este guia em português, acesse...
®
DisplayKEY
1
4
7
DisplayKEY
2
3
6
5
8
9
0
enter
www.traccessmanager.com
Downloads and Resources
Advertisement
Table of Contents

Subscribe to Our Youtube Channel
Related Manuals for Supra TRACcess DisplayKEY

Summary of Contents for Supra TRACcess DisplayKEY
- Page 1 ® TRACcess DisplayKEY Quick Guide DisplayKEY enter Pour consulter ce guide en français, allez à… Para ver esta guía en español, ir a… www.traccessmanager.com Die deutsche Version dieser Anleitung finden Sie unter..Per consultare questa guida in Italiano, andare a… Downloads and Resources Para visualizar este guia em português, acesse...
-
Page 2: Table Of Contents
Any similarity to names and address of actual businesses or persons is entirely coincidental. Trademarks and patents Supra and TRACcess are trademarks of UTC. Other brand and product names are or may be trademarks of, and are used to identify products or services of, their respective owners. -
Page 3: Quick Start
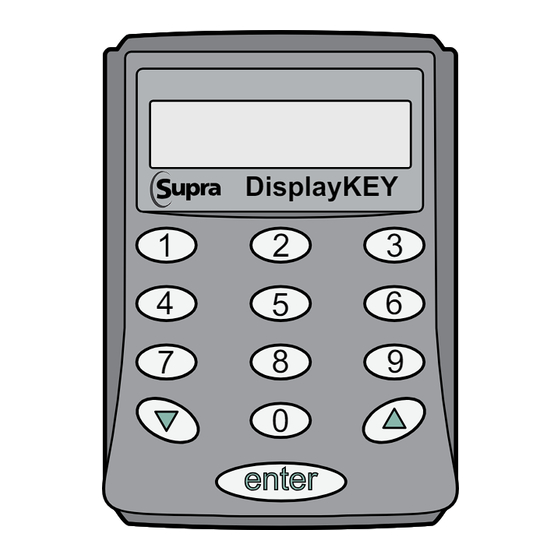
Quick Start DisplayKEY Buttons The DisplayKEY electronic key works with the Supra TRACcess Manager system. Each DisplayKEY has a 4-digit PIN ® ® code that allows authorized users to access TRACcess devices. The DisplayKEY functions are supported in six (6) different languages: English, French, Spanish, German, Italian, and Portuguese. -
Page 4: Enter An Access Code
Enter an Access Code To access the TRACcess device, obtain an access code from the system administrator and enter it into the DisplayKEY. Step Action On the DisplayKEY, press enter to turn it on. Scroll to the INPUT UPDATE OR ACCESS CODE menu option and press enter. Press 2 to select ACCESS CODE. -
Page 5: Usb Cradle Installation Instructions
Open and Close a TRAC-Lid BT Smart Step Action Press the button on the device to turn it on. When the light flashes, move the thumb lever counter-clockwise 90° until it stops. Grasp the TRAC-Lid by its sides and pull to remove. To close, place the TRAC-Lid in the TRAC-Vault and turn the thumb lever clockwise 90°... -
Page 6: Modify The Dns
DNS information. Step Action Right click on the Supra icon in the lower right corner of the computer screen and select Restore. Select Edit Settings. In the DisplyKEY eSYNC Settings pop-up window, select Proxy Settings. -
Page 7: Manual Esync
To add an additional cradle to a computer after the initial installation, follow the instructions in ““Install Software and Connect Cradle” on page 3, step 4. After Windows installs the driver for the cradle, select Start > Programs > Supra > USB Cradle Finder and follow the onscreen instructions. -
Page 8: Regulatory Compliance
Regulatory Compliance RoHS compliant products are available in some countries. United States (FCC) This device complies with part 15 of the FCC rules. Operation is subject to the following conditions: This device may not cause harmful interference. This device must accept any interference received, including interference that may cause undesired operation. Changes or modifications not expressly approved by the party responsible for compliance could void the user’s authority to operate the equipment.
Need help?
Do you have a question about the TRACcess DisplayKEY and is the answer not in the manual?
Questions and answers