Table of Contents
Advertisement
Quick Links
Advertisement
Table of Contents

Related Manuals for aqua-pure AP-DWS1000


Summary of Contents for aqua-pure AP-DWS1000
- Page 1 Installation and Operating Instructions For Aqua-Pure AP-DWS1000 & AP-DWS1000 LF ® Drinking Water Filtration Systems 6888931 0609 Installer: Please leave manual with homeowner. Homeowner: Please retain for operation and future maintenance instructions.
-
Page 3: Safety Information
Intended use: The Aqua-Pure ® AP-DWS1000 & AP-DWS1000 LF Drinking Water Filtration Systems are intended for use in filtering drinking water in residential locations and have not been evalu- ated for other uses. These systems are typically installed beneath or near a kitchen sink, and it is recommended that the installation be performed by a qualified installation specialist or a licensed plumber. -
Page 4: Important Notes
CAUTION To reduce the risk associated with property damage due to water leakage: • Read and follow the Instructions in this manual before installation and use of this system. • Installation and Operation of this system MUST comply with all state and local plumb- ing codes. -
Page 5: Specifications
• Tubing (yellow) • Mounting Hardware • Installation, Operation & Maintenance Manual Model AP-DWS1000 LF (Less Faucet) does not include tubing to connect filter system to a drinking water faucet. The filter system’s outlet connection will accept 1/4” plastic or copper tubing. - Page 6 1) Install Drinking Water System Faucet (Refer to Figure 4, Page 11): IMPORTANT NOTES • Porcelain, enamel and ceramic sinks require special procedures for drilling holes. Refer to the special section on porcelain, enamel and ceramic sinks for detailed instructions. •...
- Page 7 B. To pierce soft copper tubing, turn handle to the right (clockwise) several times until it stops. The valve is now closed. Turning the handle to the left (counterclockwise) will open the valve. C. Assemble insert, plastic sleeve and compression nut as shown onto yellow tubing and fasten securely to saddle valve.
-
Page 8: Troubleshooting
1. The glassy layer of porcelain/enamel/ceramic must be scored through to the metal base creating a disc. 2. This disc must be removed while protecting the surrounding decorative coating against chipping or fracturing. 3. The base metal must be drilled through to complete the hole. Procedure: A. - Page 9 Quick Connect Guide (Figure 1) ‘Push-In’ Tubing Connector This product is outfitted with user friendly (Quick Connect Fittings) ‘Push-In’ connectors. Proper use of the con- nectors is shown in the diagrams. It is most important that the tubing selected for use with these connectors be of high quality, exact size and roundness and with no surface nicks or scratches.
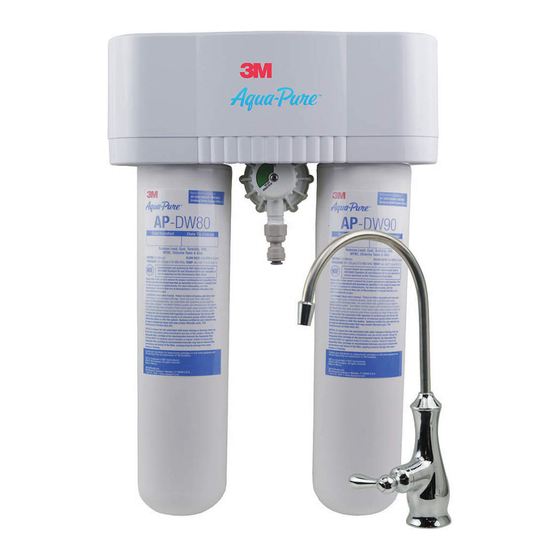
- Page 10 AP-DWS1000 Parts List (Figure 2) Reference # Part # Description 69968-31 Self-Piercing Water Valve 36897-82* 1/4” Inlet Yellow Tubing (price per ft.) 55851-02 AP-DW80 & AP-DW90 Cartridge Set 36897-62* 1/4” Outlet Blue Tubing (price per ft.) 69888-42 Faucet 68841-21 Shroud...
- Page 11 Installation Overview (Figure 3) Standard Installation Overview 1. Install DWS Faucet 2. Mount System 3. Install Feedwater Valve 4. Making Connections Stainless Bezel 5. Test System Rubber Washer 6. Flush Filter (see Countertop page 6, Step 6B of this manual for instructions) Plastic Backing Spacer Star Washer Hex Nut...
- Page 12 Install Drinking Water System Faucet (Figure 4) Stainless Bezel Stainless Bezel Stainless Bezel Stainless Bezel Rubber Washer Rubber Washer Rubber Washer Rubber Washer Countertop Countertop Countertop Plastic Backing Spacer Plastic Backing Spacer Star Washer Star Washer Hex Nut Hex Nut Install Feedwater Valve (Figure 5)
- Page 13 Making Connections (Figure 6) FROM FEEDWATER VALVE FAUCET FILTER 1 FILTER 2...
- Page 14 Cartridge Change Instructions (Refer to Corresponding Dia- grams Below) CAUTION To reduce the risk associated with property damage due to water leakage: • The disposable filter cartridge must be replaced every six months or at the specified ser- vice cycle. 1.
- Page 15 NOTES:...
-
Page 16: Limited One Year Warranty
400 Research Parkway Meriden, CT 06450 USA Toll Free: 1-800-222-7880 Worldwide: 203-237-5541 3M is a trademark of 3M Company. Fax: 203-238-8701 CUNO and Aqua-Pure are trademarks of 3M Company used under license. www.aquapure.com • www.cuno.com © 2009 3M Company. All rights reserved.
Need help?
Do you have a question about the AP-DWS1000 and is the answer not in the manual?
Questions and answers
Looking for a threaded version of AP-DWS1000 1/4” Plugin Elbow