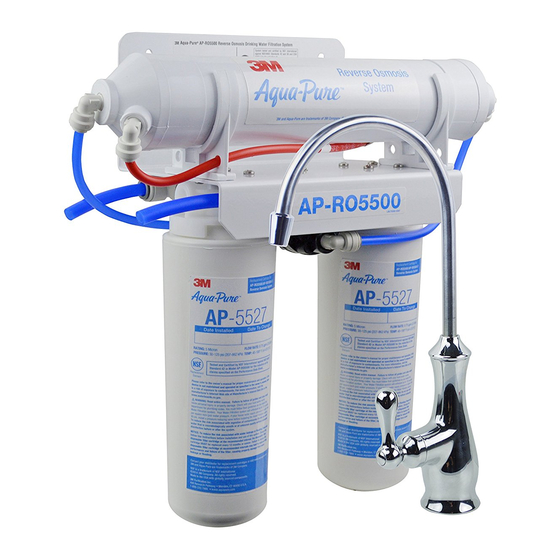
aqua-pure AP-RO5500 Installation, Operation And Maintenance Instructions
Reverse osmosis drinking water filtration system
Hide thumbs
Also See for AP-RO5500:
- Operating and maintenance instructions manual (20 pages) ,
- Operating instructions manual (20 pages)
Table of Contents
Advertisement
Quick Links
Advertisement
Table of Contents

Related Manuals for aqua-pure AP-RO5500


Summary of Contents for aqua-pure AP-RO5500
- Page 1 Installation, Operation and Maintenance Instructions For: Aqua-Pure ® AP-RO5500 Reverse Osmosis Drinking Water Filtration System Effective February 15, 2006 98-880043 0806 Installer: Please leave manual with homeowner. Homeowner: Please retain for operation and future maintenance instructions.
-
Page 3: Safety Information
Retain these instructions for future reference. Intended use: The Aqua-Pure ® AP-RO5500 Reverse Osmosis Drinking Water Filtration System is intended for use in fi ltering drinking water in residential locations and has not been evaluated for other uses. The system is typically installed beneath or near a kitchen sink, and it is recommended that the installation be performed by a qualifi... - Page 4 CAUTION To reduce the risk associated with property damage due to water leakage: • Read and follow Use Instructions before installation and use of this system. • Installation and Use MUST comply with all state and local plumbing codes. • Protect from freezing. Drain fi lter when temperatures drop below 40°F (4.4°C). •...
-
Page 5: Table Of Contents
Water Filtration System. Please read each section of this manual carefully. The Aqua-Pure AP-RO5500 RO Drinking Water Filtration System is designed to connect permanently to a home plumbing system. To ensure that the installation conforms to your state and local plumbing codes, it is recommended that the installation be performed by a qualifi... -
Page 6: Determine System Location
Installation, Operation and Maintenance Manual Determine System Location (see Figures 1 and 2) The Drinking Water Filtration System can be located under a sink or in a basement depending on space avail- ability and preference. If a basement installation is selected, additional tubing, hardware and fi ttings may be needed and a hole will have to be made from inside the cabinet, through the fl... -
Page 7: Install The Feed Water Valve And Tubing
Installation, Operation and Maintenance Manual Install the Feed Water Valve and Tubing (see Figure 3) The feed water saddle valve is designed for use with 3/8” to 1/2” OD soft copper tubing (plain or chromed) and rigid metal pipe. Do not use with fl exible ribbed supply tubing or plastic pipe which require special hardware. Soft Copper Tubing Installations: A) Turn off cold water valve under the sink, or the main water supply valve for the house. -
Page 8: Install The Drain Connection
The drain saddle assembly is designed to fi t around a standard 1 1/2” O.D. drain pipe. For smaller (lavatory ® type) or larger (ABS pipe) drains, consult your Aqua-Pure distributor. NOTE: The drain saddle should always be installed above (before) the trap and on the vertical or horizontal tailpiece. -
Page 9: Make The Faucet Mounting Hole
Installation, Operation and Maintenance Manual Make the Faucet Mounting Hole IMPORTANT NOTES • It is mandatory that safety glasses be worn during sink hole drilling operations to prevent eye injury. Before starting the hole making operation, always check below the sink so that nothing interferes with mounting the faucet such as reinforcing ribs, support brackets or cabinet construction. -
Page 10: Mount The Faucet
Installation, Operation and Maintenance Manual Mount the Faucet (see Figure 5) IMPORTANT NOTES • The Uniform Plumbing Code dictates that there must be an air gap between the RO reject line and the waste drain. The faucet air gap module connections can be eliminated only if an air gap is provided elsewhere in the drain line (i.e. -
Page 11: Install The Purifi Cation Assembly And Storage Tank
Installation, Operation and Maintenance Manual 11. Install the Purifi cation Assembly and Storage Tank WARNING To reduce the risk associated with a hazardous voltage due to an installer drilling through existing electric wiring or water pipes in the area of installation: •... -
Page 12: Install Icemaker Hookup (Optional)
Installation, Operation and Maintenance Manual 13. Install Icemaker Hookup (optional) The RO drinking water fi ltration system can be connected to any standard refrigerator icemaker or ice- maker/water dispenser. It should never be connected to a commercial type bar icemaker. Hooking up an icemaker involves connecting a tee with shutoff valve into the blue 3/8”... -
Page 13: Installation Troubleshooting
Installation, Operation and Maintenance Manual 16. Installation Troubleshooting Problem: Water leaks from opening in air gap module. Causes: A) Drain line blocked or drain not drilled through completely. B) Air lock in air gap outlet. C) Drain line has loop or is not vertical enough. Solutions: A) Check that drain line is clear of obstructions and remove drain saddle fi... -
Page 14: Maintenance
Installation, Operation and Maintenance Manual 17. Maintenance Reverse Osmosis drinking water fi ltration systems contain treatment components that are critical for effec- tive reduction of Total Dissolved Solids as well as inorganic chemical contaminants. We strongly recom- mend that the user test the water periodically (every six months minimum) to verify that the system is per- forming satisfactorily. - Page 15 When to Sanitize the Storage Tank A) Upon start-up as described in Section 5 of the Installation Manual. NOTE: Standard Aqua-Pure RO storage tanks need a special sanitizing agent which is activated when the storage tank is initially fi lled.
-
Page 16: Parts List
Installation, Operation and Maintenance Manual Long Term Non-Use If the RO fi ltration system is left unused for long periods (>30 days), follow this procedure: A) Open faucet to drain tank and turn off feedwater valve. Wait fi ve minutes for RO assembly to depressurize. B) Remove all cartridges. -
Page 17: Installation Diagrams (Figures 1-6)
Installation, Operation and Maintenance Manual General Undercounter Installation Schematic (Figure 1) Faucet with Air Gap For best flow, tubing must be as vertical as possible. 3/8” Yellow Cold Water 3/8” Black 1/4” Green For best flow, keep Supply Only tubing from Tank Red SFC Tubing 3/8”... - Page 18 Installation, Operation and Maintenance Manual Drain saddle elbow Drain Connection Instalaltion (Figure 4) Hole should be located on top of the pipe Drain saddles Garbage Disposal NEVER mount here Mount drain saddle at Drain Connection either location (horizontal example) Faucet Installation (Figure 5) Side View Back View Air gap hole...
- Page 19 Installation, Operation and Maintenance Manual NOTES:...
-
Page 20: Limited One Year Warranty
® CUNO Incorporated 400 Research Parkway Meriden, CT 06450 USA Toll Free: 1-800-222-7880 Worldwide: 203-237-5541 CUNO and Aqua-Pure are trademarks of 3M Company used under license. Fax: 203-238-8701 © 2007 3M Company. All rights reserved. www.aquapure.com • www.cuno.com...
Need help?
Do you have a question about the AP-RO5500 and is the answer not in the manual?
Questions and answers