Advertisement
Advertisement
Table of Contents

Subscribe to Our Youtube Channel
Related Manuals for SMARDY PRO 190


Summary of Contents for SMARDY PRO 190
- Page 1 Reverse Osmosis system 50 GPD Instruction manual EN...
-
Page 2: Table Of Contents
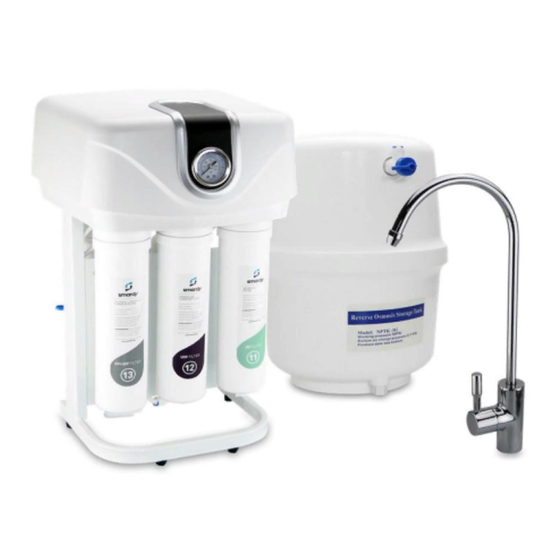
1. Unpacking Remove all packaging material. Make sure that the reverse osmosis system does not show any external damage. 2. Scope of supply 1. smardy reverse osmosis water filter 2. Storage tank 11,35L 3. Water tap 4. Hose line 5. VOTRON Membrane 6. -
Page 3: Insertion Of The Membranes
Note: This system is equipped with plug connectors. These enable an easy and secure connection of the hose lines. Insert the hose into the respective opening of the connector until you notice a resistance. Only after the resistance, the hose will be fixed in the anchor. -
Page 4: Connecting The Lines
4. Connecting the lines • Please connect hose lines as follows: Remove the blue retaining rings from the plug connectors at the Water inlet connection tank Waste water and Osmosis water • Now insert the hoses into the connectors. • Fasten the blue retaining rings back onto the connectors Water inlet Connection tank... -
Page 5: Installation
5. Installation Connect the line with the system Cold water pipe Stopcock Connection water supply Angle valve • The scope of supply includes a connector for the water supply as well as the corresponding stopcock. • Close the water supply on your angle valve and unscrew the cold water pipe. Then screw the connector for the water supply onto the angle valve. - Page 6 Installation of the water armature: • Drill a 12 mm hole through the sink. 1. Put the cover over the threaded rod of the water tap. 2. Put the threaded rod through the drilled hole in the kitchen countertop. 3. Slide the locking washer from underneath over the threaded rod.
- Page 7 Water Inlet Determine the assembly site for the waste water clamp. This one must absolutely be positioned over the syphon bend. (the area is marked here in green) • Drill a hole in the syphon with a 6mm drill bit. •...
-
Page 8: First Commissioning
6. First commissioning Before you open the water supply, please double-check all the hose lines. These must have been laid absolutely free of kinks. • Open the filter flush valve. It is located before the membrane. • Open the water supply (shown here in the green circle) and check all the connections for tightness. -
Page 9: Consumables
N° 13 Activated carbon sediment Every 6 months filter Just smardy original filters ensure a trouble-free functioning!! 8. Technical data • Dimensions: 29cm x 24cm 46cm (LxBxH) • Daily filter performance: 190 Liter • Water purification without electricity– only 3 bar tap water pressure required 9. -
Page 10: Filter Change
10. Filter change Recommended change interval N° 8 12 -24 months N° 12 6 Monate N° 9 12 months N° 13 6 Monate N° 11 6 months Date: N° 8 Membrane 50 GPD N° 9 Activated carbon afterfilter N° 11 Sediment filter N°... -
Page 11: Filter Order
11 Filter order... - Page 12 Link for accessories: https://www.amazon.co.uk/dp/B06XZYFL5C smardy© Robert-Bosch-Str. 6b 86830 Schwabmünchen Germany info@smardy.de...
Need help?
Do you have a question about the PRO 190 and is the answer not in the manual?
Questions and answers