Zodiac pH Link Instructions For Installation And Use Manual
Hide thumbs
Also See for pH Link:
- Instructions for installation and use manual (58 pages) ,
- Instructions for installation and use manual (60 pages)

Subscribe to Our Youtube Channel
Related Manuals for Zodiac pH Link


Summary of Contents for Zodiac pH Link
- Page 1 Instructi ons for installati on and use - English pH regulati on - Redox regulati on Translati on of the original instructi ons in french More documents on: www.zodiac.com H0493700.C - 2018/02...
- Page 2 • Do not spray insecti cide or any other chemical (infl ammable or non-infl ammable) in the directi on of the appliance, as this may damage the body and cause a fi re. • Zodiac® heat pump, fi ltrati on pump and fi lter appliances are compati ble with the most commonly used types of pool water treatment systems.
-
Page 3: Table Of Contents
1.2 Technical specifications ..........................3 2. Installation ............................... 4 2.1 Preparing the pool: water balance ....................... 4 2.2 Installing the pH Link or Dual Link module ..................5 2.3 Installing the POD Kit ..........................5 3. Use ................................. 8 3.1 Activating the module .......................... -
Page 4: Information Before Installing
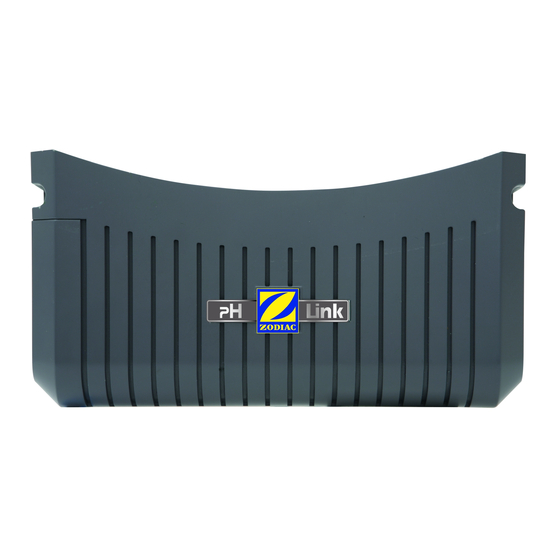
1. Information before installing 1.1 Contents 1.1.1 pH Link module pH Link module POD kit pH sensor Buffer solution pH 7.5 Accessory bag (counterweight + securing clip, suction + injection hose Hole saw, 22 mm PTFE tape and stoppers) (5 meters) 1.1.2 Dual Link module... -
Page 5: Installation
The Zodiac® electrolyser or hydroxinator are designed to disinfect pool water. With the pH Link module, it automati cally maintains the pH value of your pool. With the Dual Link module (electrolyser only), it automati cally maintains the pH value and chlorine level (ACL or Redox potenti al) of your pool. -
Page 6: Installing The Ph Link Or Dual Link Module
• Remove the BNC cable ( • Put the pH Link or Dual Link module in positi on, replace the four screws and replace the silver cover. • Do not reconnect the electricity supply unti l the pH Link or Dual Link module, the sensor-holding POD Kit and the pH minus injecti on pipe have been installed (see “2.3.3 Installing the pH minus injecti on line”). - Page 7 pH minus injecti on pH sensor ACL sensor Flow controller Water circulati on directi on A badly-installed sensor may give false readings and cause inappropriate operati on of the appliance. Neither the manufacturer nor the unit shall be liable in this event. Identi fy a suitable length (minimum 30 cm, without elbow) of straight pipe.
- Page 8 POD kit is positi oned. b) pH Link or Dual Link module added to an installati on already equipped with a power packl When the swimming pool already has a power pack, the fl ow switch is already installed. Leave the fl ow switch in place.
-
Page 9: Use
3.1 Activating the module The power pack automati cally detects the presence of a pH Link or Dual Link module. It is now ready to be used with automati c pH control using the pH Link module or pH and ACL control using the Dual Link module. -
Page 10: Calibrating The Sensor(S)
"CALIB. PH" or "CALIB. PH\ACL", • then press • Use the keys to display "CALIBRAGE PH" (pH Link and Dual Link) or " CALIBRAGE ACL" (Dual Link only) then press Note the measured value: • pH = 'X.X' If the value is greater than 8.2 or less than 6.4: the sensor is dirty or has been damaged during transport. -
Page 11: Adjusting The Set Point(S)
The set point is displayed conti nuously on the LCD home screen. The default setti ng for the pH set point is pH7.2 (pH Link and Dual Link modules). The default setti ng for the ACL set point is 4 (Dual Link module). -
Page 12: Peristaltic Pump
For safety reasons the peristalti c pump is not acti vated when delivered. When the pH Link or Dual Link module is connected to the power pack, the peristalti c pump is programmed to start approximately about 8 hours aft er being turned on. During this period, the default display on the LCD screen will show “pH ---”. -
Page 13: Maintenance
4. Maintenance 4.1 Cleaning the sensor(s) pH sensor ACL sensor Turn off the fi ltrati on system and close the necessary valves in order to safely remove the sensor from the POD Kit • (or collar) and prevent any possible leaks. Rinse the sensor in clean water under the tap (1 minute). -
Page 14: Winterizing
4.2 Winterizing • Rinse the peristalti c pipe by pumping clean water instead of pH minus soluti on, using the “TEST DOSAGE” functi on (see “3.6.1 Test / priming the peristalti c pump”). • Unscrew the POD sensors (disconnect their BNC cable beforehand). Place them in their original protecti ve caps or in a container fi... -
Page 15: Product Conformity
6. Product conformity This appliance is intended to be installed exclusively on the Zodiac® electrolyser or hydroxinator. This appliance has been designed and manufactured to be in conformity with the applicable requirements of the following standards: EN 60335-1... - Page 16 Modèle appareil Appliance model Numéro de série Serial number Trouvez plus d’informati ons et enregistrez votre produit sur More informati ons and register you product on www.zodiac.com ZODIAC® is a registered trademark of Zodiac Internati onal, S.A.S.U., used under license.
Need help?
Do you have a question about the pH Link and is the answer not in the manual?
Questions and answers