
Related Manuals for IK Multimedia iLoud MTM IK0000100


Summary of Contents for IK Multimedia iLoud MTM IK0000100
- Page 1 High resolution compact studio monitors with Midwoofer-Tweeter-Midwoofer design USER MANUAL...
-
Page 2: Table Of Contents
Contents Table of Contents Contents English iLoud MTM Register your iLoud MTM Safety Instructions iLoud MTM overview Installation and setup Control panel Audio inputs ARC Mic input Volume USB port Power Rear controls LF extension HF filter LF filter CAL/Preset Custom Calibration Front LED MTM design... -
Page 3: English
English iLoud MTM Thank you for purchasing iLoud MTM. Your package contains: • iLoud MTM speaker (single) • Power cord* • Tilting stand • Stand’s locking key • TPU base for horizontal positioning • ARC microphone and clamp • XLR to 1/8” TS cable for ARC microphone • Quick start guide • Registration card iLoud MTM’s innovative features and smart design re-invent studio monitoring for any kind of setup, from... -
Page 4: Safety Instructions
English Safety Instructions • Read these instructions. • Keep these instructions. • Heed all warnings. • Follow all instructions. • Do not use this apparatus near water. • Clean only with dry cloth. • Do not block any ventilation openings. Install in accordance with the manufacturer’s instructions. • Do not install near any heat sources such as radiators, heat registers, stoves, or other apparatus (including amplifiers) that produce heat. - Page 5 English • The lightning flash with arrowhead symbol within an equilateral triangle is intended to alert the user to the presence of uninsulated “dangerous voltage” within the product’ s enclosure that may be of sufficient magnitude to constitute a risk of electrical shock to persons. • The exclamation point, within an equilateral triangle, is intended to alert the user to the presence of important operating and maintenance (servicing) instructions in the literature accompanying the product.
-
Page 6: Iloud Mtm Overview
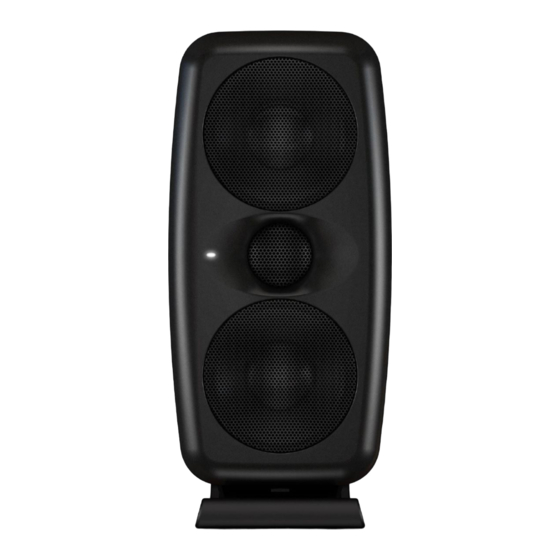
English iLoud MTM overview Bass reflex port 2x3,5” woofers Rear controls 1” back-chamber Volume control loaded tweeter Multi-color 1/4” / XLR indication LED combo input 1/8” ARC USB port Mic input AC power Power switch input Integrated tilting isolation stand... -
Page 7: Installation And Setup
English Installation and setup We recommend using high quality audio cables to guarantee optimal performance. It is important to ensure that the speakers stand firmly on a solid surface. Please note that the loudspeakers will need a few days to achieve optimum sonic performance. - Page 8 English 3. Adjust the vertical alignment of the speaker. This step is crucial to fully benefit from the MTM design (for more information refer to the dedicated paragraph in this manual). 4. Connect the power cord.
- Page 9 English 5. Connect the audio input source to the input connector of iLoud MTM. 6. Switch ON the ON/OFF switch on the rear panel. The front LED will illuminate steady white after a short delay.
- Page 10 English 7. Turn your audio playback system on (Mixing console, Audio interface, etc.). Make sure you have set the proper input sensitivity using the SENS button, then set the volume control to MAX (full clockwise). This is the reference position for the SPL calibrated values in the specs. Adjust the volume control to a lower position only if needed or only in case you require different levels between the speakers.
-
Page 11: Control Panel
English Control panel Audio inputs Combo XLR-1/4” balanced line input This combo connector allows for the connection of an analog audio source (i.e., mixer/audio interface bal/unbal line out). Connect professional equipment with balanced outputs to the XLR or 1⁄4” TRS input of the speaker using balanced signal cables. Sensitivity +4dBu/-10dBV The +4dBu / -10dBV input sensitivity button allows connection of the speakers to high-output professional equipment without risk of input overload. -
Page 12: Rear Controls
English Rear controls The pushbuttons on the back panel will help you to perfectly match iLoud MTM to every acoustic environment. LF extension The LF extension button is a high-pass filter that can be set to filter out frequencies below 60Hz, 50Hz (default) or 40Hz. -
Page 13: Custom Calibration
English To perform a custom Calibration refer to the next paragraph. IMPORTANT: units shipped from our factory have no custom calibration loaded, so the CAL position won’t be available until a custom calibration has been performed by the user. Custom Calibration Thanks to the ARC technology, iLoud MTM can be tailored to perfectly fit your listening space. - Page 14 English • place the microphone at the listening point, making sure the mic capsule aperture points towards the ceiling, and that the microphone is placed exactly in the center spot between the two speakers, at the listening position; • keep the CAL/PRESET button pressed for more than 2 seconds; • the CAL LED will start to blink blue and the front LED will start to blink white.
- Page 15 English • at this point the calibration test signals production will start. During this time, the front LED will stay steady ON blue. IMPORTANT: during the measurement process make sure that the environment is a silent as possible, do not touch the speaker or the microphone, and make sure that the overall room setup is as similar as possible to the one that will be used during normal iLoud MTM usage.
-
Page 16: Front Led
English NOTE: the measurement signal level is independent from the volume control. The audio Sweep’s level is fixed and optimised for best performance. Factory reset: to perform a factory reset keep pressed both the CAL/PRESET and SENS buttons for more than 2 seconds. -
Page 17: Mtm Design
English MTM design The MTM (Midwoofer-Tweeter-Midwoofer) design has a very uniform and smooth horizontal dispersion, and a more controlled, narrower vertical one. This means that: - ceiling and floor reflections are minimised, especially at mid and high frequencies, basically augmenting the focus the speakers can provide. -
Page 18: Desktop Positioning
English Desktop positioning The center of the tweeter should be positioned approximately at the height of your ears. In case you need to position the speakers in a significant lower or higher position, the monitors should be angled accordingly. If the speakers are placed lower than the ear line, you can tilt them using the adjustable foot that, also, improves the acoustic decoupling of the speakers from the surface. -
Page 19: Listening Position
English Listening position When you use iLoud MTM for stereo applications, the optimum listening position should be located in the middle of an imaginary triangle. This means that your listening point (sweet spot) will be located at the top of an equilateral triangle and the two loudspeakers should be placed at the other two corners of this triangle. -
Page 20: Microphone Stand Mounting
English Microphone stand mounting Thanks to the thread adapter on the bottom of the speaker, iLoud MTM can be mounted on any standard 3/8” microphone stand. This allows you to place the speakers at the perfect height and, most important, helps to reduce the typical reflections of the desktop (or shell) and, consequently, improves the frequency response/ linearity of the speaker. -
Page 21: Troubleshooting
English Troubleshooting I have connected my device to iLoud MTM but no sound comes out. Make sure to set up the volume with the volume control on iLoud MTM and/or with your device’s volume control. Sound is distorted. When noticeable distortion occurs, please turn down the level of the speakers, or of the connected audio source. -
Page 22: Graphics
English - Connectors: 1x combo XLR-1/4” TRS balanced input; 1/8” TS ARC microphone input, 1 x USB type-B (service use only), AC POWER socket - Power requirement: 90 to 240 V AC, auto-ranging, 50 or 60Hz, 120W max power consumption - Dimensions (inches): 264mm/(10.39”) x 160mm/(6.3”) x 130mm/(5.12”) - Weight : 2.5kg (including tilting base) Graphics... - Page 23 English - Phase - IR graph...
-
Page 24: Warranty
English Warranty Please visit: www.ikmultimedia.com/warranty for the complete warranty policy. Support and more info www.ikmultimedia.com/support www.iloudmtm.com... - Page 25 Regulatory iLoud® MTM is a trademark or registered trademark property of IK Multimedia Production Srl. All other product names and images, trademarks and artists names are the property of their respective owners, which are in no way associated or affiliated with IK Multimedia. 2019/07/05...
Need help?
Do you have a question about the iLoud MTM IK0000100 and is the answer not in the manual?
Questions and answers