Pentair FLECK 5800 SXT WATER Installation
Hide thumbs
Also See for FLECK 5800 SXT WATER:
- Installer manual (92 pages) ,
- User manual (37 pages) ,
- Service manual (24 pages)
Table of Contents
Advertisement
Quick Links
SOFTENER INSTALLATION
Figure 2 Side View
AC adapter plugs in
here. You may need
to remove the cover
to locate the hole.
Step 1. Loosen the metal clips (similar to #3 in Figure 5) with a flat screwdriver or ¼" nut driver, Insert
the bypass valve firmly into the back of the valve head and screw the metal clips back in to hold the
bypass valve in place. The arrows on the top of the bypass valve should be visible from the top. Do
not install the yoke (#2 in Figure 5) yet.
www.h2ofilters.ca
FLECK 5800 SXT WATER
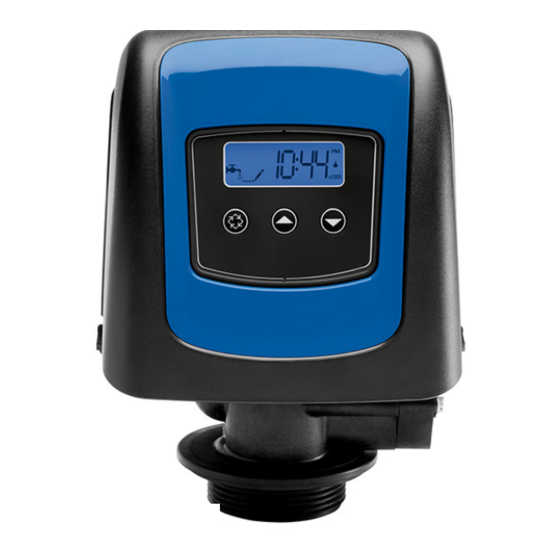
Figure 1 Front View
Connect black brine
tube here.
Figure 3 Top View
Connect drain
tube here.
Advertisement
Table of Contents

Related Manuals for Pentair FLECK 5800 SXT WATER


Summary of Contents for Pentair FLECK 5800 SXT WATER
- Page 1 FLECK 5800 SXT WATER SOFTENER INSTALLATION Figure 1 Front View Figure 3 Top View Figure 2 Side View Connect drain tube here. Connect black brine tube here. AC adapter plugs in here. You may need to remove the cover to locate the hole. Step 1. Loosen the metal clips (similar to #3 in Figure 5) with a flat screwdriver or ¼” nut driver, Insert the bypass valve firmly into the back of the valve head and screw the metal clips back in to hold the bypass valve in place.
- Page 2 www.h2ofilters.ca Figure 4 ¾” Threaded Adapter Step 2. Solder at least 3” of pipe to ¾” female threaded adapters shown in Figure 4 (not included) and allow to cool. Step 3. Add pipe joint compound to the Figure 5 Bypass Valve and Yoke threads of the yoke, #2 in Figure 5. Step 4.
- Page 3 www.h2ofilters.ca Figure 7 Step 8. Take the other end of the black tubing and insert the brass nut first, then the white plastic sleeve with the thinner side closest to the end of the hose (see Figure 9), then push the brass insert into the tubing. There may have been one installed at the factory and a spare Figure 8 included in case you would like to shorten the tubing.
Need help?
Do you have a question about the FLECK 5800 SXT WATER and is the answer not in the manual?
Questions and answers