Table of Contents
Advertisement
Quick Links
Advertisement
Table of Contents

Subscribe to Our Youtube Channel
Related Manuals for Alpha ESS M4856-P


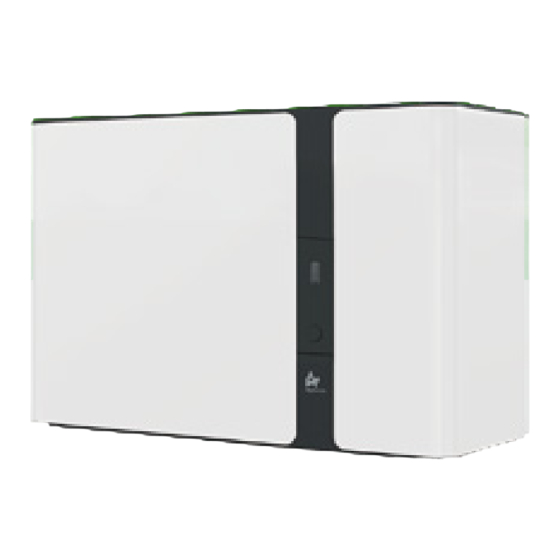
Summary of Contents for Alpha ESS M4856-P
- Page 1 Quick Installation Manual BATTERY MODULE M4856-P...
- Page 2 Packing List M4856-P Screw package: Battery pack (X 1) PE Protective bag ( X 1) Screw M5*10 (X 6) Gasket (X 10) Bracket (X 2) Expansion tube (X 10) Expansion screw (X 10) Battery connector: Battery communication Hexagon nuts with flange...
- Page 3 Open The Package Disassemble Appearance Parts Step1 Step2 Note: The box must be placed in the direction of the label and only remove the Pull off the buckle located in Pull the top two guide rods packaging in upwards direction. Removing the packaging in other directions is the middle of the bottom.
- Page 4 Drilling Hole Step4 90cm Push the battery firmly against the wall and use a level to confirm the position of the battery. Please drill four holes (two on each side) directly on the wall at the marking positions of the brackets with an impact PE Protective bag ( X 1) 195cm drill (bit φ...
- Page 5 Wiring Step6 Battery power cable connection sequence: Battery power cable connection sequence: Go through the waterproof cap→ go through the sealing ring→ go Go through the waterproof cap→ go through the sealing ring→ go through the joint, fixed to the copper bar with M5 nut inside of the through the joint, fixed to the copper bar with M5 nut inside of the battery.
- Page 6 Positive power line wiring Negative power line wiring Connect Communication Line Step7 Step8 Step9 DIP Switch Mounting Appearance Parts Step10 Step11 Communication board DIP switch configuration: The mode of disassembly of step 2 of restoration: Confirm that the battery closest to the inverter is Pull the top two guide rods into the housing.
- Page 7 Alpha ESS Co., Ltd. Headquarter: Alpha ESS Co., Ltd. Germany: Alpha ESS Europe GmbH Australia: Alpha ESS Australia Pty. Ltd. Italy: Alpha ESS Italy S.r.l. +86 (0) 513 806 068 91 +49 (0) 6103 / 459 160-1 +61 (0) 402 500 520...
Need help?
Do you have a question about the M4856-P and is the answer not in the manual?
Questions and answers