Advertisement
Table of Contents
- 1 Table of Contents
- 2 Introduction
- 3 Installation
- 4 FEATURES - Model RJ182T
- 5 FEATURES - Model RJ202T
- 6 Operation
- 7 Removing the Chiller Drawer and Door
- 8 Lamp Replacement
- 9 Important Warnings
- 10 Cleaning
- 11 Reversing the Door Opening Directions
- 12 Before Calling for Service
- 13 Calling for Service
- Download this manual
Advertisement
Table of Contents

Subscribe to Our Youtube Channel
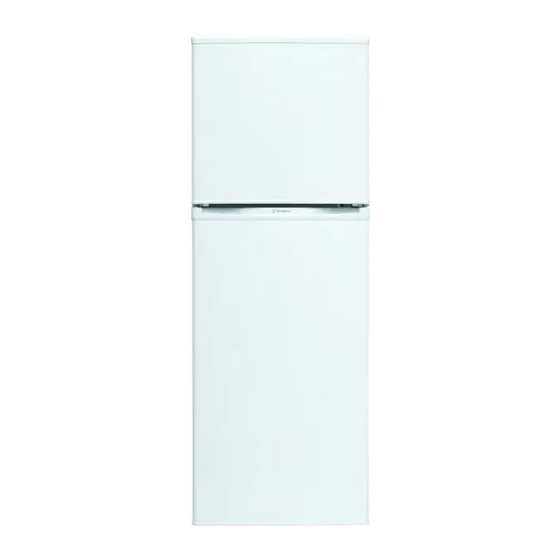
Summary of Contents for Westinghouse RJ202T
-
Page 2: Table Of Contents
Contents INTRODUCTION................page INSTALLATION..................FEATURES - Model RJ182T..............FEATURES - Model RJ202T..............OPERATION..................7, 8 REMOVING THE CHILLER DRAWER AND DOOR......LAMP REPLACEMENT............... IMPORTANT WARNINGS..............CLEANING................... REVERSING THE DOOR OPENING DIRECTIONS......12, 13 BEFORE CALLING FOR SERVICE............ CALLING FOR SERVICE..............All rights in this publication are reserved and no part may be reproduced without the prior written permission of Electrolux Home Products Pty Ltd ("Electrolux"). -
Page 3: Introduction
Introduction Dear Customer Unplug the appliance before cleaning and before Congratulations on the purchase of your new changing any of the light bulbs to avoid electric appliance. shock. We at Electrolux Home Products are very proud of our Never unplug the appliance by pulling on the product and we are completely committed to providing power cord. -
Page 4: Installation
Installation Installing Your New Appliance: 10-15mm The appliance should arrive with the front levelling feet wound up. The appliance may require to be tilted backward at the top by about 10-15mm from vertical. (See Diagram 1). This will allow the door to gravitate to the closed position. -
Page 5: Features - Model Rj182T
Features - Model RJ182T Please look at the diagram below before reading about how to care for your refrigerator Colder Less Cold Colder 13. Crisper cover 1. Top cover 14. Vegetable crisper 2. Freezer control slide 15. Rear rollers 3. Fan housing 16. -
Page 6: Features - Model Rj202T
Features - Model RJ202T Please look at the diagram below before reading about how to care for your refrigerator Colder Less Cold Colder 13. Light switch 1. Top cover 14. Glass shelves 2. Freezer control slide 15. Vegetable crisper 3. Fan housing 16. -
Page 7: Operation
Refrigerator / Freezer Operation Initial Start-up Your appliance was cleaned and polished before it left the factory. Before use, dust and wipe over inside and out, using a clean dry cloth. This product is designed to operate on a power supply of 220 / 240 volts 50 hertz. Connect to a separate power point with a correctly earthed three pin socket. - Page 8 Refrigerator / Freezer Operation General Information The refrigerator/freezer transfers heat from food placed inside to the outside air. This process makes the rear and sides of the outer cabinet, particularly at the initial start-up, feel warm to touch. This is normal. Make sure you fully close the doors after you load or remove food.
-
Page 9: Removing The Chiller Drawer And Door
Removing the Chiller Drawer and Door Instructions for Model RJ202T In order to access the light housing, the chiller door and chiller drawer need to be removed. To Remove The Chiller Door: There is a node on each side at the top of the chiller door. These ‘nodes’ allow the door to swivel open and shut and also secure the door to ‘c’... -
Page 10: Lamp Replacement
Normal service call and labour charges apply. Illustrations for Model RJ182T Instructions for Models RJ182T & RJ202T Apply pressure with your finger tip to the top centre of the light lens. This will release a catch on the back face of the lens that holds it to the light housing. Note: For safety reasons the lens is also held in position by a phillips-head screw. -
Page 11: Important Warnings
Cleaning / Important Warnings Cleaning The Appliance Safety Before Cleaning: This product is not intended for young children and infirm persons unless adequately REMOVE THE POWER CABLE supervised by a responsible person. FROM THE WALL SOCKET. THIS WILL ENSURE THERE IS NO Please Follow These Tips Below R I S K G E T T I N G... -
Page 12: Reversing The Door Opening Directions
Reversing the Door Opening Direction In this example, the operation is reversed from right side hinging to left side hinging. Fig. 1 shows right side hinging assembly. Precautions: Turn off the appliance. Unplug the power cable. Remove all food from the appliance. - Page 13 Reversing the Door Opening Direction Fig. 2 shows a left side hinging assembly. Remove the plug (if supplied with your appliance) from the hole in the top left of the refrigerator door and press firmly into the hole on the top right of the door. Remove the cap, screw, and washer from the far left of the...
-
Page 14: Before Calling For Service
What To Do Before Calling For Service If you think something may be wrong with your appliance, you can carry out some easy checks before calling for service. You may locate the problem, sparing yourself from inconvenience and saving time and money. Solution Problem Check that it is properly plugged in, that the fuse has not blown... -
Page 15: Calling For Service
If Your Appliance Requires Service If your appliance is not operating correctly and the problem persists after you have made the checks listed on the previous page, contact your nearest service centre or the dealer you bought the appliance from. Be ready to quote the model number, which is stated on the label on the wall inside the... - Page 16 2004 ELECTROLUX HOME PRODUCTS PTY LTD A.B.N.51 004 762 341 KITCHEN, CLEANING AND OUTDOOR APPLIANCES www.electrolux.com.au Issue Nº 1 Date of issue December 2004...


Need help?
Do you have a question about the RJ202T and is the answer not in the manual?
Questions and answers