Advertisement
Table of Contents
Install, Use,
& Care Guide
UNDER CABINET
Cosmo is constantly making efforts to improve the quality and
performance of our products, so we may make changes to our
appliances without updating this manual.
Download or view an electronic version of our product
manual by visiting: www.cosmoappliances.com
I N S P I R I N G T H E W O R L D ' S K I T C H E N
RANGE HOOD
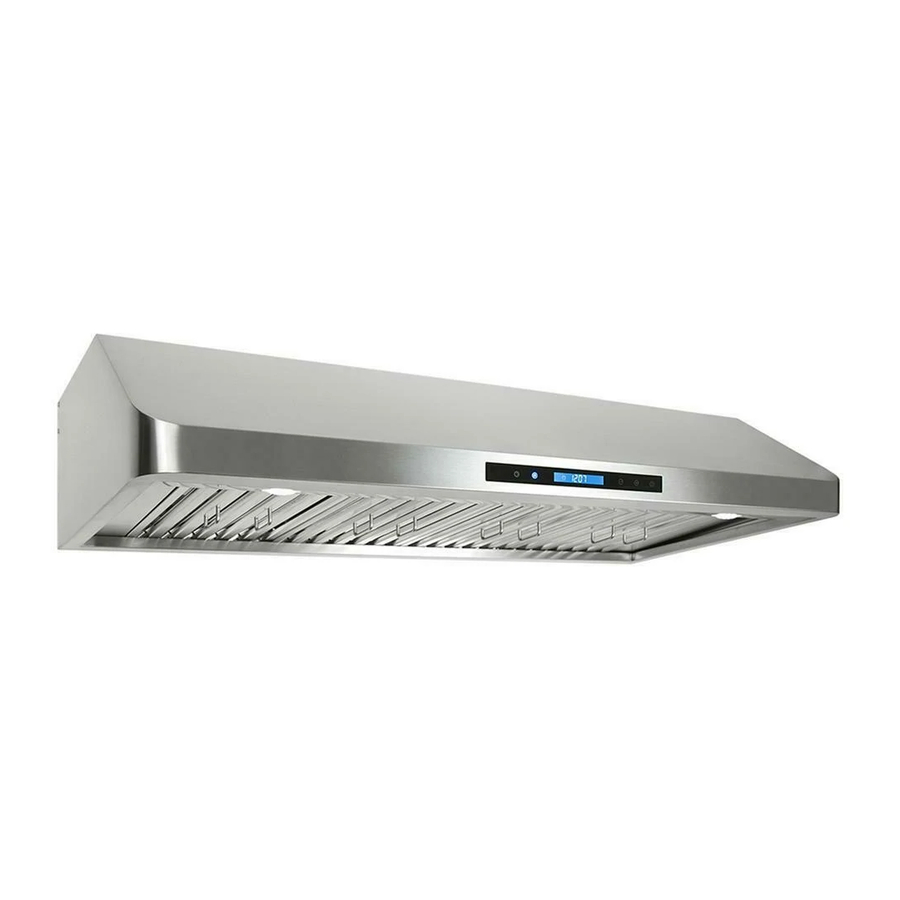
COS-QS90
Advertisement
Table of Contents

Related Manuals for Cosmo COS-QS90


Summary of Contents for Cosmo COS-QS90
- Page 1 UNDER CABINET RANGE HOOD COS-QS90 Cosmo is constantly making efforts to improve the quality and performance of our products, so we may make changes to our appliances without updating this manual. Download or view an electronic version of our product manual by visiting: www.cosmoappliances.com...
- Page 2 Remove the Stainless Steel filters. The serial number is printed on a label inside of the range hood. We hope that this manual will help Thank you for your purchase. We know that you have many brands you learn to use the product in the and products to choose from and safest and most effective manner we are honored to know that you...
- Page 3 IMPORTANT SAFETY INSTRUCTIONS Read all instructions before using this appliance. Save these instructions for future references. Approved for residential appliances. For residential use only. Due to the weight and size of these vent hoods and to reduce the risk of personal injury or damage to the product T W O P E O P L E A R E R E Q U I R E D F O R P R O P E R I N S T A L L A T I O N CAUTION WARNING...
- Page 4 STAINLESS STEEL PERMANENT FILTERS About Your New Filters Stainless Steel Permanent Filters do not need linings or mesh inside of the filters and are completely constructed out of stainless steel. The stainless steel construction allows them to be used again and again after being cleaned or going through the dishwasher.
-
Page 5: Table Of Contents
TABLE OF CONTENTS PARTS DIAGRAM..............04 EXTERNAL DIAGRAM/ DIMENSIONS......05 INSTALLATION REQUIREMENTS........06 INSTALLATION PROCEDURES...........9-14 INSTALLING CHARCOAL FILTERS........15 OPERATING INSTRUCTIONS..........16 MAINTENANCE..............17 TROUBLESHOOTING............18 WARRANTY AND SERVICE..........19... - Page 6 36 INCH MODEL DIMENSIONS COS-QS90...
-
Page 7: Parts Diagram
PARTS DIAGRAM... -
Page 8: Installation Requirements
INSTALLATION REQUIREMENTS WARNING Sufficient air is needed for proper combustion and exhausting of gases through the chimney of fuel burning equipment to prevent back- drafting. Follow the cooking equipment manufacturers guideline and safety standards such as those published by the National Fire Protection Association (NFPA), the American Society for Heating, Refrigeration and Air Conditioning Engineers (ASHRAE), and local code. - Page 9 PARTS INCLUDED PARTS LIST A) Metal anchors (concrete installations) - 4 pcs B) Damper Flap - 1 C) Plastic Anchors (drywall installations)- 10 pcs D) ST4*4x35 mm wood screws - 10 pcs E) ST4*4x12 mm metal screws - 6 pcs F) Metal Hinges - 2 pcs G) Beveled Washers - 10 pcs H) Remote Control - 1...
- Page 10 PRE INSTALLATION PROCEDURES • Please read the instructions carefully. Unpack the Range Hood and check that all functions are working before installing. • Ensure that the voltage (V) and the frequency (Hz) indicated on the sticker match the voltage and frequency at the installation site. •...
-
Page 11: Installation Procedures
INSTALLATION PROCEDURES CAUTION: HOOD MAY HAVE VERY SHARP EDGES; PLEASE WEAR PROTECTIVE GLOVES WHENEVER IT IS NECESSARY TO REMOVE ANY PARTS FOR INSTALLING, CLEANING OR SERVICING. Step 1: Connect the Duct into the Damper Secure Duct around Damper with Duct Clamp (included) - Page 13 Top /Rear Mounted Installation * Due to the weight of the unit, we recommend mounting the Range Hood to the wall first and then secure it to the bottom of the cabinet using the top mounting holes. 1.) Find the key holes at the back and top of the Range Hood. Mark their locations at the installation location (Wall / Bottom of Cabinet) with a pencil or marker.
- Page 14 *actual dimensions may vary slightly by fractional amounts measurements are center to center of each hole...
-
Page 17: Installing Charcoal Filters
RECIRCULATING FILTERS INSTALLATION Skip this page if you are installing a Ducted Range Hood. Charcoal Filters are only included with Ductless Models Before installing make sure the unit is powered off and unplugged. Filter Ring Carbon Filter AFTER CARBON FILTER INSTALLATION Note: This is a top venting unit and a hole must be cut into the cabinet for proper installation. -
Page 18: Operating Instructions
OPERATING INSTRUCTIONS Soft Touch Controls Timer Button - Only works when the range hood fan is running; touch once. The timer has a default setting of 1 minute. Use (+) plus or (-) minus to increase or decrease time duration up to 15 minutes depending on how much time you require. -
Page 19: Maintenance
MAINTENANCE CAUTION: NEVER PUT YOUR HAND INSIDE OF THE UNIT WHILE ITS OPERATING. FOR THE BEST PERFORMANCE CLEAN YOUR RANGE HOOD REGULARLY. CLEANING 1. Use only mild soap or cleaning solutions to clean the range hoods outer surface. Dry surfaces using a soft cloth. 2. -
Page 20: Troubleshooting
TROUBLESHOOTING CAUTION: ALWAYS UNPLUG UNIT FROM POWER BEFORE SERVICING PROBLEM SOLUTION TOOLS A. Check inside the range Phillips Screwdriver My range hood is hood for any loose debris and noisy remove. A. The range hood and cook top Phillips Screwdriver My range hood has are too far away from each poor performance.. -
Page 21: Warranty And Service
WARRANTY AND SERVICE TO RECEIVE WARRANTY SERVICE, YOUR PRODUCT MUST BE REGISTERED. TO REGISTER, VISIT: WWW.COSMOAPPLIANCES.COM/WARRANTY FOR FULL WARRANTY DETAILS ON THIS PRODUCT PLEASE VISIT : HTTP://WWW.COSMOAPPLIANCES.COM/WARRANTY I N S P I R I N G T H E W O R L D ’ S K I T C H E N...
Need help?
Do you have a question about the COS-QS90 and is the answer not in the manual?
Questions and answers