Table of Contents
Advertisement
Quick Links
SIMPLE
SMART
www.coscokids.com
©2016 Dorel Juvenile. All Rights Reserved.
4358-7082
FUN
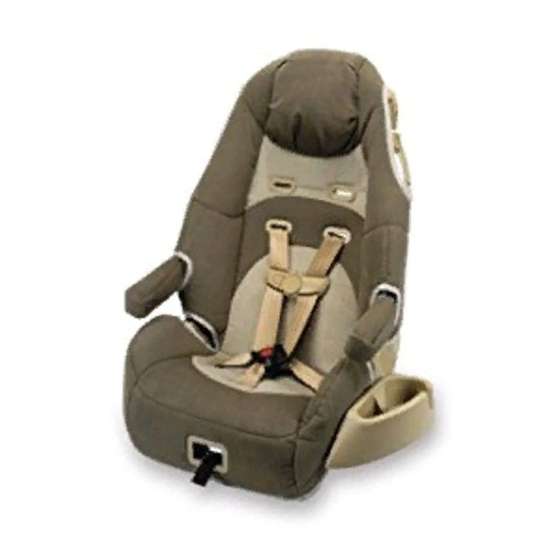
COMMUTER, VENUTRA, HIGH BACK
BOOSTER CAR SEAT
Forward Facing: 22-40 lb and 34-43 in.
And at least 1 year old
(10.1-18 kg and 85.1-110 cm)
Belt-Positioning Booster: 40-80 lb and 43-52 in.
And at least 3 years old
(18.1-36.3 kg and 110.1-132.1 cm)
KEEP INSTRUCTIONS FOR FUTURE USE.
Read all instructions before using this child restraint.
Failure to follow the warnings on the labels and in the
instruction manual can result in serious injury or death
to your child.
9.20.16
TETHER
Page 26
LOWER
ANCHOR
Page 19
Advertisement
Table of Contents


Need help?
Do you have a question about the VENUTRA and is the answer not in the manual?
Questions and answers