Advertisement
Advertisement
Table of Contents

Subscribe to Our Youtube Channel
Related Manuals for Lamona LAM8603


Summary of Contents for Lamona LAM8603
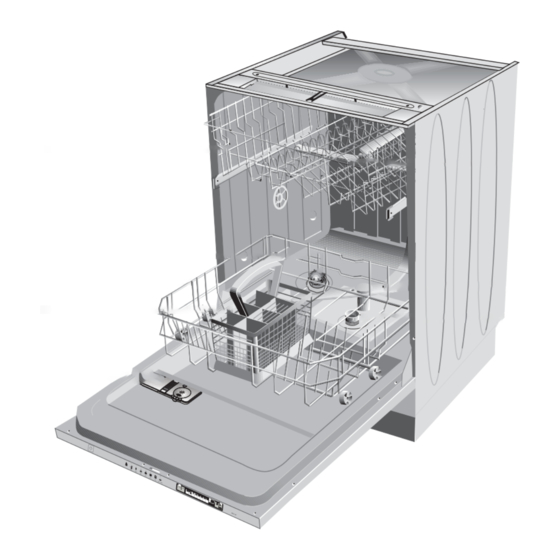
- Page 1 Dishwasher LAM8603 Installation Guide...
- Page 3 Unpacking Remove all Packing From the unit and dispose of this according to local regulations. The following fittings are included: Ø 4 x 36mm (+50mm) Ø 4 x 43mm Ø 3.5 x 14mm Installation When deciding on where to install your new dishwasher, ensure that the position of your dishwasher makes it easy and quick for you to place the dishes in the dishwasher and also to take them out and store away after the dishwashing is completed.
- Page 4 = 870 - 920 = 820 - 870...
- Page 5 (+50mm)
- Page 6 Do not use Power tools...
- Page 7 > 610 = 600 - 610...
- Page 8 Ø 3.5 x 14mm Ø 3.5 x 14mm Ø 4 x 36mm...
- Page 9 267mm Max 9kg Mid. Point...
- Page 10 Ø 3.5 x 14mm...
- Page 12 Ø 4 x 43mm Integrated handle option Note: If the decor door has an 'integrated handle groove' -DO NOT USE HOLES No 1 Use holes No. 2 + 5 instead Remove screws position 1 and plastic plugs position 4.
- Page 13 Make a final alignment if necessary. Ensure correct alignment with the top of the door before securing with the long screws. Do not over tighten the screws.
- Page 15 ~ 1500 ~ 1800 ~ 2000...
-
Page 16: Water Inlet Hose Connection
Water inlet hose connection Drain Hose Connection Make sure your plumbing is suitable to Fit the drainage hose of your machine install your new dishwasher. If in doubt to the drainage pipe without bending. contact a qualified plumber. Secure your hose firmly to the waste The appliance must be connected pipe to avoid it coming off during the to the water mains using the new... - Page 17 v0.1 10-11-14 15 0116 01 00-AA...
Need help?
Do you have a question about the LAM8603 and is the answer not in the manual?
Questions and answers
Arms not moving
The spray arms on the Lamona LAM8603 dishwasher may not be moving due to blockages in the nozzle holes caused by soil particles. Cleaning the spray arms periodically can help restore proper function.
This answer is automatically generated
The arm is not spinning
The arm on the Lamona LAM8603 dishwasher may not be spinning due to food particles blocking it. To fix this, remove the spray arm by releasing the catches and pulling it upwards, flush away any food particles under running water, and then reinsert it back into its original position.
This answer is automatically generated