
Related Manuals for Pyle PLMRDK18B


Summary of Contents for Pyle PLMRDK18B
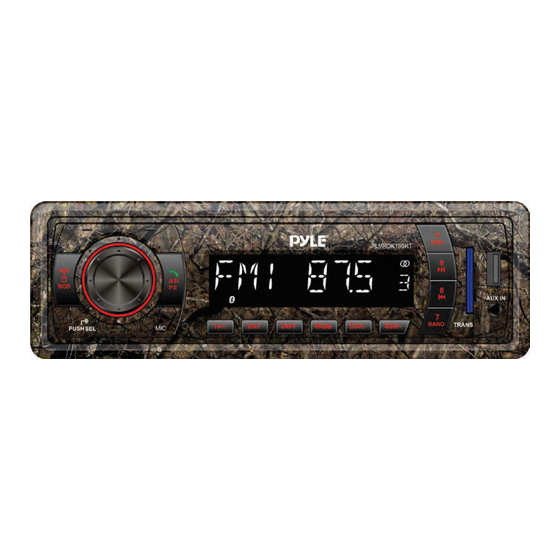
- Page 1 • PLL Synthesizer Stereo Radio • Automatic Memory Storing • Preset Equalization • USB/ SD Interface • 3.5mm Jack input • Bluetooth PLMRDK18B - PLMRDK19BKT Mobile Audio System...
-
Page 2: Table Of Contents
CONTENTS INSTALLATION ......................... 3 TAKE OUT SCREW BEFORE INSTALLATION ..............3 DIN FRONT MOUNT ......................3 • INSTALLING THE UNIT ....................... 3 • REMOVING THE UNIT ......................4 WIRING CONNECTION ......................5 OPERATION ..........................6 LOCATION OF KEYS ....................... 6 SWITCHING ON/OFF THE UNIT .................. -
Page 3: Installation
INSTALLATION Notes: 53mm • Choose the mounting location where the unit will not interfere with the normal driving function of 182mm the driver. Installing the unit • Before finally installing the unit, Be sure you test all connections first, connect the wiring temporarily and then follow these steps to install and make sure it is all connected with the unit and works properly. -
Page 4: Removing The Unit
4. Reconnect the wire harness and 7. Reconnect the cable to the vehicle the antenna and be careful not to battery’s negative (-) terminal. pinch any wires or cables. Replace the outer trim ring. 5. Slide the unit into the sleeve until it locks into place. -
Page 5: Wiring Connection
WIRING CONNECTION ISO CONNECTION www.PyleUSA.com... -
Page 6: Operation
OPERATION LOCATION OF KEYS 1. POWER/MODE/ 11. 7/BAND 2. PUSH/SEL 12. 6DIR+ 3. AS/PS/ 13. 5 DIR- 4. LCD 14. 4RDM 5. 0/DISP 15. 3 RPT 6. 9/ (SEEK UP) button 16. 2 INT 7. SD interface 17. 1PAU 8. USB interface 18. -
Page 7: Switching On/Off The Unit
SET THE TIME OPERATION Press and hold DISP button (5) for 2 SWITCHING ON/OFF THE UNIT seconds the HH digit will flash. Press PWR button (1) to turn on the Rotating the audio knob (2) to unit. When the unit is on. Press and change the hour. -
Page 8: Reset Function
RESET FUNCTION RESET button (18) must be In this mode you can turn up / activated with either a ballpoint pen down a step frequency one by one or thin metal object. The RESET till searched a station. If both button is to be activated for the buttons have not been pressed for following reasons:... -
Page 9: Usb Play Operation
REPEAT PLAYING USB PLAY OPERATION Press RPT button (15) to On the front panel of the unit, there continuously repeat the same file. is an USB interface (8). You can Press it again to repeat all files. connect an USB driver through this PLAYING IN RANDOM ORDER interface (8). -
Page 10: Bluetooth Operation
CAUTION When there are important files in the USB Device or SD card, do not connect it to the main unit to play, because any wrong operation may cause files loss. And our company assumes no responsibility for this. BLUETOOTH OPERATION •... -
Page 11: Specification
SPECIFICATION GENERAL Power Supply Requirements : DC 12 Volts, Negative Ground Chassis Dimensions : 178 (W) x 97 (D) x 50 (H) Tone Controls • Bass (at 100 Hz) : ±10 dB • Treble (at 10 kHz) : ±10 dB Maximum Output Power •... -
Page 12: Troubleshooting
TROUBLE SHOOTING Before going through the checklist, check wiring connection. If any of the problems persist after checklist has been made, consult your nearest service dealer. Symptom Cause Solution If the power supply is connected The car ignition switch to the car accessory circuits, but No power is not on.
Need help?
Do you have a question about the PLMRDK18B and is the answer not in the manual?
Questions and answers