Advertisement
Advertisement
Table of Contents

Summary of Contents for Challenge MDN4-12DEN3-QA3
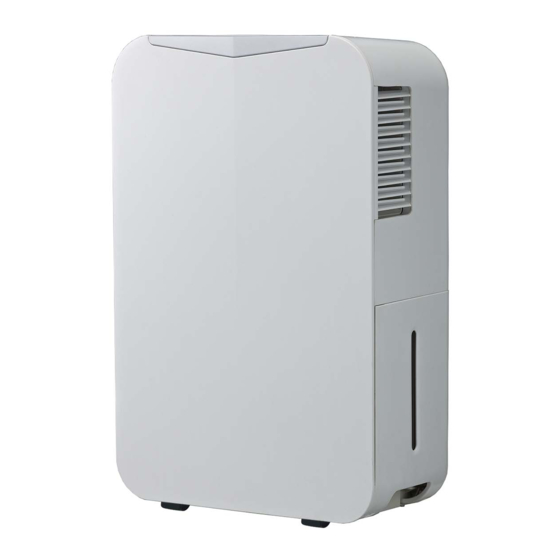
- Page 1 12 LITRE DEHUMIDIFIER INSTRUCTION MANUAL MODEL NO. : MDN4-12DEN3-QA3...
-
Page 2: Safety Instructions
Thank you for selecting super quality dehumidifier. Please be sure to read this manual carefully before using it. Keep the manual for future reference. SAFETY INSTRUCTIONS Please read the operating instructions carefully before using your dehumidifier for the first time. 1. - Page 3 17. Do not damage or use an unspecified power cord. 18. Do not modify power cord length or share the outlet with other appliances. 19. Do not insert or pull out plug with wet hands. 20. Disconnect the power if strange sounds, smell, or smoke comes from it. 21.
- Page 4 Don’t try to repair, dismantle or remold such appliance, or it may make some damage. Even if the supply cord is damaged, it must be replaced by the manufacturer or its service agent or a similarly qualified person in order to avoid a hazard. PLACEMENT When positioning the dehumidifier, ensure that it is placed on a level surface and that there is a minimum of 10cm of space on either side of the unit to allow for efficient airflow.
-
Page 5: Know Your Appliance
KNOW YOUR APPLIANCE MAIN UNIT Control panel Handle Air inlet Air filter Drain hose outlet Power Cord and plug Water tank Air outlet grille CONTROL PANEL Power on indicator light(green) Water full indicator light(red) Continuous operation on indicator light (green) Power ON / OF F F F buttons Continue operation button Humidity set control buttons... - Page 6 Operation Power on indicator light(green) This indicator light remains on(green) when the unit is switched on and turns dark when the unit is switched off. Water full indicator light(red) Glows when the bucket is ready to be emptied, or when the bucket is removed or not replaced in the proper position.
-
Page 7: Continuous Drainage
DRAINAGE While the water tank is full, the compressor will stop and the unit will display "P2" , the water full indicator light(Red) will illuminate. To remove the water tank, pull it out carefully from the unit. After empting the water tank, place the tank back to the unit. Make sure it is properly positioned, in order for the water full indicator light(Red) to go out and your dehumidifier is ope rating. - Page 8 CLEANING Always unplug the unit from the power supply before beginning cleaning to avoid electric shocks. Housing - Use a soft, damp cloth to wipe the cabinet clean. Never use strong chemicals, oil-based products, detergents, chemically treated cloths or other cleaning solution. These could damage the cabinet.
-
Page 9: Troubleshooting
TROUBLE SHOOTING Never try to repair or dismantle the dehumidifier yourself. Incompetent repairs result in loss of warranty and can endanger the user and the property. Problem Possible Cause Solution Has the power cord Plug the power cord into been the outlet. -
Page 10: Technical Data
TECHNICAL DATA Model MDN4-12DEN3-QA3 Mains 220V-240V ~50Hz Power 350W Ampere consumption 1.6 A Dehumidification capacity L/24h 12 L/24h (30℃ RH 80%) Air volume(max) m³/h m³/h Refrigerant load R134a/90 g Compressor KANGPUSI QX46H Recommended room size Up to Water tank 1.5 L... - Page 11 lf a 13 Amp (BS 1363) fused plug is used it must be fitted with a 13 Amp fuse. lf in doubt consult a qualified electrician. Wiring for a 13 Amp Plug (BS1363) lf a 13 Amp (BS 1363) plug is used , it must be fitted with a 13 Amp Fuse conforming to BS1363 and be ASTA approved.
- Page 12 PRODUCT GUARANTEE This product is guaranteed against manufacturing defects for a period of Year This product is guaranteed for twelve months from the date of original purchase. Any defect that arises due to faulty materials or workmanship will either be replaced, refunded or repaired free of charge where possible during this period by the dealer from whom you purchased the unit.


Need help?
Do you have a question about the MDN4-12DEN3-QA3 and is the answer not in the manual?
Questions and answers