Advertisement
Quick Links
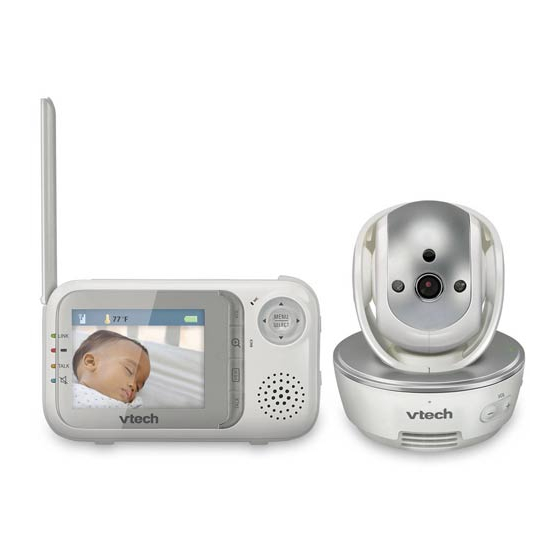
VM333/VM333-3/
VM303
Installation Guide
NOTES
•
Check for reception strength and camera angle before drilling the
holes.
Place the wall mount bracket on a wall and then use a pencil to
mark the top and the bottom holes as shown. Remove the wall
mount bracket and drill two holes in the wall (7/32 inch drill bit).
Place the baby unit on the wall mount bracket. Tighten the screw
into the threaded socket at the bottom to secure the baby unit.
Parent unit
Parent unit battery
compartment cover
If you drill the holes into a stud, go to step 3.
-OR-
If you drill the holes into an object other than a stud, insert
the wall anchors into the holes. Tap gently on the ends with a
hammer until the wall anchors are flush with the wall.
5
The default angle of the wall mount bracket is 90 degrees. You
can maximize your baby unit's viewing angles by tilting the wall
mount bracket.
Hold the baby unit, and then rotate the knob in anticlockwise
direction. This will loosen the joint of the wall mount bracket.
Tilt your baby unit up or down to adjust to your preferred angle.
Then, rotate the knob in clockwise direction to tighten the joint
and secure the angle.
Battery for
Parent unit
Baby unit (VM303)
parent unit
power adapter
(1 for VM333;
2 for VM333-2)
Baby unit
Screws and
power adapter
wall anchors
(1 for VM333;
(2 for VM333;
2 for VM333-2)
4 for VM333-2)
Align the wall mount bracket and screws with the holes in the
wall as shown. Tighten the screw in the middle hole first, so that
the wall mount bracket position is fixed. You can tighten the other
screw in the top hole.
1
1
Wall mount
(1 for VM333;
2 for VM333-2)
2
2
Advertisement

Related Manuals for VTech VM333


Summary of Contents for VTech VM333
-
Page 1: Installation Guide
Baby unit Screws and Wall mount compartment cover parent unit power adapter power adapter wall anchors (1 for VM333; (1 for VM333; Installation Guide 2 for VM333-2) 2 for VM333-2) (1 for VM333; (2 for VM333; 2 for VM333-2) 4 for VM333-2) If you drill the holes into a stud, go to step 3. - Page 2 Alternative method If you drill the holes into a stud, go to step 3. NOTES Align the wall mount bracket and screws with the holes in the wall as shown. Tighten the screw in the middle hole first, so that •...
Need help?
Do you have a question about the VM333 and is the answer not in the manual?
Questions and answers