Advertisement
Quick Links
QUICK START GUIDE
Welcome
Thank you for purchasing this AIWA product.
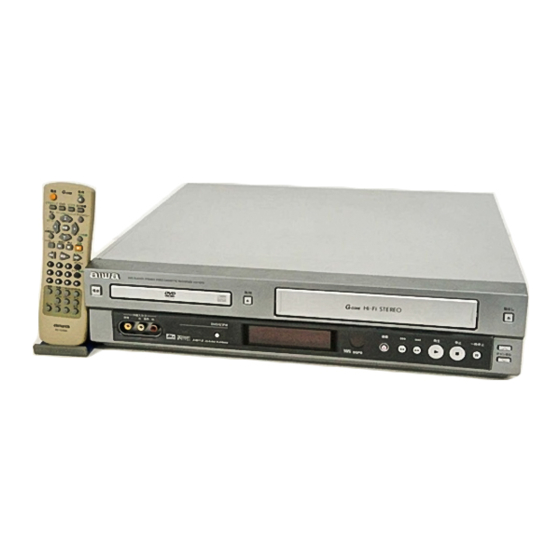
When you unpack your DVD player/video
cassette recorder for the first time, follow these
procedures for set up.
You will find these accessories in the package box.
Antenna cable (1)
Remote control (1)
OPEN / CLOSE
POWER
EJECT
OUTPUT
TV / VCR
DVD
VCR
SELECT
DISPLAY
CH / TRACKING
DISC MENU
CLK / CNT
ENTER
SETUP
MENU
TOP MENU PAUSE
STOP
REC / OTR
STEP
PLAY
PROGRAM
CLEAR
AUDIO
SUBTITLE
MARK– SEARCH
ANGLE RETURN ZOOM
REPEAT
RANDOM
AD-SKIP VCRPLUS SPEED
Please read the information on pages 2 and 3 of the Operating Instructions before installing or operating your DVD
player/VCR.
1
Installing Batteries in the Remote Control
Insert two R03 (size AAA) batteries (not supplied) with
correct polarity, as indicated inside the battery
compartment.
INPUT
A-B
For Assistance And Information
Call Toll Free 1-800-BUY-AIWA
8C-JF1-914-01
020408AMK-U-L
Video cable (1)
Operating instructions (1)
1
(United States and Puerto Rico)
AIWA CO., LTD
Audio cable (1)
HV-DH1
Printed in Indonesia
Advertisement

Related Manuals for Aiwa HV-DH1


Summary of Contents for Aiwa HV-DH1
-
Page 1: Quick Start Guide
HV-DH1 QUICK START GUIDE Welcome For Assistance And Information Thank you for purchasing this AIWA product. Call Toll Free 1-800-BUY-AIWA When you unpack your DVD player/video cassette recorder for the first time, follow these (United States and Puerto Rico) procedures for set up. -
Page 2: Basic Connections
Connection Basic connections Connect the RF.OUT DVD/ VCR OUT jack of the unit and the TV's antenna input connector with the supplied antenna cable. Connect the TV Audio/video antenna cable (not input jacks Antenna input supplied) to the connector ANT.IN jack of the unit. -
Page 3: Catv Connections
CATV connections Connect the RF.OUT CATV System DVD/VCR OUT jack of the unit and the TV's antenna input connector with the CATV converter supplied antenna cable. (not supplied) Audio/video input jacks Antenna input connector Antenna cable CATV cable (supplied) (not supplied) Video cable (supplied) Connect the cable from the CATV system... -
Page 4: Setting The Menu Language
Setting the menu language The on-screen menu can be displayed in English, Spanish, or French. The default language is English. Skip this step if you do not need to change it. OPEN / CLOSE POWER EJECT OUTPUT TV / VCR SELECT POWER POWER... -
Page 5: Setting The Clock
Setting the Clock You must set the date and time to perform timer recordings accurately. OPEN / CLOSE POWER EJECT Press OUTPUT TV / VCR SELECT DISPLAY CH / TRACKING DISC MENU CLK / CNT ENTER SETUP SETUP MENU Press . - Page 6 Setting the VCR channels OPEN / CLOSE Press POWER EJECT OUTPUT TV/ VCR SELECT DISPLAY CH / TRACKING DISC MENU SETUP CLK / CNT MENU ENTER SETUP MENU Press . Press i or k to select CHANNEL SETUP, SETUP MENU INPUT then press ENTER.