
Related Manuals for Klarstein Figo


Summary of Contents for Klarstein Figo
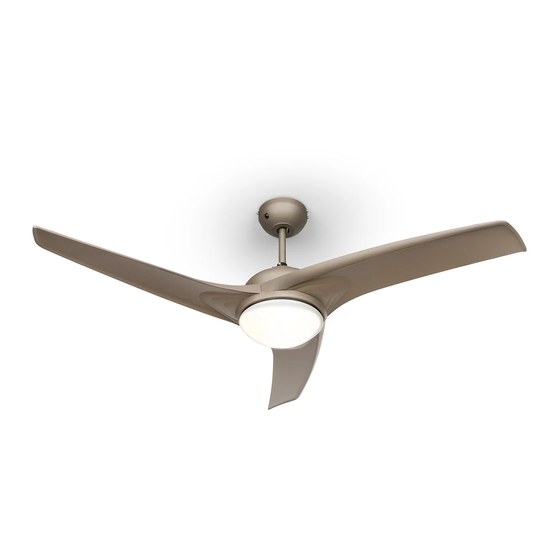
- Page 1 Figo Deckenventilator Ceiling ventilator Ventilador de techo Ventilateur de plafond Ventilatore a soffitto 10029345 10029346 10033505...
-
Page 3: Technische Daten
Sehr geehrter Kunde, wir gratulieren Ihnen zum Erwerb Ihres Gerätes. Lesen Sie die folgenden Hinweise sorgfältig durch und befol- gen Sie diese, um möglichen Schäden vorzubeugen. Für Schäden, die durch Missachtung der Hinweise und unsachgemäßen Gebrauch entstehen, übernehmen wir keine Haftung. Technische Daten Artikelnummer 10029345, 10029346, 10033505... - Page 4 4. Verbinden Sie die internen Ka- 5. Verbinden Sie die Kabel der 6. Schieben Sie die Abdeckung bel, indem sie die zwei Plasti- geerdeten Stromquelle mit über die Montageplatte. Ach- kanschlüsse zusammensteck- der Klemmleiste. ten Sie darauf, dass Sie dabei en, bis sie einrasten.
-
Page 5: Inbetriebnahme Und Bedienung
Inbetriebnahme und Bedienung • Drücken Sie auf die Speed-Taste an der Fernbedienung um eine Geschwindigkeit auszuwählen: HI: Hoch - MED: Mittel - LOW: Niedrig - OFF: Aus. • Mit dem Schalter am Motorgehäuse lässt sich die Richtung des Luftstroms beeinflussen, den die Rotorblät- ter erzeugen. -
Page 6: Technical Data
Dear Customer, Congratulations on purchasing this equipment. Please read this manual carefully and take care of the following hints to avoid damages. Any failure caused by ignoring the mentioned items and cautions mentioned in the instruction manual are not covered by our warranty and any liability. Technical Data Item number 10029345, 10029346, 10033505... - Page 7 4. Connect the internal lead to the 5. Connect the wires from the 6. Lift up the canopy into place fan body by clipping together earthed mains supply to the over the mounting plate. En- the two plastic male / female terminal block.
-
Page 8: Use And Operation
Use and Operation • Select the fan speed by pressing the speed control button on the remote control transmitter: HI: High Speed - MED: Medium Speed - LOW: Low Speed - OFF: Off. • The switch on motor housing for controlling the fan blades rotating direction controls the direction of air movement. -
Page 9: Fiche Technique
Chère cliente, cher client, Toutes nos félicitations pour l’ a cquisition de ce nouvel appareil. Veuillez lire attentivement et respecter les instructions de ce mode d’ e mploi afin d’ é viter d’ é ventuels dommages. Nous ne saurions être tenus pour res- ponsables des dommages dus au non-respect des consignes et à... - Page 10 4. Raccorder les câbles internes 5. Relier les câbles d’ a limentation 6. Fixer la coupole à la plaque de en branchant et encliquetant grâce au domino. montage. Veiller à ce qu’ a ucun les deux connecteurs en plas- câble ne se déconnecte pen- tique.
-
Page 11: Mise En Marche Et Utilisation
Mise en marche et utilisation • Appuyer sur la touche Speed de la télécommande pour sélectionner la vitesse : HI : rapide - MED : moyen - LOW : lent - OFF : éteint. • L’interrupteur au niveau du moteur permet d’influencer la direction du courant d’ a ir produit par le mouve- ment des pales. -
Page 12: Dati Tecnici
Gentile cliente, La ringraziamo per aver acquistato il nostro prodotto. La preghiamo di leggere attentamente le seguenti istru- zioni e di seguirle per evitare eventuali danni. Non ci assumiamo alcuna responsabilità per danni derivati da una mancata osservazione delle avvertenze di sicurezza e da un uso improprio del dispositivo. Dati tecnici Numero articolo 10029345, 10029346, 10033505... - Page 13 4. Collegare i cavi interni as- 5. Collegare i cavi della fonte di 6. Far scorrere la calotta sulla pi- semblando i due connettori in alimentazione con messa a astra di montaggio. Prestare plastica fino al loro completo terra alla morsettiera. attenzione a non disconnet- inserimento.
-
Page 14: Messa In Funzione E Utilizzo
Messa in funzione e utilizzo • Premere il tasto Speed del telecomando per selezionare una velocità: HI: alta –MED: media – LOW: bassa – OFF: spento. • È possibile direzionare la corrente d’ a ria generata dalle pale tramite l’interruttore posto sul motore. Attenzi- one: spegnere il ventilatore e attendere che le pale si arrestino prima di cambiare la direzione della corrente d’...
Need help?
Do you have a question about the Figo and is the answer not in the manual?
Questions and answers