Table of Contents
Advertisement
20171109154101_32MKK8000_eng_BOOK Page 1 Thursday, November 09 2017 15:56:56 JST
This manual should be considered a permanent part of the
motorcycle and should remain with the motorcycle when it is resold.
This publication includes the latest production information available
before printing. Honda Motor Co., Ltd. reserves the right to make
changes at any time without notice and without incurring any
obligation.
No part of this publication may be reproduced without written
permission.
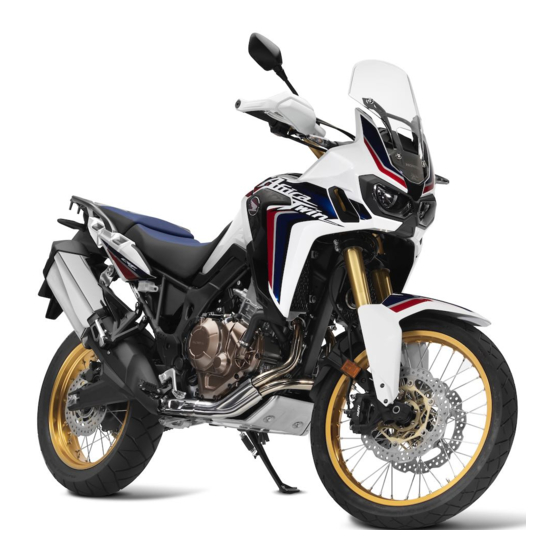
The vehicle pictured in this owner's manual may not match your
actual vehicle.
© 2017 Honda Motor Co., Ltd.
Advertisement
Chapters
Table of Contents


Need help?
Do you have a question about the Africa Twin CRF1000 2017 and is the answer not in the manual?
Questions and answers