Table of Contents
Advertisement
Quick Links
M100 Aperio
Mortise Lock Series
Installation Instructions
Approved Credential:
HID iCLASS ID Credential
Wireless Frequency: 2.4 GHz, IEEE 802.15.4, using AES 128bit encryption
Hub Power Requirement: 8-24VDC, 250mA
Lock Battery Type: CR2, providing 30,000 Cycles
Operating Temperature: -10C to 50C
FCC Part 15, Class B Compliant
Credentials Supported: 13.56MHz iCLASS credentials are supported
For technical support please call 1-800-810-WIRE (9473)
Package Contents
Machine
screw with
washer
Additional Tools Needed
Flathead drivers 3/32", 3/16"
#2 Phillips Driver
Pencil, Wire Stripper
Product Specifications
16
15
Hub Mounting Bracket and
(Hardware not shown)
Aperio Hub
Options not included:
Gang box to mount hub
Scan the QR code with
your Smartphone wherever
you see this symbol to
view our How-To videos
Hardware
Advertisement
Table of Contents

Related Manuals for Assa Abloy medeco Aperio M100


Summary of Contents for Assa Abloy medeco Aperio M100
- Page 1 M100 Aperio Mortise Lock Series Installation Instructions Package Contents Machine 16 screw with washer Hub Mounting Bracket and Hardware (Hardware not shown) Aperio Hub Additional Tools Needed Approved Credential: Flathead drivers 3/32”, 3/16” Options not included: HID iCLASS ID Credential #2 Phillips Driver Gang box to mount hub Pencil, Wire Stripper Product Specifications...
-
Page 2: System Overview
System Overview The M100 wireless mortise lock extends access control to an office door, stockroom door or any other door requiring additional accountability without the complexity and expense of running wires to the opening. The M100 lock connects to an access control system through the included communication hub. -
Page 3: Installation Steps
Installation Steps A. Locate and Mount the Hub B. Connect the Hub D. Install the Lock C. Test the Lock A. 1 - Choose the hub location It is recommended that the hub be mounted near the top of a wall, on the ceiling or above the ceiling to reduce potential for interference. - Page 4 A.2 - Mounting the Hub. The included adapter plate can be used to mount the hub on a single or double gang box. Installing the Hub B. Wiring the Hub. The Aperio Hub connects to the Access Control system via Wiegand wiring. The hub requires 8-24VDC power (250mA).
-
Page 5: Mounting The Lock
C. Testing the Lock with the Access Control System With the hub connected to power and the access control system, test the lock with a known good credential to confirm it will open as desired when installed. D. Mounting the Lock Before You Begin please verify the following: ... - Page 6 Fig. 4 Screw the M100 into the cylinder mounting hole on the mortise hardware (Fig. 5). It is important to not over tighten, or to keep too loose on the door. The face of the M100 cylinder should stand proud of the escutcheon approximately 3/16"-1/4".
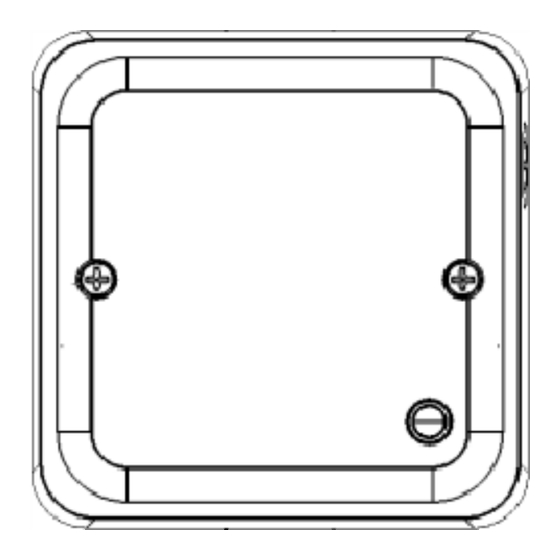
- Page 7 Fig. 8 Fig. 9 Tighten with locking nut tool (Fig. 10). Warning: Only one or two threads should be visible for proper operation (Fig. 11). Fig. 10 Fig. 11 Step 5: Connect control unit to wire harness and install 4 mounting screws (Fig. 12 and Fig. 13). Warning: Avoid pinching wire harness when mounting the control unit.
- Page 8 Install Battery. Please verify the battery is inserted in the correct polarity position. Always use new Step 6: batteries installed with correct polarity (Fig. 14 and 15). Fig. 14 Fig. 15 Install cover assembly (Fig. 16) and cover screw (Fig. 17). Step 7: ...
- Page 9 Step 8: Install thumbturn (Fig. 18), set screw (Fig. 19), and re-install door edge trim (Fig. 20). Fig. 18 Fig. 19 Fig. 20 Warning: FCC Statement This device complies with Part 15 of the FCC Rules. Operation is subject to the following two conditions: 1. This device may not cause harmful interference, and 2. This device must accept any interference received, including interference that may cause undesired operation. Changes or modifications not expressly approved by the manufacturer could void the user’s authority to operate this equipment. Le présent appareil est conforme aux CNR d'Industrie Canada applicables aux appareils radio exempts de licence. L'exploitation est autorisée aux deux conditions suivantes : (1) l'appareil ne doit pas produire de brouillage, et (2) l'utilisateur de l'appareil doit accepter tout brouillage radioélectrique subi, même si le brouillage est susceptible d'en compromettre le fonctionnement. ...
-
Page 10: Tips And Troubleshooting
Tips and Trouble Shooting Thumbturn drags on cover. Thumbturn is not out far enough refer to Step 4, Fig. 12. The cover does not sit flush on plate. Cylinder is protruding out to far (included are optional spacers for proper spacing of cylinders) refer to Step 4, Fig.
Need help?
Do you have a question about the medeco Aperio M100 and is the answer not in the manual?
Questions and answers