Table of Contents

Related Manuals for KTM 400 EXC EU 2009


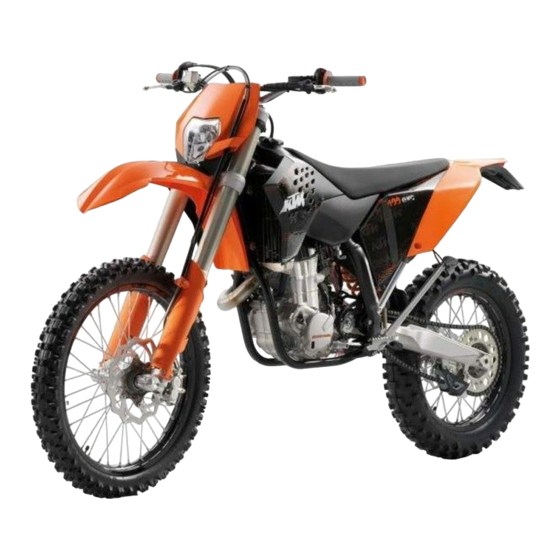
Summary of Contents for KTM 400 EXC EU 2009
- Page 1 SETUP INSTRUCTIONS 2009 400 EXC EU 400 EXC AUS 400 XC-W USA 450 EXC EU 450 EXC AUS 450 EXC SIX DAYS EU 450 EXC USA 450 XC-W USA 450 XC-W ZA 530 EXC EU 530 EXC AUS 530 EXC SIX DAYS EU 530 EXC USA 530 XC-W USA 530 XC-W ZA...
- Page 3 KTM accepts no liability for delivery options, deviations from illustrations and descriptions, as well as misprints and other errors.
-
Page 4: Means Of Representation
MEANS OF REPRESENTATION Symbols used The symbols used are explained in the following. Indicates an expected reaction (e.g. of a work step or a function). Indicates an unexpected reaction (e.g. of a work step or a function). Identifies a page reference (more information is provided on the specified page). Formats used The typographical and other formats used are explained in the following. - Page 5 SET‑UP Unpacking and setting up the vehicle – Remove the box and the plastic packaging. Info To avoid damaging the motorcycle during the setup, leave the protective foil on the the vehicle until you have finished. – Check the vehicle for transport damage. –...
- Page 6 Info Read the accompanying KTM PowerParts installation instructions. (EXC SIX DAYS) – Fit the handlebar cushion. – Fill up with fuel. ( p. 8) – Print out the current PDI form found on KTM DEALER.NET and perform the delivery inspection.
- Page 7 WORK Removing the seat – Remove screw . Lift up the seat at the rear, pull it back and then remove from above. 500080-10 Mounting the seat – Hook in the front of the seat at the collar sleeve of the fuel tank, lower it at the rear and simultaneously push it forward.
-
Page 8: Installing The Battery
WORK Installing the battery – Place the battery in the battery holder. 4Ah battery (YTX5L-BS) – Reconnect the rubber band – Attach the plus cable and replace the plus pole cover – Attach the minus cable – Mount the seat. - Page 9 WORK – Switch off the charger after charging. Disconnect the battery. Guideline The charge current, charge voltage and charge time must not be exceeded. Charge the battery regularly when the 3 months motorcycle is not in use. – Mount the seat. ( p.
- Page 10 WORK Refueling 3.10 Danger Fire hazard Fuel can easily catch fire. – Never fill up the vehicle near open flames or burning cigarettes, and always switch off the engine first. Be careful that no fuel is spilt, especially on hot vehicle components. Clean up spilt fuel immediately. –...
-
Page 11: Technical Data - Tightening Torques For Chassis
TECHNICAL DATA - TIGHTENING TORQUES FOR CHASSIS – Spoke nipple, front wheel M4.5 5 Nm (3.7 lbf ft) – Screw, spoiler on fuel tank (EXC USA, M5x12 1.5 Nm (1.11 lbf ft) XC‑W USA) – Spoke nipple, rear wheel 5 Nm (3.7 lbf ft) –... - Page 12 SUBSTANCES Super unleaded (ROZ 95 / RON 95 / PON 91) According to – DIN EN 228 (ROZ 95 / RON 95 / PON 91)
-
Page 13: Auxiliary Substances
AUXILIARY SUBSTANCES Long-life grease Specification – ® KTM recommends Motorex products. Supplier ® Motorex – Fett 2000... - Page 14 *3211421en* 3211421en KTM-Sportmotorcycle AG 5230 Mattighofen/Austria http://www.ktm.com...
Need help?
Do you have a question about the 400 EXC EU 2009 and is the answer not in the manual?
Questions and answers