Advertisement
Table of Contents
Advertisement
Table of Contents

Summary of Contents for Rockwell ShopSeries RS8151
- Page 1 belt&disc sander rs8151...
- Page 3 rs8151...
- Page 4 rs8151...
- Page 5 rs8151...
- Page 6 rs8151...
- Page 7 rs8151...
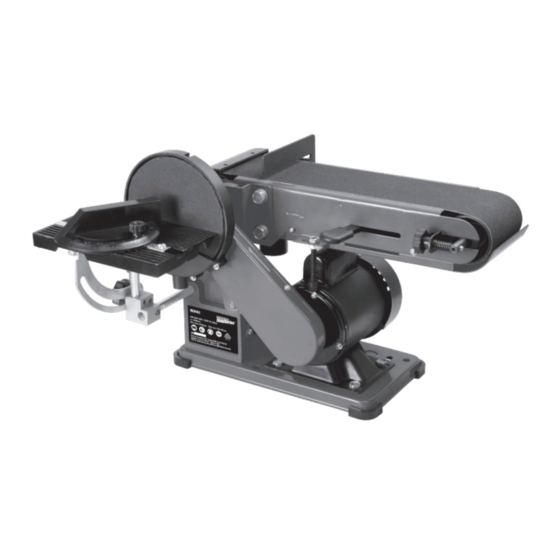
- Page 8 belt&disc sander cOMPOnent list OFF switch On switch UPPer sanding drUM gUard belt sanding baFFle sanding belt tracking adjUst knOb belt tensiOn lever sanding disc wOrktable Miter gaUge bevel gaUge table tilting lOck knOb Plastic Feet dUst OUtlet dUst OUtlet * not all the accessories illustrated or described are included in standard delivery.
-
Page 9: Safety Instructions
belt&disc sander accessOries locked-up place, out of reach of children. 6. Do not force the tool Miter gauge It will do the job better and safer at the rate for which Allen key it was intended. Spanner 7. Use the right tool Disc sanding sheet Do not force small tools to do the job of a heavy duty Sanding belt... - Page 10 belt&disc sander before turning it on. of abrasive finishing machines, obtain advice from your supervisor, instructor or other qualified 17. Avoid unintentional starting person. Ensure switch is in “off” position when plugging in 4. Caution: This machine is designed to sand wood or 18.
- Page 11 belt&disc sander syMbOls 23. Never perform layout, assembly or set-up work on the table while the sander is operating. 24. Never leave the machine work area when the power To reduce the risk of injury, user must read is “ON” or before the machine has come to a instruction manual.
-
Page 12: Technical Data
belt&disc sander technical data 5. MOUnting the wOrktable FOr Use with the disc sander (see Fig.F&g) Voltage 230-240V~50Hz 1) Insert the worktable support bar into the hole as Power input 350W S2:30min shown in Fig.F. Belt size 914mmx100mm 2) Position the worktable not further than 1.6mm from Belt speed 4.7m/s the sanding surface. -
Page 13: Vertical Sanding
belt&disc sander 1) If the sanding belt (5) moves towards the disc, turn 4. vertical sanding the tracking adjust knob (6) clockwise 1/4 turn. Your machine can sand vertically. Depending on the 2) If the sanding belt (5) moves away from the disc, work-piece, the belt sanding baffle can be removed for turn the tracking adjust knob (6) counterclockwise the vertical sanding operation. - Page 14 belt&disc sander keep the surfaces clean. Never use water or chemical cleaners to clean your power tool. Always store your power tool in a dry place. Keep the motor ventilation slots clean. Keep all working controls free of dust. Occasionally you may see sparks through the ventilation slots.
- Page 16 Made in Prc...


Need help?
Do you have a question about the ShopSeries RS8151 and is the answer not in the manual?
Questions and answers