Advertisement
Quick Links
Advertisement

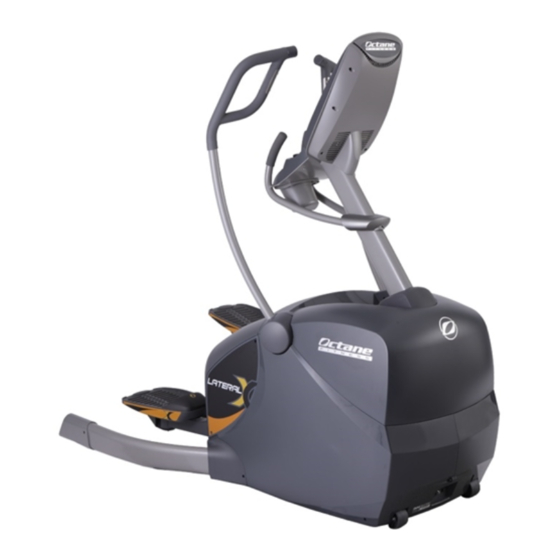
Summary of Contents for Octane Fitness LX 8000 Touch
- Page 1 Preventative Maintenance and Diagnostics JUNE 2016...
-
Page 2: Routine Maintenance
Please Read – Before You Begin Before working on any Octane Fitness product, please take the time to look through the product IMPORTANT specifi c manuals. Also note the following safety directions: • Always unplug the machine while servicing (if applicable). - Page 3 Accessing Parts Inside the Machine To check the electrical and mechanical components, you need to access parts inside the machine. To access parts inside the machine, remove the shrouds/covers in the following order: NOTE: To perform the majority of preventative maintenance procedures, you only need to remove the Mast Boot and Hood. 1.
-
Page 4: Preventative Maintenance
Preventative Maintenance Electrical - Inspect Cables Verify all cables are secured to the machine and have good solid connections. cable tie P/N 107023-001 cable tie P/N 106786-001 snap-in cable tie P/N 106085-001 screw mount cable tie P/N 101416-001 You will feel a snap when the cables are... - Page 5 Preventative Maintenance Electrical - Inspect Board Connections Verify all cables are properly seated and LED indicators are functioning correctly. power input OK red LED console communications power input 4-pin accessory tray LED connections handlebar console power button 2-pin PAC board power 2-pin C-SAFE...
- Page 6 Preventative Maintenance Mechanical - Inspect and Tighten Drive Belt, Moving Arm, Lateral, and Parallel Link Bolts If the drive belt is loose or rubbing on the drive pulley, a scraping or dragging sound could occur. To prevent unwanted noise: center drive belt and tighten. If the moving arm, lateral, or parallel link bolts are loose, a clicking or tapping sound could occur.
- Page 7 Preventative Maintenance Adjustments - Inspect Handlebars Ensure hardware that holds the moving handlebars is securely fastened. Use a torque wrench to tighten hardware to 30 FT-LB (41 N-M). TORQUE 30 FT-LB 41(N-M) 17mm bolt wrench 17mm wrench 13mm wrench tighten IMPORTANT! VERIFY HANDLEBAR CABLES ARE SECURED TO HANDLEBAR COVER AND WRAPPED AROUND THE FRAME USING CABLE TIES.
-
Page 8: Diagnostic View
Diagnostics The Octane Fitness Touch Console incorporates several views to assist in checking status and diagnosing and resolving potential issues. Use these views if a simple reboot of the console does not resolve an issue. Access these views from the main screen: •... - Page 9 Stop Test. If errors are detected during any these tests, note the information and contact Octane Fitness for assistance. Exit Press to leave this view and return to the main screen. The RESET PAC button does not function from this screen. If you believe you need to reset the Power and Control Board, contact Octane Fitness for assistance.
- Page 10 Use this view to re-pair the console with the Netpulse Authentication Server so that the console can properly receive software updates. For additional assistance with these or any service tasks, please contact your Octane Fitness service representative at 888-OCTANE4, extension 1. 10 SUPPORT.OCTANEFITNESS.COM...
- Page 11 Diagnostics Club Settings 7388 (SETT) Passcode: Use this view to customize attributes to meet the club’s specific needs, including: • Max Workout Time (up to 99:00) • Default Stride Length or Lateral Width • Clock Direction (Count Up or Count Down) •...
-
Page 12: Software Update
Diagnostics Software Update 78425 (STICK) Passcode: Follow these steps to update the software on the Touch Console with the USB stick provided by Octane Fitness. 1. Insert the USB stick into the 2. Press “Start” 3. The software update proceeds automatically, ending... - Page 13 Notes SERVICE TRAINING SUPPORT.OCTANEFITNESS.COM...
- Page 14 Service Part Information To help serve you effi ciently and effectively, when you request service parts we ask that you provide the base unit serial number, the console serial number and an accurate description of the problem you are experiencing. This is important in order for us to send you the correct parts and to help us improve our products in the future.


Need help?
Do you have a question about the LX 8000 Touch and is the answer not in the manual?
Questions and answers