Advertisement
Table of Contents
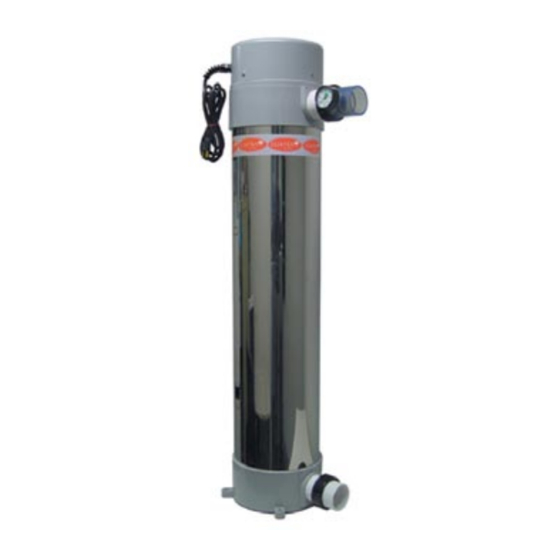
ELEKTRA
UV
®
E/ES-Series
Ultraviolet
Sanitizer/Clarifier
System
INSTALLATION INSTRUCTIONS
IMPORTANT SAFETY INSTRUCTIONS
SAVE THESE INSTRUCTIONS
READ AND FOLLOW ALL INSTRUCTIONS
WARNING
FOR YOUR SAFETY — This product should be installed by a
professional service technician or similar person, qualified in electrical
equipment installation. Improper installation and/or operation could cause
serious injury, property damage or death. Improper installation and/or
operation will void the limited warranty.
Advertisement
Table of Contents


Need help?
Do you have a question about the ELEKTRA UV E-5 and is the answer not in the manual?
Questions and answers