Advertisement
Table of Contents
STEP 1: Connect to Console Port
Connect to PC Console. You will need to connect the Tenor DX to your workstation's serial port through the RS-232 con-
nection. (This connection will be used when you assign an IP address to the unit.) For the instructions below, it is assumed you
are connecting to a Windows PC.
1
2
3
4
5
6
STEP 2: Install Ground Safety Cable (required for AC power plug with only two prongs)
The Tenor DX provides an Earth Ground screw (a #6 screw). This screw provides earth ground to the unit if the AC power
receptacle you are plugging into does not contain a ground prong (the Quintum supplied power cable has a three prong connec-
tor). To provide ground via the grounding screw, you will need to connect the grounding screw to a Ground Safety Cable, which
can then be connected to an approved safety earth ground.
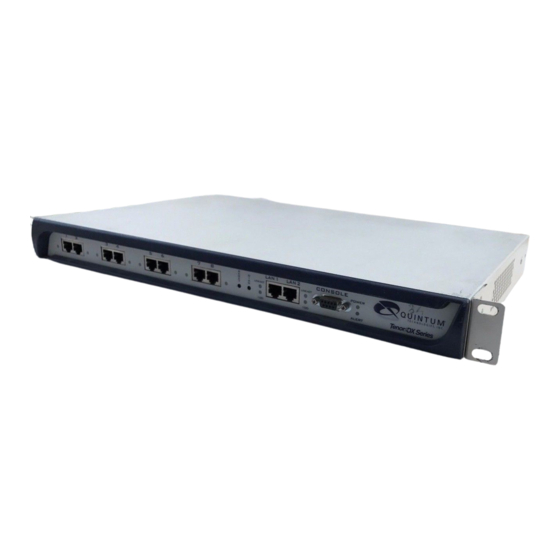
Tenor
™
Figure 1:
R
E
D
7
8
LAN 1
LAN 2
CONSOLE
S
I
POWER
E
A
Line/Act
Line/Act
T
G
100
100
ALERT
Figure 2:
DX Quick Start
Connect to PC Com Port
1. Insert the male end of the DB-9 cable
into the port labeled Console.
2. Insert the female end of the DB-9 cable
into your workstation's serial port (see
your PC documentation for more infor-
mation about this port).
DB-9
Install Ground Safety Cable
1. Unscrew the existing screw from the grounding hole.
2. Place the screw through the ring connector at one end of the
ground safety cable.
3. Attach the screw securely to the threaded grounding hole.
4. Connect the other end of the ground safety cable to an approved
electrically grounded object. Consult with a licensed electrician if
you are unclear about this operation.
Advertisement
Table of Contents

Related Manuals for Quintum Tenor DX Series


Summary of Contents for Quintum Tenor DX Series
- Page 1 The Tenor DX provides an Earth Ground screw (a #6 screw). This screw provides earth ground to the unit if the AC power receptacle you are plugging into does not contain a ground prong (the Quintum supplied power cable has a three prong connec- tor).
- Page 2 Step through each of the following parameters and enter the correct values for your installation: IP address, Subnet Mask and Default Gateway. 12. At the Quintum prompt, type ei to reach the Ethernet prompt and then type config to change to the configuration mode.
- Page 3 1. Plug one end of the straight through RJ-45 cable into one of the eight network ports on the front of the unit. The cable from Quintum is the green RJ-45 cable. 2. Connect the other end of the RJ-45 straight cable to the patch...
- Page 4 1. Plug one end of the crossover RJ-45 cable into one of the eight network ports on the front of the unit. (This cable from Quintum is the red RJ-45 crossover cable.) 2. Connect the other end of the crossover RJ-45 cable into the appropriate port on the PBX.
Need help?
Do you have a question about the Tenor DX Series and is the answer not in the manual?
Questions and answers