Table of Contents
Advertisement
Quick Links
Advertisement
Table of Contents

Related Manuals for Separett PEE Series


Summary of Contents for Separett PEE Series
- Page 1 User / Installation manual (English) Manual art: 12132-01...
- Page 2 Congratulations on your new PEE urine toilet! For over 40 years we at Separett have developed qualitative and functional toilet solutions that are not limited by the supply of water and sewage. Today, our toilets simplify everyday life and leisure time for hundreds of thousands of people worldwide.
-
Page 3: Table Of Contents
Content Important safety instructions ........................3 Technical information ..........................5 The parts ..............................5 Before installation ........................... 6 Included installation details ........................ 6 Tools ..............................6 Handling of the urine ........................... 7 The urine outlet ........................... 8 Installation ............................... 9 Simple installation .......................... - Page 4 Save your receipt Place for receipt...
-
Page 5: Technical Information
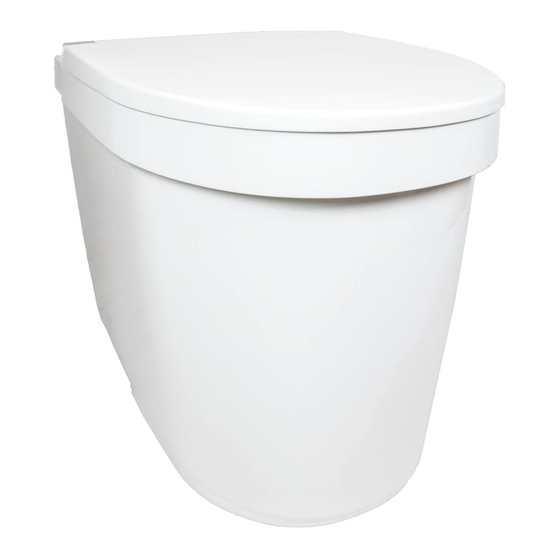
Technical information Material: ABS, PP, Stainless Steel weight: 4,3 kg Maximum load on seat: 120 kg Measurements (cm): The parts 1.Seat 2.Urine funnel 3.Lid 4.Mountingholes for wall bracket 5.urine outlet 6. Stench trap... -
Page 6: Before Installation
Before installation Included installation details Below you can see some of the details that are included and used in the installation of the toilet. NOTE! There are several ways of installing the toilet and one or more of the supplied details may therefore not be used in some installations. -
Page 7: Handling Of The Urine
Important is to make sure that the pipe is slightly angled downwards all the way the way from the toilet to the gray water pipe. Tank Collection tank, for example Separett ejektortank... -
Page 8: The Urine Outlet
The urine outlet When you are going to lead the urine from the toilet to the intended collection, it is important to first go through and ensure that you meet the restriction below in order for the urine line to function well over time. -
Page 9: Installation
This section shows an installation of the toilet with piping straight backwards, out through the outer wall and connected to the Separett Ejektortank®. 1.Attach the wall bracket to the toilet and then place the toilet on the intended installation site. Then mark the wall where the wall bracket should be mounted and where the urine outlet should go through the wall. - Page 10 4. If you are going through an insulated wall, use the supplied wall pipe. If necessary, you can cut the pipe to the desired length. Place the pipe in the straight connection on the toilet.
- Page 11 5.Attach the wall bracket to the wall. Use a screw and plug suited for the type of wall you have behind the toilet. Also install the cover plate on the pipe. Slide the wall pipe into the hole in the wall until the toilet reaches the wall mount. Then push in the cover plate against the wall.
- Page 12 6.Use the mounting screws to secure the toilet in the wall bracket. 7. Now the installation continues where the hose should be connected to the ejector tank. If necessary, cut the wall pipe to the correct length if you have not already done so. To connect the hose to the wall pipe use the straight-connection or 90-degree-connection.
-
Page 13: Other Installations
8. Cut the hose to get the length you need to guide the urine to the tank. Connect the hose to the connector. Then lead the hose to the tank. If you are going to use the toilet in the winter, it is recommended that you insulate the pipe/hose and that you switch to a larger diameter, especially if you are to have a installation longer than 2 m Other installations If you are to use the 32mm hose along a wall, use the supplied wall brackets to ensure that the hose stays... -
Page 14: Use The Toilet
• The toilet is only for made for urine and cannot handle solid waste or toilet paper. • Use Separett bio drain to prevent clogging in the drain while spreading a fresh scent. • Pour some water into the urine bowl after your visit Cleaning / Maintenance •...
Need help?
Do you have a question about the PEE Series and is the answer not in the manual?
Questions and answers