Advertisement
Quick Links
Advertisement

Subscribe to Our Youtube Channel
Related Manuals for Separett Tiny


Summary of Contents for Separett Tiny
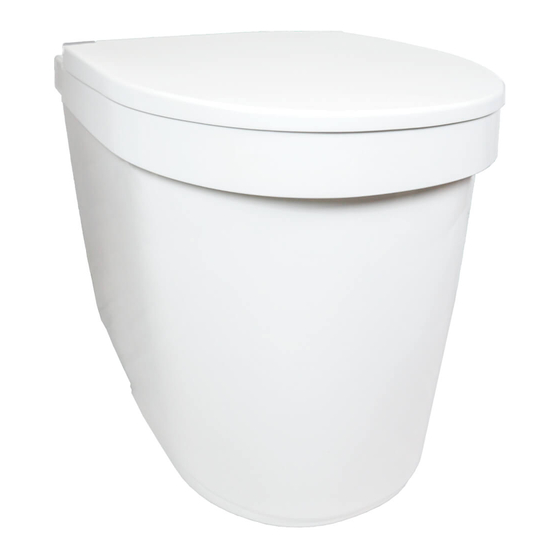
- Page 1 Tiny ® Installation Manual Tiny with urine tube art.no. 1271-01...
- Page 2 WARNING! Before making holes in walls or floors. Ensure that the location for wall penetration allows for a hole to be made and that the piping meets construction regulations. Keep in mind that the wall may conceal, for example: electrical wiring, piping, waterproofing, load-bearing construction.
-
Page 3: Included With The Product
1 x Sample drain cleaner 2 x Screw for ventilation cowl 10 x Compostable wastebags Tiny 1 x Tube of silicone 1 x Sample Absorb pad Tiny 1 x Installation template 1 x Urine bowl extension 1 x Power adapter... -
Page 4: Installation Steps
Installation steps Please read more under each heading 1. Toilet placement 2. Make holes according to the installation template 3. Install ventilation pipe 4. Install urine hose 5. Install ventilation pipe cap or ventilation cowl 6. Power supply for toilet 7. - Page 5 Separett’s own installation kit that has pipes and angles in the correct dimensions. Separett Tiny can be installed with up to 5 meters of ventilation piping and 2 90-degree bends. Ventilated air can go through a wall, floor or roof, for example, up into an attic and out through a suitable side of the house.
- Page 6 If additional pipes are needed to direct the air out of the house, the Separett ventilation kit (art. no. 1344) is recommended for Tiny. It includes 4 meters of piping and bends to ensure a simple extended installation. These can also be used to extend the piping onto the facade of the house.
- Page 7 If additional pipes are needed to direct the air out of the house, the Separett ventilation kit (art. no. 1344) is recommended for Tiny. It includes 4 meters (13 ft) of piping and bends to ensure a simple extended installa- tion.
- Page 8 Recommendations for installation of urine hose As with the ventilation duct, Tiny provides the option of installing the urine hose without any visible pipes/tu- bes in the bathroom. Below are a few tips that should be followed to maintain a well-functioning urine outlet over time and all year round.
- Page 9 Installation without visible urine hose For installation without visible pipes, the 90-degree bend is used to guide the urine downwards or the straight joint to go backwards as shown in the pictures below. Use the enclosed installation template to make holes in the wall or floor in the correct positions. Installation with visible urine hose In cases where installation without visible pipes is not possible, a 90 degree bend is used to install the urine hose to the side (right or left) according to the pictures below.
- Page 10 Installation of pipe cap or ventilation cowl It is important to ensure that the end of the ventilation pipe is protected from rain and snow, and prevents insects from entering the toilet. To achieve this, the toilet comes with a pipe cap that is equipped with an integrated insect net.
- Page 11 The assembled parts are then mounted as pipe ends in the same way as shown in previous sections. It is also possible to use the ventilation cowl at a horizontal pipe end in more demanding conditions to ensure better protection against weather and wind.
- Page 12 Power supply for toilet If the toilet is to be mounted against a wall, a power cord must be connected to the toilet before it is moun- ted. After wall mounting, the connection is not accessible. The toilet must be connected to a power source. The toilet comes with a power adapter for 110–240 V and a 12 V battery cable.
- Page 13 IMPORTANT! Connect the power cord to the toilet before mounting it. Aftermounting, you will not have ac- cess to the back of the toilet where the cable is to be connected. Tiny is designed to be fixed to the floor or to the wall. For maximum stability, both options can be combined. Floor...
- Page 14 To install the yellow fan filter in the toilet, follow the steps below: Place basket in the urine drain Place the supplied basket in the urine drain. The net ensures that no large ob- jects enter the urine outlet. The basket is designed to perfectly fit a Separett Bio Drain Cleaner.
- Page 15 Proudly distributed by: www.ecoflo.com.au 1300 138 182 07 3889 6144 info@ecoflo.com.au @ecoflowm...
Need help?
Do you have a question about the Tiny and is the answer not in the manual?
Questions and answers