
Related Manuals for OWC Mercury Elite Pro Dock


Summary of Contents for OWC Mercury Elite Pro Dock
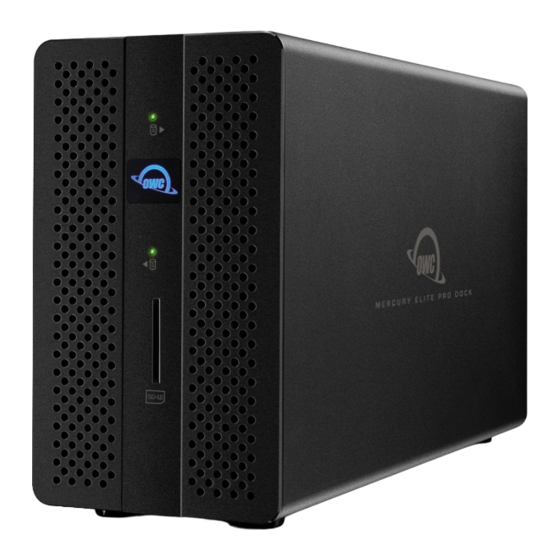
- Page 1 Mercury Elite Pro Dock Assembly Manual & User Guide Dual Bay Ethernet USB 3.1 Gen 1 SD Card Mac & Windows Thunderbolt 3 RAID Array...
-
Page 2: Table Of Contents
2.1 Assembly Steps ................ 5 2.2 RAID Settings ................7 2.3 Drive Failure ................8 Support Resources 3.1 Formatting ................. 9 3.2 Troubleshooting ................ 9 3.3 About Data Backup ..............9 3.4 Contacting Technical Support ..........9 Contents OWC Mercury Elite Pro Dock... -
Page 3: Introduction
The images and descriptions may vary slightly between this manual and the unit shipped. Functions and features may change depending on the firmware version. The latest product details and warranty information can be found on the product web page. OWC’s Limited Warranty is not transferable and subject to limitations. - Page 4 - Never expose your device to rain, or use it near water or in damp or wet conditions. Never place objects containing liquids on the drive, as they may spill into its openings. Doing so increases the risk of electrical shock, short-circuiting, fire or personal injury. Introduction OWC Mercury Elite Pro Dock...
-
Page 5: Dock Ejector
1.4 OWC Dock Ejector This application safely ejects all drives connected to the Mercury Elite Pro Dock with a single click, adding peace of mind to fast-paced mobile workflows. To install this app, please follow the steps below. 1. Download the installer file: For Mac download.owcdigital.com/dockejector/mac... -
Page 6: Usage Notes
- 3. You will then see a message that says, “Safe to Remove Hardware.” It is now safe to disconnect the Mercury Elite Pro Dock from the computer. - The steps above are applicable to Windows 10 build 1803 and earlier. If you are using Windows 10 build 1809 (October 2018) or later, you can eject the drive by clicking the ‘Show hidden items’... -
Page 7: Assembly Steps
1. Power on the Mercury Elite Pro Dock and plug it into to your computer with the Thunderbolt 3 cable. If you prefer to use a different formatting utility, do so at this time and skip the rest of these steps. - Page 8 9. Re-affix the screws you removed in Step 2. This completes the assembly process. Device Setup OWC Mercury Elite Pro Dock...
-
Page 9: Raid Settings
- Each drive will appear individually without being combined. If you are using drives of differing capacity and model, or if you are using only one drive, this is the mode to use. Device Setup OWC Mercury Elite Pro Dock... -
Page 10: Drive Failure
If one of the drives fails (or is missing or not connected properly), the corresponding drive LED on the front of the device will blink red. If the Mercury Elite Pro Dock was configured as a RAID 0, the data on the array is lost and the disk is no longer usable. -
Page 11: Support Resources
3.2 Troubleshooting Begin by verifying that the power cable is connected to the Mercury Elite Pro Dock and to a power source. If the power cable is connected to a power strip, make sure that the power strip switch is in the ON position. Next, verify that each ends of the data cable is properly plugged into the computer and the Mercury Elite Pro Dock, respectively. - Page 12 OWC. © 2019 Other World Computing, Inc. All rights reserved. Mercury Elite, OWC and the OWC logo are trademarks of New Concepts Development Corporation, registered in the U.S. and/or other countries. Mac and macOS are trademarks of Apple Inc., registered in the U.S. and other countries.
Need help?
Do you have a question about the Mercury Elite Pro Dock and is the answer not in the manual?
Questions and answers