
Related Manuals for Yakima HighRoad


Summary of Contents for Yakima HighRoad
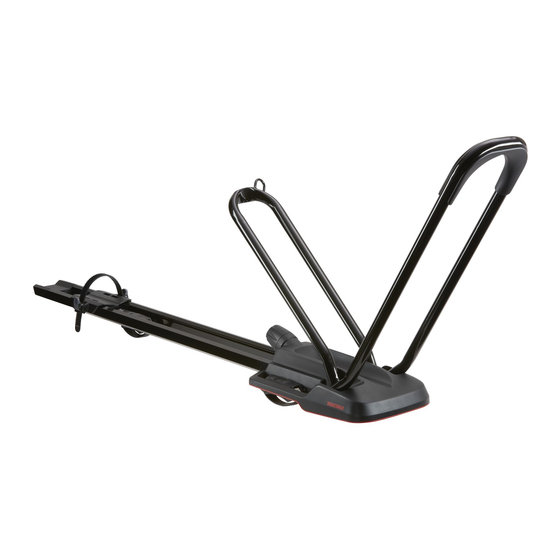
- Page 1 HighRoad HIGHROAD (1X) 45lbs / 20kg 18”(46 cm) min. - 35”(90 cm) max SmarT-Slot Kit 1 4-Pack SKS Locks #8002122 #8007204 1035815B-1/13...
- Page 2 Align the front mount with your front crossbar. Slide the rear mount to align with your rear crossbar. REAR MOUNT FRONT MOUNT SELLE ARRIÈRE SELLE AVANT FIJACIÓN TRASERA FIJACIÓN DELANTERA Aligner la selle avant sur la barre transversale avant. Faire glisser la selle arrière au niveau de la barre transversale arrière.
- Page 3 Lift HighRoad to route the rear strap under the rear crossbar. Soulever le porte-vélo pour faire passer la sangle sous la barre arrière. Levante el portabicicleta HighRoad de manera que la correa de atrás pase por debajo de la barra transversal trasera.
- Page 4 Close the slider. Refermer le cache. Cierre el cubierta. Open levers and Lift levers up and back to clear detents. Drop levers through frame. loosen knob. Faire passer les leviers à travers le cadre. Soulever les leviers et les faire Ouvrir les leviers et Deje caer las palancas a través del armazón.
- Page 5 Lift HighRoad to route the front strap under the front crossbar. Soulever le porte-vélo pour faire passer les sangles sous la barre avant. Levante el portabicicleta HighRoad de manera que las correas pasen por debajo de la barra transversal delantera.
- Page 6 The HighRoad should not slide or move on crossbars. Tighten straps if necessary. Le porte-vélo ne doit pas glisser ou bouger sur les barres. Serrer les sangles au besoin. El portabicicleta HighRoad no debe deslizarse ni moverse sobre las barras transversales. Si es necesario, ajuste las correas.
- Page 7 Pliegue e introduzca la correa de rueda en la hebilla para poder apoyar el neumático trasero. Carefully place your bike onto the HighRoad. Déposer doucement le vélo sur le porte-vélo. Coloque cuidadosamente la bicicleta sobre el soporte HighRoad.
- Page 8 Tighten the knob completely until you hear a clicking sound, as you roll the front wheel snugly against the big hoop. “Click!” “Click!” “Click!” Serrer le bouton complètement, jusqu’à entendre un bruit de cliquet, tout en appuyant la roue avant fermement contre le grand arceau.
- Page 9 Tighten the strap if needed. Serrer la sangle au besoin. Ajuste la correa si es necesario. Pull out the TailWhip locking cable from the rear of the HighRoad. Pass the OPTIONAL cable through the frame and wheels of FACULTATIF your bike. Attach the lock to the post OPCIONAL and lock it.
- Page 10 2. Open the rear cover. Disengage the rear lever, loosen the thumbwheel as necessary. 3. Lift the HighRoad off of the crossbars and store it in a safe place. 1. Ouvrir les caches avant. Relever les leviers et desserrer les écrous à main autant que nécessaire.
- Page 11 Record Height Here. XX m Noter la hauteur ici. Escriba aquí la altura. 1035815B-11/13...
- Page 12 EN IMPORTANT WARNINGS FR AVERTISSEMENTS IMPORTANTS Rack Installation Pose du porte-bagage Inadequately secured loads and incorrectly mounted roof racks and accessory Une charge mal arrimée, un porte-bagage de toit, ou encore un de ses accessoires, qui seraient mal installés pourraient se libérer en cours de trajet racks can come loose during travel and cause serious accidents! Therefore, et provoquer un grave accident ! C’est pourquoi la pose, la manutention et installation, handling and use must be carried out in accordance with product...
- Page 13 Estas instrucciones se deben guardar junto con las instrucciones de operación del vehículo y llevar dentro del coche cuando este producto está instalado. www.yakima.com Para su propia seguridad, usted debe instalar solamente portaequipajes para techo aprobados (p. ej.: GS) para su vehículo.
Need help?
Do you have a question about the HighRoad and is the answer not in the manual?
Questions and answers